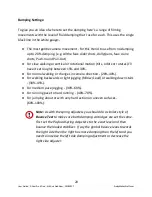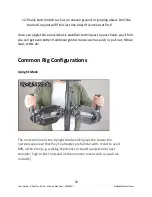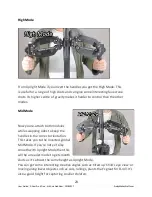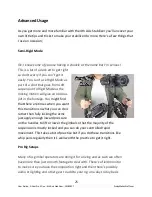
Fluid Damping -> Shoot, Analyse, Adjust, Repeat
Since you have already found the ‘ideal’ Payload Spring Setting for your rig you
can start with that setting to next find the best damping adjustments for your
own personal filming styles.
What I find works best is if you find a short 10 second circuit where you can vary
your intensity from soft motion all the way to hard motion (or as hard as you can
physically go).
1. Start with both Payload Spring Adjusters set to the ideal level that you
already worked out before.
2. Set the fluid damping adjustment to 0%.
3. Do the ‘Bounce Test’ to make sure the the damping is even and adjust if
necessary.
4. Do your ‘soft’ motion shot and examine footage.
5. Next turn both Fluid Damping Knobs the exact number of whole rotations
to get to around say 10% Damping and do the ‘bounce test’ again (adjust if
necessary).
6. Do your ‘soft’ motion shot again and examine the footage and compare it
to the first footage.
a. If the first shot was best then keep a note of the first setting.
b. If the new shot was better then increase the damping again and keep
testing until you find the footage smoothing declines.
7. Once you have your ‘soft motion’ settings nailed down then keep the
damping at the last ‘ideal’ setting and start the process again but this time
up the intensity to the next movement with gentle walking.
8. Next try normal walking
9. Then brisk walking
10.Then jogging
11.Then running
21
User Guide - Glider Pro 3 Duo - 4th Axis Stabilizer - 20180917 ScottyMakesStuff.com


