43
6.
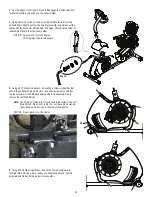
Tie a length of string to the end of the old Data Cable at the base of the
Console Mast. Hold the other end of the old Data Cable and carefully pull
it out of the Console Mast so that the string extends through the length of
the Console Mast. Untie the string and discard the old Data Cable.
NOTICE:
Hold the Heart Rate (HR) Cable so that you do not pull it
out of the Mast. Do not pinch or cut the HR cable.
7.
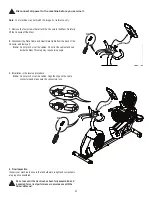
Tie the end of the string at the base of the Console Mast to appropriate
end of the replacement Data Cable. Hold the other end of the string and
carefully pull the new Data Cable through the Console Mast.
NOTICE:
Hold the HR Cable so that you do not pull it out of the
Mast. Do not pinch or cut the cables.
8.
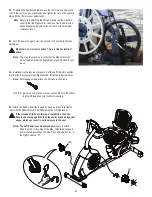
Untie the string from the new Data Cable, and connect the cable to the
Data Cable from the Main Frame.
.
NOTICE:
Do not pinch or cut the cables. This step may require two
people.
9.
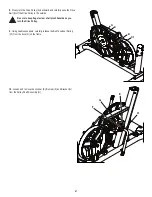
Put the Console Mast (with the Upper Shroud) back in position in the
Main Frame, and reinstall the Hardware.
Note:
Do not let the cables fall down inside the Console Mast.
NOTICE:
Be sure not to pinch or cut any cables. This step may
require two people.
10.
Slide the Upper Shroud back into position and reinstall the Shroud
Cap.
NOTICE:
Be sure the tabs in the Upper Shroud snap into the Main
Assembly.
6mm
X4


