40
Note:
For best performance use Schiller Grounds Care, Inc. replacement belts. Schiller
belts are engineered for the specific drive they are used on and will normally last longer.
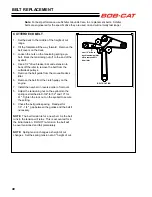
CUTTERDECK BELT
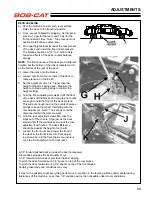
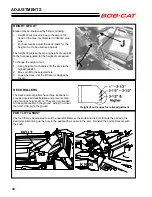
1. Set the deck to the middle of the height-of cut
range.
2. Tilt the footplate all the way forward. Remove the
belt covers on the deck.
3. Loosen the nuts on the tensioning spring eye-
bolt. Back the tensioning nut off to the end of the
eyebolt.
4. Use a 1/2" drive breaker bar and extension to
back off the idler to remove the belt from the
cutterdeck pulleys.
5. Remove the belt guide from the moveable deck
idler.
6. Remove the belt from the clutch pulley on the
engine.
7. Install the new belt in reverse order of removal.
5. Adjust the tensioning nut on the eyebolt so the
spring is stretched to 9-3/4" for 52" and 10" for
61" Tighten the lock nut on the eyebolt to secure
the setting.
6. Check the belt guide spacing. Readjust for
1/8" - 1/4" gap between the guides and the belt if
necessary.
NOTE:
The belt tension is for a new belt. As the belt
runs in the tension will relax. This is accounted for in
the initial tension. DO NOT re-tension, the belt will
be over tensioned and fail prematurely.
NOTE:
Spring tension changes as height of cut
changes. Set the spring tension at a 3" height of cut.
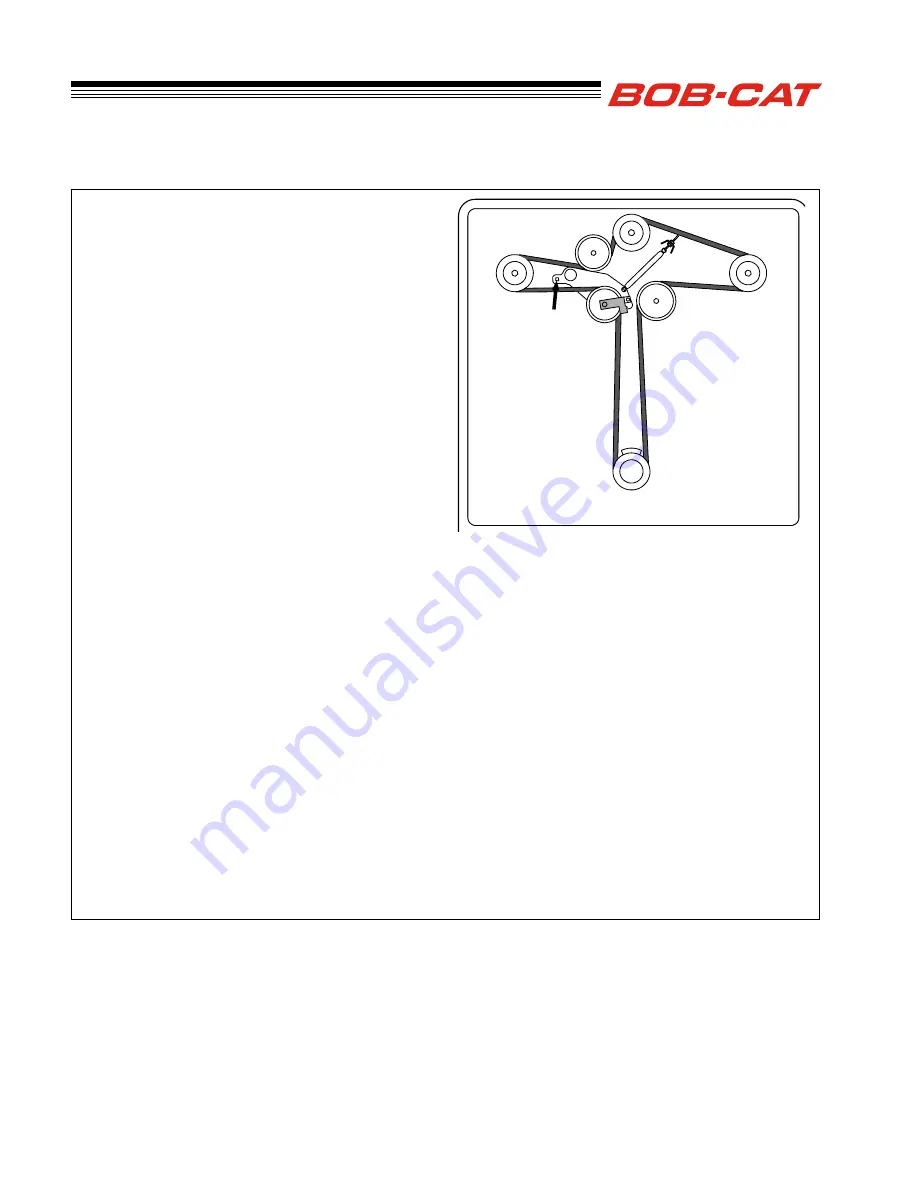
BELT ROUTING
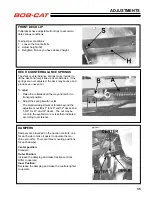
Use 1/2” drive to
back tensioning idler
off to remove belt
from idler.
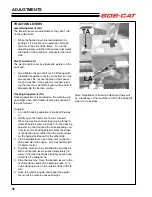
70 ft-lbs (95 n-m)
15 p.s.i.
(1.0 kg/cm²)
12 p.s.i.
(0.8 kg/cm²)
4175911
BELT REPLACEMENT
Содержание 9995010
Страница 47: ...45 PARTS SECTION PARTS SECTION ...
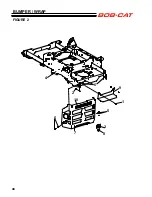
Страница 50: ...48 FIGURE 2 BUMPER WRAP 4 3 6 2 7 8 9 10 1 5 5 ...
Страница 62: ...60 FIGURE 8 BATTERY BOX GUARDS 3 10 12 11 14 13 7 5 9 17 6 8 16 5 15 2 4 4 5 5 8 9 16 3 3 3 16 17 17 ...
Страница 70: ...68 FIGURE 12 FOLDING ROPS 10 7 5 2 6 13 1 14 1 11 3 1 4 9 8 7 5 3 2 9 4 6 12 15 15 ...
Страница 82: ...80 FIGURE 18 DECALS 9 7 17 6 10 13 12 11 1 5 4 6 8 2 3 6 6 16 18 14 20 19 15 ...
Страница 84: ...82 7 6 5 4 3 2 1 8 8 4 10 11 12 6 9 13 FIGURE 19 DECALS ...


