17
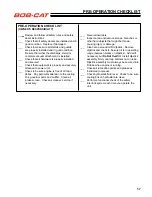
PRE-OPERATION CHECK LIST
(OWNER’S RESPONSIBILITY)
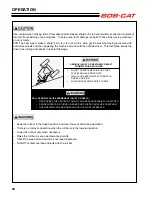
___ Review and follow all safety rules and safety
decal instructions.
___ Check that all safety decals are installed and in
good condition. Replace if damaged.
___ Check to make sure all shields and guards
are properly installed and in good condition.
Be sure that either the discharge shield or
complete vacuum attachment is installed.
___ Check that all hardware is properly installed
and secured.
___ Check that equipment is properly and securely
attached to power unit.
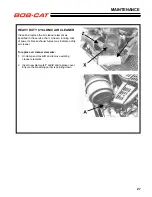
___ Check to be sure engine is free of dirt and
debris. Pay particular attention to the cooling
fins, governor parts and muffler. Clean air
intake screen. Check air cleaner; service if
necessary.
___ Never allow riders.
___ Inspect area and remove stones, branches or
other hard objects that might be thrown,
causing injury or damage.
___ Clean area around oil fill dipstick. Remove
dipstick and check to be sure oil is in operating
range (between marks on dipstick). Add oil if
necessary but
Do Not Overfill
. Install dipstick
assembly firmly until cap bottoms out on tube.
Dipstick assembly must always be secured into
fill tube when engine is running.
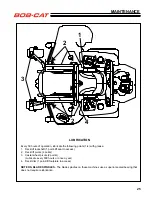
___ Check all lubrication points and grease as
instructed in manual.
___ Check hydrostatic fluid level. Check to be sure
cooling fins on hydrostat are clean.
___ Perform a functional check of the safety
interlock system each time you operate the
unit.
PRE-OPERATION CHECKLIST
Содержание 9995010
Страница 47: ...45 PARTS SECTION PARTS SECTION ...
Страница 50: ...48 FIGURE 2 BUMPER WRAP 4 3 6 2 7 8 9 10 1 5 5 ...
Страница 62: ...60 FIGURE 8 BATTERY BOX GUARDS 3 10 12 11 14 13 7 5 9 17 6 8 16 5 15 2 4 4 5 5 8 9 16 3 3 3 16 17 17 ...
Страница 70: ...68 FIGURE 12 FOLDING ROPS 10 7 5 2 6 13 1 14 1 11 3 1 4 9 8 7 5 3 2 9 4 6 12 15 15 ...
Страница 82: ...80 FIGURE 18 DECALS 9 7 17 6 10 13 12 11 1 5 4 6 8 2 3 6 6 16 18 14 20 19 15 ...
Страница 84: ...82 7 6 5 4 3 2 1 8 8 4 10 11 12 6 9 13 FIGURE 19 DECALS ...

