SBC SBC-420 Скачать руководство пользователя страница 7

10

11

INITIAL PROGRAMMING

INITIAL PROGRAMMING

SETTING THE TIME AND DATE (cont.)

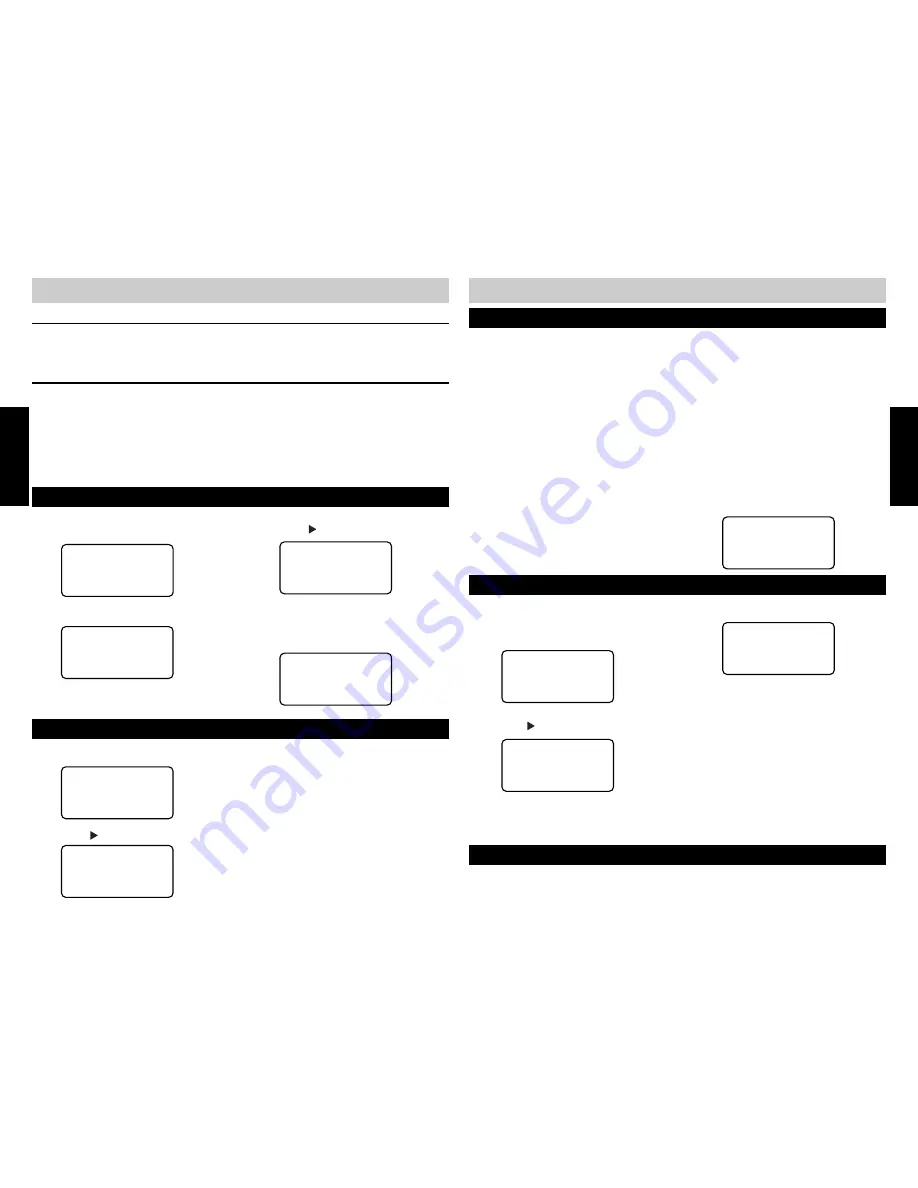
TO ENTER THE PROGRAM MODE

You are now ready to begin configuring the extension using the PROGRAM mode. Press
PROGRAM to enter.

TO EXIT THE PROGRAM MODE

Press END to exit the PROGRAM mode. Going off-hook will also exit the PROGRAM mode. The
PROGRAM mode will also automatically exit after 20 seconds of inactivity.

The PROGRAM options are structured like a tree (see Programming Tree page 39). The 

▲▼

keys

are used to navigate options. The programming tree is a loop that returns to the first option as
you navigate up or down.

The default language is English.

1 .

Press PROGRAM .

SETTING THE LANGUAGE

2 .

Press the 

 button once.

PROGRAM

▲▼

:select

LANGUAGE

▲▼

: select


:

enter

4 .

Use the 

▲▼ 

buttons to select the desired

language.

5 .

Press SAVE when done.

3 .

Press the   button to enter.

3 .

Use the 

▲▼

 buttons to select the correct 

MONTH

.

4 .

Press SAVE to accept your setting and to advance to the 

DATE

.

5 .

Use the 

▲▼

 buttons to select the correct date.

6 .

Press SAVE to accept your settings and advance to the 

HOUR

.

7 .

Use the 

▲▼

 buttons to select the correct hour.

8 .

Press SAVE to accept your settings and advance to the 

MINUTES

.

9 .

Use the 

▲▼

 buttons to select the correct minutes.

10.

Press SAVE to accept your settings and advance to 

AM/PM

.

11.

Use the 

▲▼

 buttons to select AM or PM.

12.

Press SAVE to accept your settings and advance to 

DAY OF WEEK

.

13.

Use the 

▲▼

 buttons to select the correct day.

14.

Press SAVE to accept your settings.

LANGUAGE
= English

▲▼

: select

SAVE?

LANGUAGE
= English

Programmed!

SETTING THE TIME AND DATE

1 .

While in the PROGRAM mode, press the 

 button until the following screen appears:

TIME/DATE

▲▼

: select


:

enter

MONTH
01/01

1:00A

▲▼

: select

SAVE?

2 .

Press the   button to enter.

DAY OF WEEK
= Sunday

Programmed!

SETTING THE EXTENSION ID

1 .

While in the PROGRAM mode, press the

 button until the following screen

appears:

EXTENSION NO

▲▼

: select


:

enter

3 .

Use the 

▲▼

 buttons to select an

extension between 11 and 22.

2 .

Press the   button to enter.

EXTENSION NO
=22

▲▼

: select

SAVE?

4 .

Press SAVE to accept your choice.

5 .

Initial programming is now complete. You
can press the PROGRAM button to exit the
PROGRAM mode and begin using the 420
with the factory default settings (see
TELEPHONE OPERATION on pages 21-29)
or you can program additional options.

NOTE:

If more than one extension in a system is
assigned the same ID number, the phone will beep
continuously. Press PROGRAM  to reassign a
unique ID number.

EXTENSION
= 11

Programmed!

PROGRAMMING

PROGRAMMING

TURNING MESSAGE INDICATOR LIGHT OFF

The light and display indication can be turned OFF in the PROGRAM MODE.  See page 21. Please note trhe MSGW
feature cannot be turned-off-this feature £simply turns the light off until you receive a new message.

Содержание SBC-420

Страница 1: ...5156 2006 Grace DigitalInc All rights Reserved SBC is a trademark of AT T Knowledge Ventures L P Licensed to Grace DigitalInc In case of difficulities visit our service center at www sbctelephones co...

Страница 2: ...Reminder 19 Programming Area Codes 19 Resetting the 420 20 TELEPHONE OPERATION New Call Message Waiting Indicator 21 Voice Mail 21 Turning the Message Waiting Indicator Off 21 Line Status Indicators...

Страница 3: ...s 32 Deleting an Individual Caller ID Record 32 Deleting All Caller ID Records 32 DIRECTORY Directory 32 Creating a New Directory Entry 32 Transferring a Caller ID Record to the Directory 33 Locating...

Страница 4: ...tures page 25 HEADSET Answer or make calls without lifting the handset page 36 HOLD Places or releases a call on hold page 24 INTERCOM Call other 420 stations without using an outside line LCD BACKLIT...

Страница 5: ...7...

Страница 6: ...his process will take about 8 seconds 5 The initial display will appear The default extension ID is 22 CONNECTING THE TELEPHONE cont 01 01 01 01A EXT 22 CID 000 000 NOTE If you are using a single cabl...

Страница 7: ...d advance to AM PM 11 Use the buttons to select AM or PM 12 Press SAVE to accept your settings and advance to DAY OF WEEK 13 Use the buttons to select the correct day 14 Press SAVE to accept your sett...

Страница 8: ...o enter 5 Use the buttons to select the ringer type As you scroll through the types a sample of the actual ringer will be heard L1 RINGER TYPE Type 2 Programmed L1 RINGER TYPE Type 2 select SAVE 6 Pre...

Страница 9: ...e button to enter 5 Use the buttons to turn the line on or off L4 USAGE Off select SAVE 6 Press SAVE to accept the setting 7 The LINE IN USE INDICATOR for the line will stop flashing and will not reli...

Страница 10: ...in the PROGRAM mode press the button until the following screen appears LINE GROUP select enter LINE GROUP L04 select SAVE 2 Press the button to enter 3 Use the buttons to change the LINE GROUP LINE G...

Страница 11: ...6 sec select SAVE 2 Press the button to enter FLASH TIME 0 8 sec select SAVE FLASH TIME 0 8 sec Programmed 3 Use the buttons to change the setting 4 Press SAVE to accept the setting CHANGING HOLD REMI...

Страница 12: ...oice Mail PROGRAMMING TELEPHONE TURNING THE MESSAGE WAITING INDICATOR OFF The light and display indication can be turned OFF manually in the PROGRAM MODE MSGW LIGHT select enter L1 MSGW LIGHT select e...

Страница 13: ...the line is in use the line will not be seized RECEIVING TELEPHONE CALLS If you subscribe to Call Waiting and a call is received on a line in use for another call you will hear a beep to indicate the...

Страница 14: ...A CALL ON HOLD 1 Press HOLD 2 The LINE INDICATOR will flash regular to indicate that the call is on Hold TO RELEASE A CALL ON HOLD 1 Press the flashing LINE button or pick up another phone on the sam...

Страница 15: ...you to bridge a call between any two lines to establish a 3 way conference call 1 Initiate the first call 2 Place the first call on HOLD 3 Initiate the second call 4 Press CONFERENCE You will now be t...

Страница 16: ...ion 1 Press PAGE to answer You can use the speakerphone headset or handset to converse 2 To end simply hang up NOTE Only one extension can answer a system wide page at a time PAGING A SINGLE EXTENSION...

Страница 17: ...420 between the first and second ring NOTE If you answer a call before the second ring the Caller ID information might not be displayed Call Waiting Caller ID records will not be displayed or logged d...

Страница 18: ...RD 1 Press CALLER ID 2 Locate the desired Caller ID record using the buttons 3 Press ERASE 4 The screen will prompt ERASE erase 5 Press ERASE to confirm or END to abort DIRECTORY The 420 will store up...

Страница 19: ...USING THE FEATURE KEYS 1 Go off hook 2 Press the desired FEATURE key To dial the second memory press SHIFT followed by the FEATURE key 6 Enter the telephone number using the numeric keypad 7 Press the...

Страница 20: ...ure the coiled handset cord is plugged into the HANDSET jack not the HEADSET jack See pg 7 Intercom Paging Signal Not Received Make sure you have programmed your extension number correctly Line 1 must...

Страница 21: ...ur phone These devices can interfere with the system s data links Operation During a Power Failure A 9 volt battery must be installed for power failure operation See pg 36 No Call Waiting Caller ID In...

Страница 22: ...Off select SAVE DELAY RING Off Programmed DELAY RING 02 sec select SAVE DELAY RING 02 sec Programmed Maximum Delay Ring 30 sec PROGRAMMING TREE L3 L4 L3 L4 MSGW LIGHT select enter L1 MSGW LIGHT select...

Страница 23: ...r LINE GROUP L04 select SAVE LINE GROUP L04 Programmed LINE GROUP L15 select SAVE LINE GROUP L15 Programmed LINE GROUP PRV select SAVE LINE GROUP PRV Programmed AUTO MUTE select enter AUTO MUTE On sel...

Страница 24: ...problem with this unit the telephone company may ask you to disconnect this equipment from the network until the problem has been corrected or you are sure that the equipment is not malfunctioning 6 R...

Страница 25: ...t Amplification 0dB to 12dB 4 levels The unit is hearing aid compatible Design and specifications are subject to change without notice Feature Specifications UZ635AT Caller ID with Call Waiting Type 2...

Страница 26: ...roduct damage 6 Slots and openings in the cabinet and the back or bottom are provided for ventilation To protect it from overheating these openings must not be blocked or covered by placing the produc...

Отзывы: