STR 2000 Series Transceiver Programming Manual
Sapling, Inc. 1633 Republic Road Huntingdon Valley, PA 19006 Phone: (215) 322-6063
Fax: (215) 322-8498 www.Sapling-Inc.com
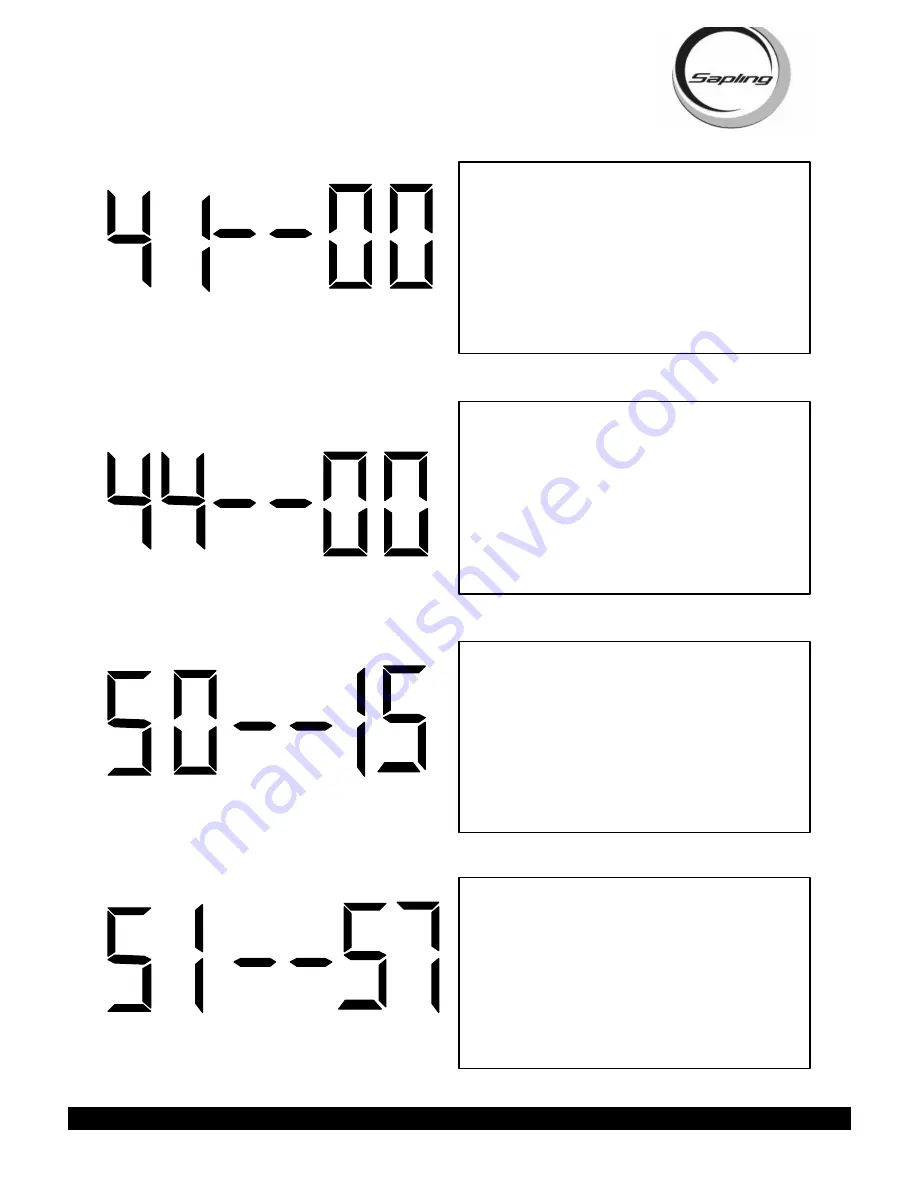
Press the “Set Hour” button to enter option 41. A “41”
will appear on the left side of the LED display.
This
option displays the current temperature of the clock
itself.
The temperature will display in °C. This option
is a read-only option.
Page 7
Press the “Set Hour” button to enter option 50. A “50”
will appear on the left side of the LED display.
This
option enters the self testing feature.
Press the “Set
Minute” button to scroll between 00-99. To enter the
Self Test mode, press the “Set Minute” button till a
“15” is displayed to the right. Any other character will
go directly to option 60. After it is set to “15”, press the
“Set Hour” button to enter the Self Test mode.
Press the “Set Hour” button to enter option 44. A “44”
will appear on the left side of the LED display.
This
option displays whether the transceiver is receiving
an Internet Connection.
A “01” will appear on the
right side if the master is receiving an Internet Connec-
tion. A “00” will appear on the right side if it is not
receiving an Internet Connection. This option is a read-
only option.
Press the “Set Hour” button to enter option 51. A “51”
will appear on the left side of the LED display.
This
option tests the Real Time Clock.
When the “Set
Minute” button is pressed, the display will count up
from 57 to 00. If the Real Time Clock is working prop-
erly, the transceiver will advance to option 52. If it
does not, it will stay at option 51.


