


60
3.3.4
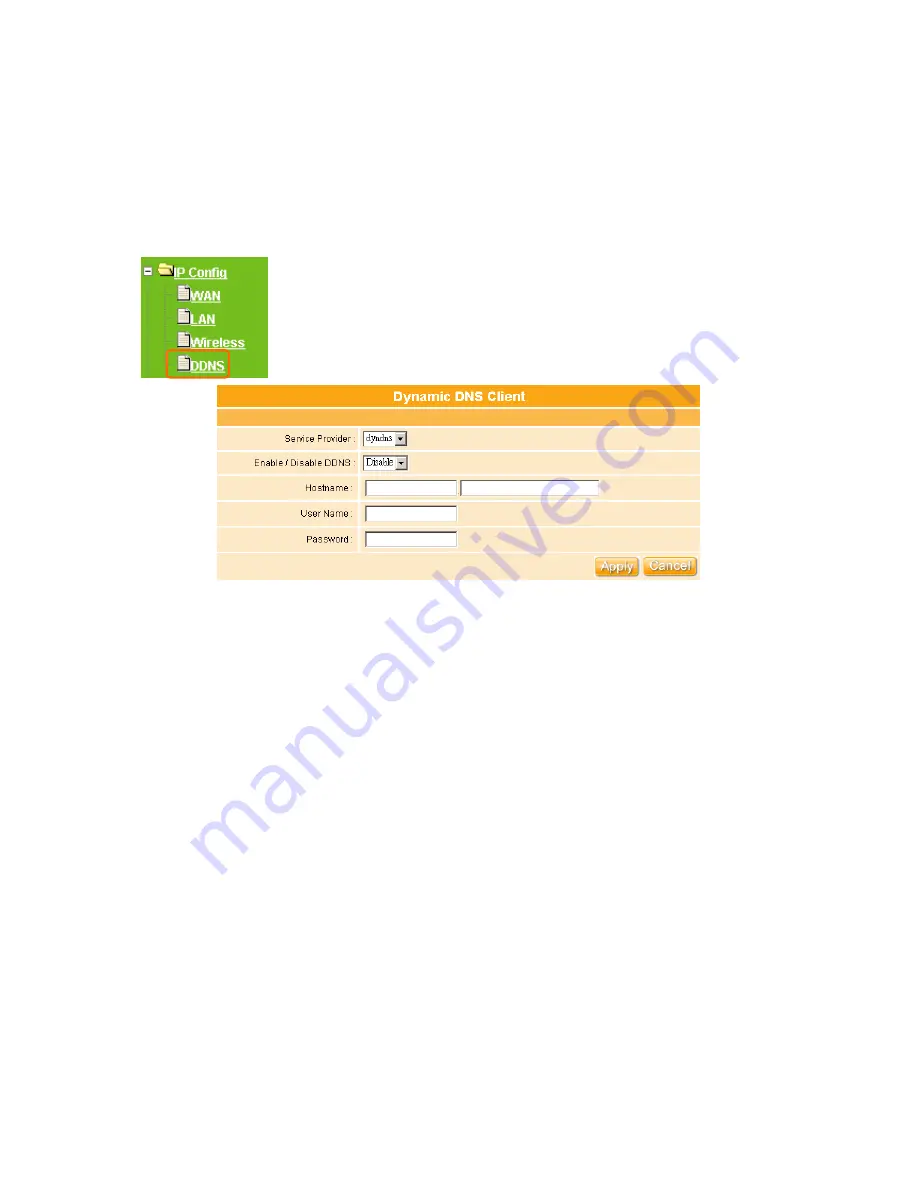
DDNS
Dynamic DNS allows you to make an assumed name as a dynamic IP address to a static
hostname. Please configure the dynamic DNS below.
Please s
elect
DDNS
under the
IP
Config
menu, and follow the instructions below to enter the
DDNS
setting page to configure
the settings you want.
1. Service Provider
Choose correct Service Provide from drop-down list, here including dyndns, dhs, ods and
tzo embedded in the WE-1120.
2. Enable / Disable DDNS
Select Enable to use DDNS function, each time your IP address to WAN is changed, the
information will be updated to DDNS service provider automatically.
3. Host Name
This field represents the Host Name you register to Dynamic-DNS service and expect to
export to the world.
4. User Name & Password
User Name
and
Password
is used as an identity to login DDNS service.
6. Apply & Cancel
Click on
Apply
button to continue. Click on
Cancel
button to clean the setting on this
page.
Содержание Ultimate WE-1120
Страница 1: ...1 ...
Страница 17: ...17 Step2 Click on Properties button Step3 Double click on Internet Protocol TCP IP ...
Страница 22: ...22 If it can t work it will show Request timed out ...
Страница 95: ...95 Step 3 Click Next Step 4 Click the Local printer attached to this computer and then click Next ...
Страница 115: ...115 ...
Страница 123: ...123 3 10 Site Map The WE 1120 provides site map clicking for each icon and do the setting easily from the home page ...
Страница 158: ...158 Step 6 Input Username and Password of your own You will see like as below monitor screen ...
Страница 164: ...164 Step 3 Click Next Step 4 Click the Local printer attached to this computer and then click Next ...
Страница 165: ...165 Step 5 Click the Create a new port and select the Standard TCP IP Port and then click Next Step 6 Click Next ...
Страница 190: ...190 4 9 Site Map The WE 1120 provides site map clicking for each icon and do the setting easily from the home page ...
Страница 219: ...219 Please setting your IP address of WAN refer the below following introduction ...
Страница 229: ...229 Step 2 Click Add a printer Step 3 Click Next ...
Страница 231: ...231 Step 6 Click Next Step 7 Input the IP address of WE 1120 10 64 64 64 Client Mode and then click Next ...
Страница 234: ...234 Step 12 Click on Finish button and all steps of setting printer server are completely ...
Страница 256: ...256 5 9 Site Map The WE 1120 provides site map clicking for each icon and do the setting easily from the home page ...


