AUTO MODE SETTINGS
A Sequential pan setting
Example: Sequential pan will be set to RANDOM, surveillance
location pause time will be 10 seconds, and pan
speed to next surveillance location will be 5
seconds.
1
Set the PRESET POSITIONS (See p10)
2
In the MAIN MENU, select SEQ for AUTO MODE and press
the ENTER button.
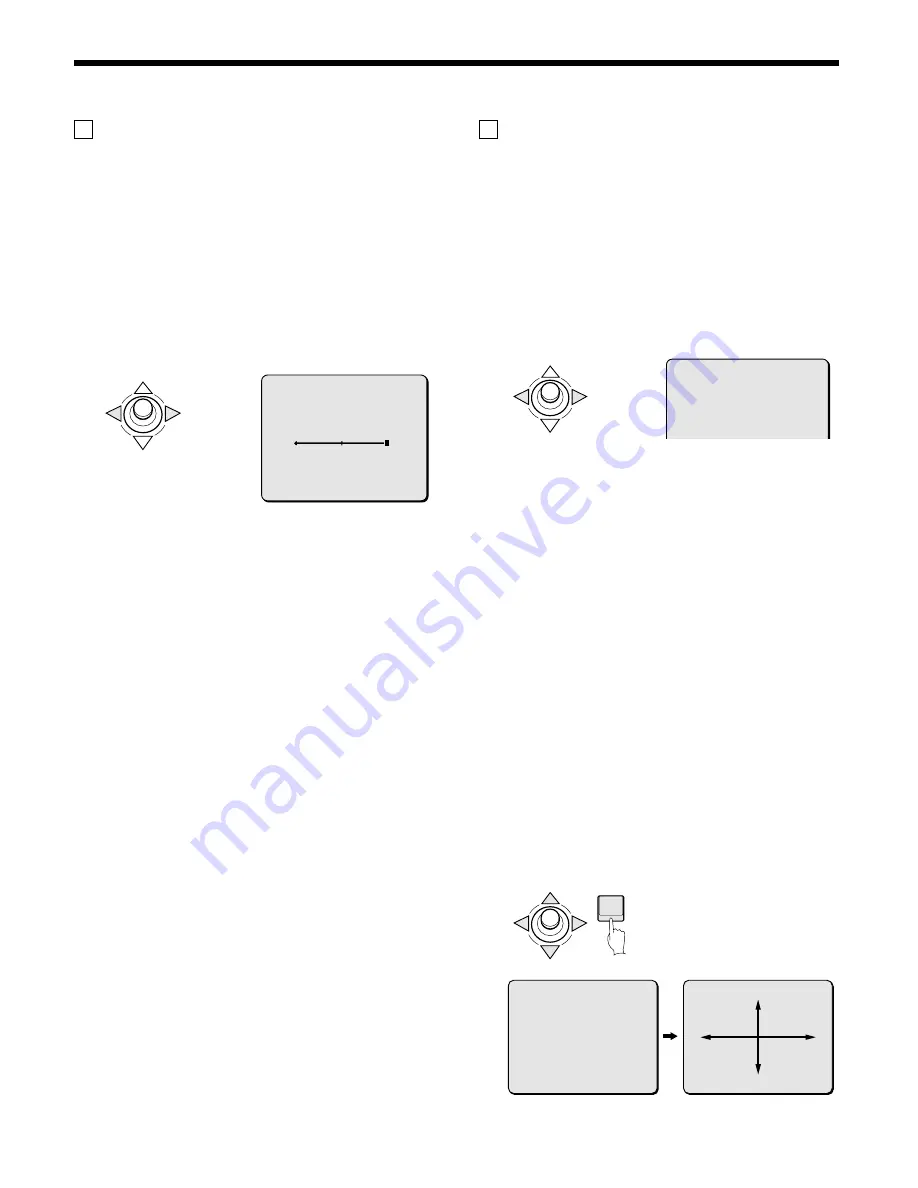
The SEQUENCE screen will appear.
3
Use the joystick lever (
d
or
c
) to select ORDER.
(Ex: RANDOM)
Available settings:
•
STEP: locations are shown sequentially pan from smallest
to largest PRESET POSITION numbers
•
RANDOM: locations are shown in a random sequentially
pan
4
Use the joystick lever (
j
or
l
) to move the cursor to
“5S” for PAUSE TIME, then use the joystick lever (
d
or
c
) to select the pause time. (Ex: 10S)
Available settings: 3S, 5S, 10S, 15S, 20S, 30S, 45S, 60S,
PRE (PRE uses individual values
recorded for each of the PRESET
POSITIONS.)
Note: To set pause times to be the same for all surveillance
locations regardless of differing pause time values set
for individual PRESET POSITIONS, set the PAUSE
TIME to a numerical value. To use the differing pause
times set for individual PRESET POSITIONS, set the
PAUSE TIME to “PRE”.
5
Use the joystick lever (
j
or
l
) to move the cursor to the
SEQ SPEED value, then use the joystick lever (
d
or
c
) to
set the speed for panning to new surveillance locations.
(Ex: 5)
Available settings: 1 (slow) – 15 (fast)
6
Canceling a settings screen
•
Use the joystick lever (
l
) to select BACK for MENU, then
press the ENTER button. The MAIN MENU screen will
reappear.
•
To return to the normal screen, use the joystick lever (
l
c
) to select END for MENU, then press the ENTER button.
B Tour mode setting
Before recording in TOUR mode, move the camera in the
normal viewing mode to the location from which to start the
TOUR mode. This will make effective use of the tour time.
Example: A 30 second image track of camera pan, tilt and
zoom operations will be recorded for TOUR 2.
1
In the MAIN MENU, select TOUR for AUTO MODE and
press the ENTER button.
The TOUR screen will appear.
2
Use the joystick lever (
d
or
c
) to select the TOUR image
track. (Ex: 2)
Available settings:
•
1: Recording of 30 seconds of camera pan, tilt and zoom
operations.
•
2: Recording of 30 seconds of camera pan, tilt and zoom
operations.
•
W: Recorded pan, tilt and zoom camera operations for
TOUR 1 and TOUR 2 are cleared after they are
combined to form a separate 60 second image track.
Note: The only initial options for TRACE are OFF and SET. After
recording of an image track, ON will be added as an option.
Joystick lever operation
OFF: to
c
side (ON appears), to
c
side again (SET appears)
•
SET: Select to allow recording of image track
•
ON: Select to play the image track
•
OFF: Select to not play the image track
3
Use the joystick lever (
j
or
l
) to move the cursor to
TRACE, and then use the joystick lever (
c
) to select SET.
Then press the ENTER button.
The TOUR SETTING screen will appear. REC will be blinking,
which means that recording has begun. Use the joystick lever
(
j
l
d
c
) to move the camera to form the image track to
be stored.
If the operation shuts down midway through recording of the
image, press the ENTER button. The TOUR screen will
reappear.
SEQUENCE
ORDER RANDOM
PAUSE TIME 5S
[SEQ SPEED]
15
MENU BACK
TOUR
TOUR 2
TRACE OFF ‚
ENTER
TOUR
TOUR 2
TRACE SET ‚
MENU BACK
TOUR SETTING
REC ‚
English
– 41 –


