


21
BASIC OPERATION
Press the NO SHOW button on the Remote Control to black out the
image. To restore to normal, press the NO SHOW button again or
press any other button.
NO SHOW FUNCTION
Message disappears after 4 seconds.
No show
Press the P-TIMER button on the Remote Control. The timer display
“00 : 00” appears on the screen and the timer starts to count time (00 :
00 ~ 59 : 59).
To stop P-TIMER display, press the P-TIMER button. And then, press
the P-TIMER button again to cancel the P-TIMER function.
P-TIMER FUNCTION
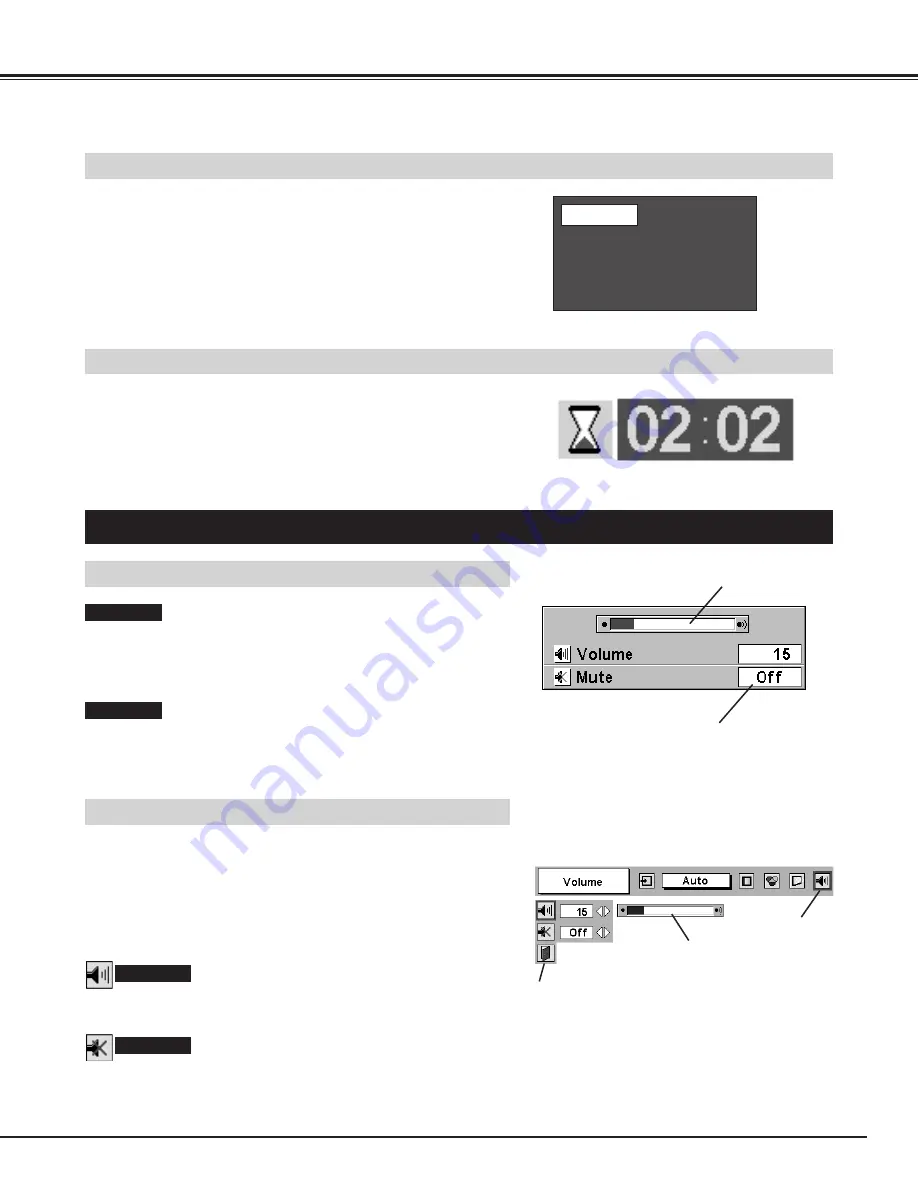
Indicates approximate
level of volume.
Close SOUND Menu.
SOUND ADJUSTMENT
Indicates approximate
level of volume.
Press the MUTE button to set
Mute function On or Off.
The display disappears after 4 seconds.
SOUND MENU
SOUND Menu icon
1
2
Press the MENU button and the ON-SCREEN MENU will
appear. Press the POINT LEFT/RIGHT buttons to move the red
frame pointer to the SOUND Menu icon.
Volume
Press the VOLUME (+/–) button(s) on the Top Control or on the
Remote Control to adjust volume. The volume dialog box appears on
the screen for a few seconds.
(+) button to increase volume, and (–) button to decrease.
Mute
Press the MUTE button on the Remote Control to cut off sound. To
restore sound to its previous level, press the MUTE button again or
press the Volume (+/–) button(s).
To increase volume, press the POINT RIGHT button, and press the
POINT LEFT button to decrease volume.
Press the POINT LEFT/RIGHT button(s) to cut off sound. Dialog box
display is changed to “On” and sound is cut off. To restore sound to
its previous level, press the POINT LEFT/RIGHT button(s) again.
Press the POINT DOWN button to move the red frame pointer to
the item that you want to select, and then press the SELECT
button.
DIRECT OPERATION
MENU OPERATION
Volume
Mute
Содержание PLC-XU45
Страница 1: ...Multimedia Projector MODEL PLC XU45 Owner s Manual ...
Страница 47: ...47 ...
Страница 48: ...Printed in Japan Part No 610 304 4804 1AA6P1P3770 ME3A SANYO Electric Co Ltd ...


