12
Installation
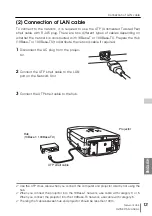
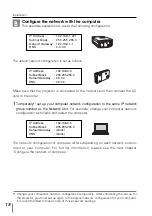
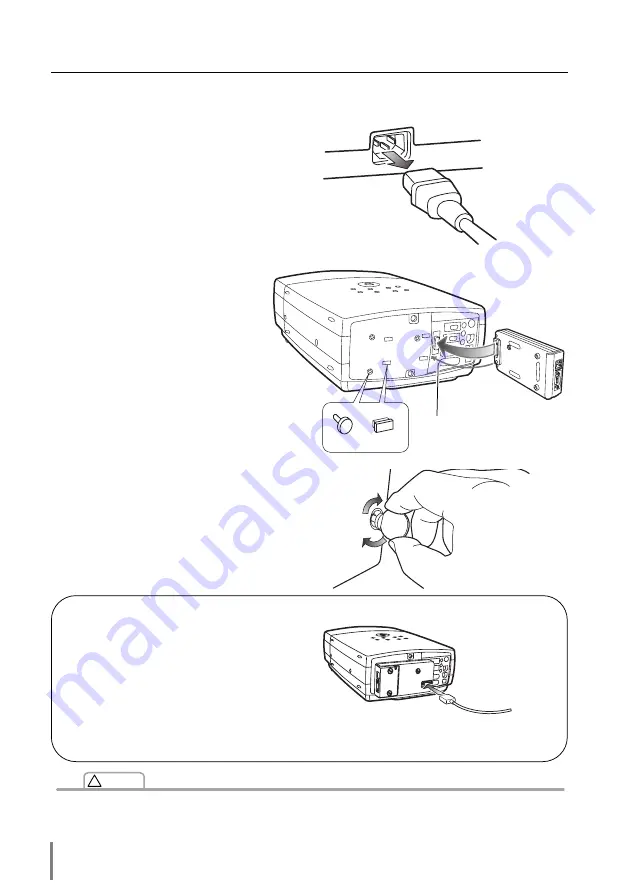
[1] Mounting
1
Disconnect the AC plug from the
projector.
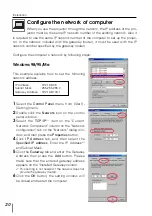
2
Remove all of the hole covers (3
round type, 4 square type) on
the rear of the projector and
insert plug on this product to the
DVI connector.
Mount as the SW lever on the
Unit presses the mount detect-
ing SW on the projector.
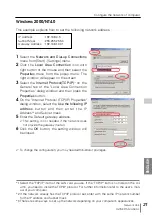
3
Tighten three screws by using a
coin etc.
✐
The AC cord must be disconnected from AC power outlet when mounting or removing this
product. It may damage the product.
✐
Do not connect the AC cord until after connecting the LAN cable and computer.
Caution
!
Mount detecting SW
hole covers
Note:
This network unit is connected to the DVI ter-
minal on the projector, therefore, the digital
input does not be used when this unit is
mounted. The analog input of the Computer
2 can be used through the VGA terminal on
the network unit.
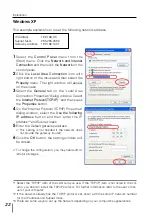
* Please use a VGA cable supplied with your
projector.
VGA cable
From computer
Содержание PJ-NET ORGANIZER POA-PN10
Страница 9: ...Installation 1 9 Network Unit OWNER S MANUAL ENGLISH ...
Страница 25: ...Basic Setting and Operation 25 Network Unit OWNER S MANUAL ENGLISH 2 ...
Страница 35: ...Controlling the Projector 35 Network Unit OWNER S MANUAL ENGLISH 3 ...
Страница 50: ...50 Controlling the Projector ...
Страница 51: ...Controlling the Multi Projectors 51 Network Unit OWNER S MANUAL ENGLISH 4 ...
Страница 57: ...Use of Serial Port 57 Network Unit OWNER S MANUAL ENGLISH 5 ...
Страница 65: ...Appendix A 65 Network Unit OWNER S MANUAL ENGLISH 6 Connection examples Web browser setting Technical data ...
Страница 80: ...80 Appendix ...
Страница 81: ...Appendix B FAQ 81 Network Unit OWNER S MANUAL ENGLISH ...
Страница 89: ...89 Network Unit OWNER S MANUAL Appendix ENGLISH ...
Страница 90: ...Printed in Japan Part No 610 306 1474 1AA6P1P3990 IDLB SANYO Electric Co Ltd ...


