– 18 –
EN
USEFUL TIPS
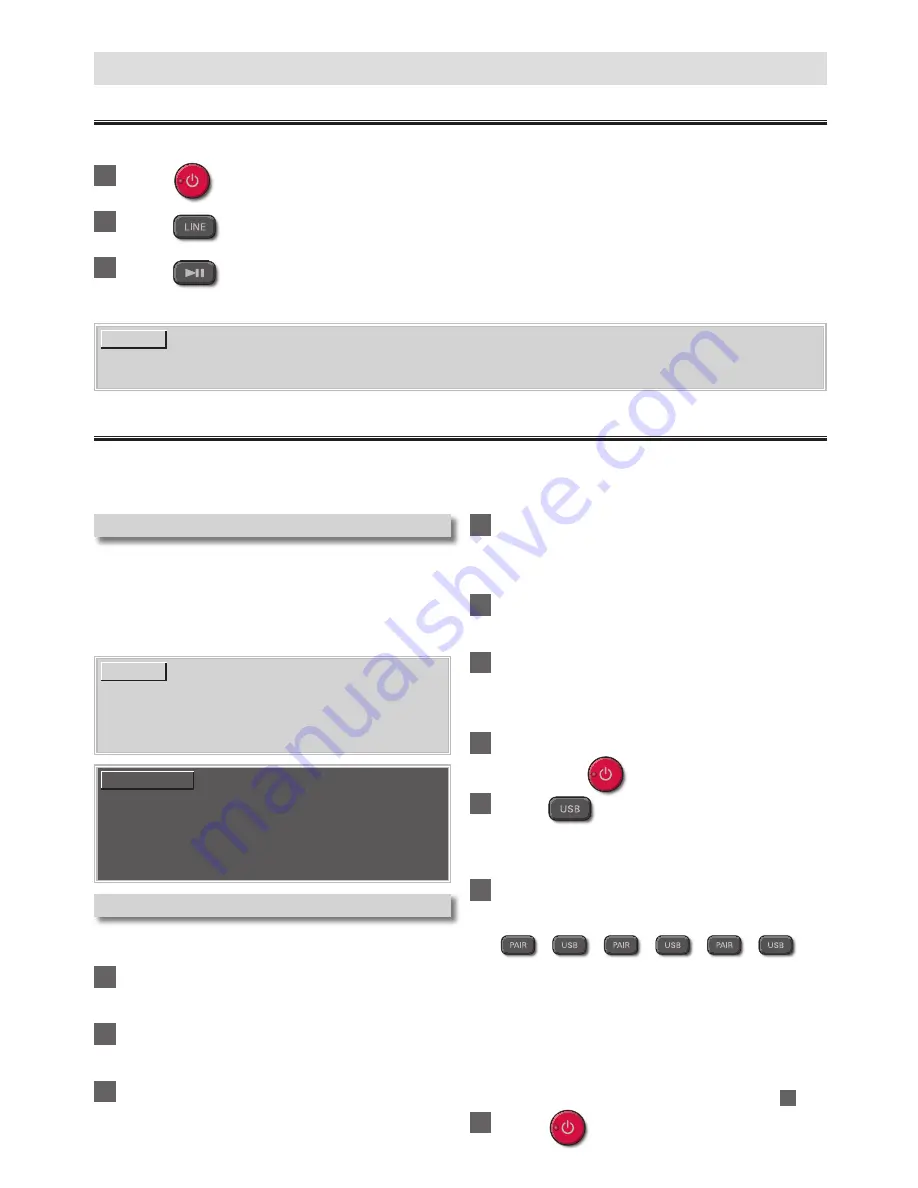
Resetting to the Factory Default mode
You can Delete the Bluetooth profiles that are stored On the Unit by resetting to the Factory Default mode.
1
Press
to turn the Soundbar On.
2
Press
to select the
LINE
input.
3
Press
5 times within 3 seconds.
• After completing Reset, the Soundbar will be Shut Down and go into Standby mode.
NOTE(S)
• In order to reset Volume, Sound preset, INPUT source, SURROUND, and Night Mode, unplug the AC Power cord and
wait at least 20 seconds, then plug it back in and turn the Soundbar On.
Upgrading the Software
SANYO continuously tries to improve its products and we strongly recommend that you Upgrade the Soundbar Software when
Upgrades are available. New Software can be downloaded from our website at
http://sanyo-av.com/support/download.php
using the Model Number from your Soundbar to find information.
Preparing for the Software Upgrade
You require the following equipment:
–
A PC with web browsing capability
–
An archive utility that supports the ZIP-format (e.g. WinZip
for Windows or StuffIt for Mac OS)
–
A Blank empty clean FAT(FAT16)/FAT32 formatted USB
Memory Stick
NOTE(S)
• Only FAT(FAT16)/FAT32 formatted portable memory is
supported.
• Use only Software Upgrades that can be found on the
Sanyo web site.
CAUTION(S)
During Software Upgrade is running, DO NOT do the
following:
• Unplugging the Soundbar’s AC Power cord.
• Pressing any buttons.
• Removing the USB Memory Stick from the Soundbar.
Upgrading the Software
Find information and Software related to your Soundbar and
Download the Latest Software Upgrade file to your PC.
1
On your PC, open a web browser and go to
http://sanyo-av.com/support/download.php
2
Enter the Model Number in the “Type the
Model Number...” field.
3
Click the desired Software to be Downloaded.
• Download to your PC and then Decompress the ZIP-file.
4
Copy the Upgrade file to the Empty root
directory on the clean formatted USB
Memory Stick.
5
Unplug the Soundbar’s AC Power cord
from the AC outlet.
6
Connect your USB Memory Stick with the
Upgrade file to the USB terminal on the
rear of the Soundbar.
7
Plug the AC Power cord into the AC outlet,
then Press
.
8
Press
on the Remote Control to
switch to USB Mode.
• Wait until loading completes. (The USB indicator
slowly blinks.)
9
Press each button in the following order
within 3 seconds.
• Software Upgrade will start.
• The indicators show the Upgrade progress.
• All indicators will go unlit if Upgrade is completed
successfully.
• If Indicators keep lighting or blinking after 10 minutes
have passed, the Upgrade has failed. Unplug the AC
Power cord, remove the USB Memory Stick from the
Soundbar, confirm that the correct Upgrade file is saved
to the USB Memory Stick, then retry from step
6
on.
10
Press
.


