


-E26-
To ADD/DELETE Channels
You can add the channels you want or delete the channels you
do not want manually.
Preparation:
•
Turn ON the TV and set to the video input mode.
•
Press [VCR] to select the VCR mode. (The VCR indicator will
light.)
1. Repeat the steps 1–2 in “TV/CATV selection” on page E25.
Then press [
4
] or [
5
] to select the “ADD/DELETE” option and
press [ENTER].
〈
4
/
5
/ENTER/MENU
〉
CH SETUP
TV CATV
AUTO CH MEMORY
ADD/DELETE
2. Press the number button(s), [
4
] or [
5
] to select a channel
number you want to add or delete.
The channel number will blink.
〈
4
/
5
/0-9/ENTER/MENU
〉
ADD
CH 003
3. To add channels
Press [ENTER] until “ADD” appears on the screen to set to
add the unmemorized channel.
To delete channels
Press [ENTER] until “DELETE” appears on the screen to set
to delete the channel from memory.
4. Repeat 2 and 3 to add or delete other channel.
5. Press [SETUP/MENU] until the menu screen is cleared.
Noise Elimination
When you don’t want to receive a weak signal broadcast, the
Blue back screen can be obtained by selecting the NO NOISE
BACKGROUND “ON”. When the unit is shipped from the factory,
the NO NOISE BACKGROUND is set to “ON”.
1. Press [SETUP/MENU].
The VCR menu screen will appear.
2. Press [
4
] or [
5
] to select the “SYSTEM SETUP” menu, then
press [ENTER].
〈
4
/
5
/ENTER/MENU
〉
MENU
TIMER REC SET
AUTO REPEAT
ON
OFF
ON
OFF
SAP
CH SETUP
SYSTEM SETUP
SPEAKER SETUP
TVGuardian SETUP
3. Press [
4
] or [
5
] to select the “NO NOISE BACKGROUND”
option.
〈
4
/
5
/ENTER/MENU
〉
SYSTEM SETUP
CLOCK SET
LANGUAGE/IDIOMA/LANGUE
NO NOISE BACKGROUND
AUTO CLOCK
STANDARD TIME
DAYLIGHT SAVING TIME
ON
OFF
ON
OFF
4. Press [ENTER] to select the “ON” position.
5. Press [SETUP/MENU] until the menu screen is cleared.
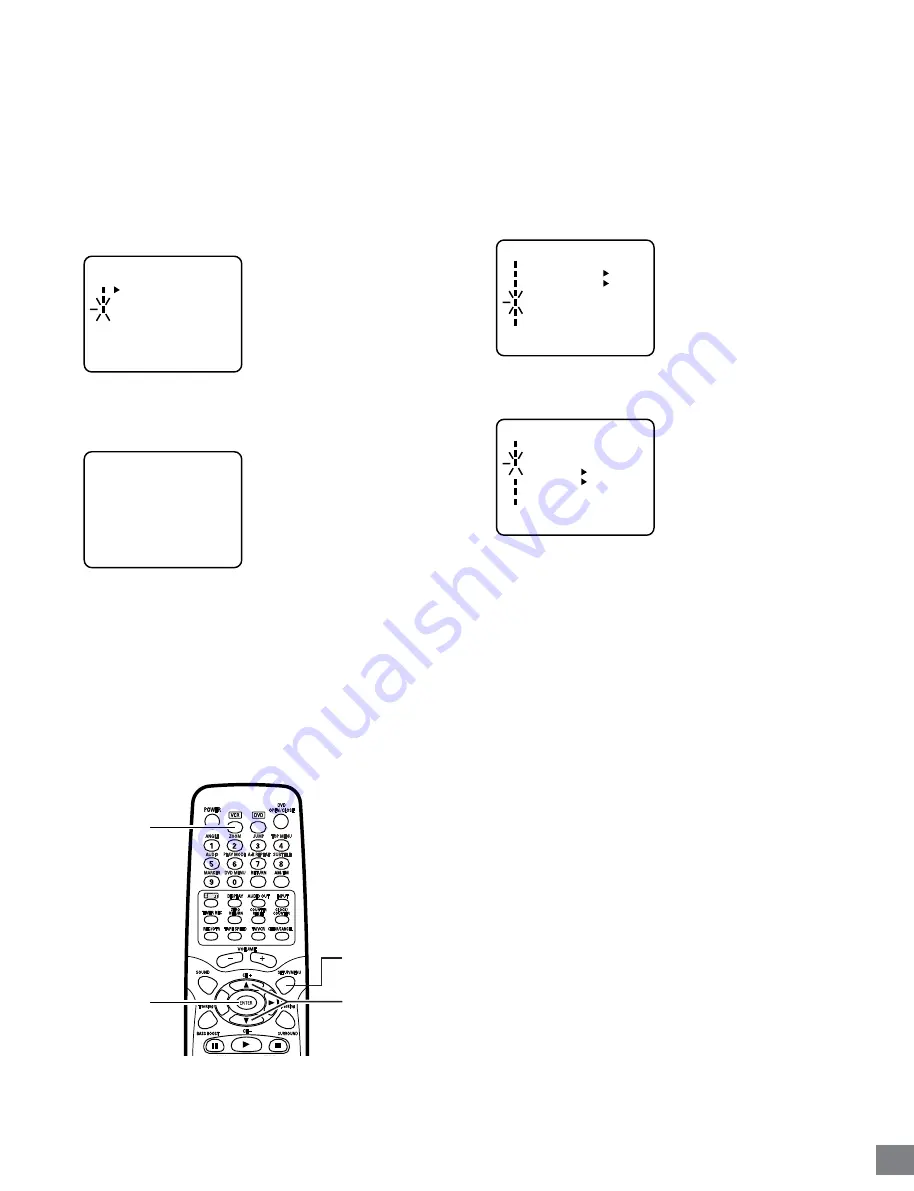
ENTER
VCR
4
,
5
SETUP/
MENU


