RECORDING IMAGES IN THE ALARM
RECORDING AREA
Alarm recording
1
1
Setting the time
Press the MENU button to display the LANGUAGE/CLOCK SET
menu, and set the date and time. After the setting has been made,
press the EXIT/OSD button, the date and time appear in the
operating display. (See page 44.)
2
Set alarm recording.
•
Press the MENU button to display the ALARM REC MODE
SET menu in the menu screen. Then change the ALARM
RECORDING setting to the desired alarm recording setting
(ENABLED, AL-REC ON TIMER, AL-REC OFF TIMER or OLY
AL-REC ON TMR) and change the ALARM TRIGGER setting.
(See page 59.)
•
Press the EXIT/OSD button to return to the normal screen.
2
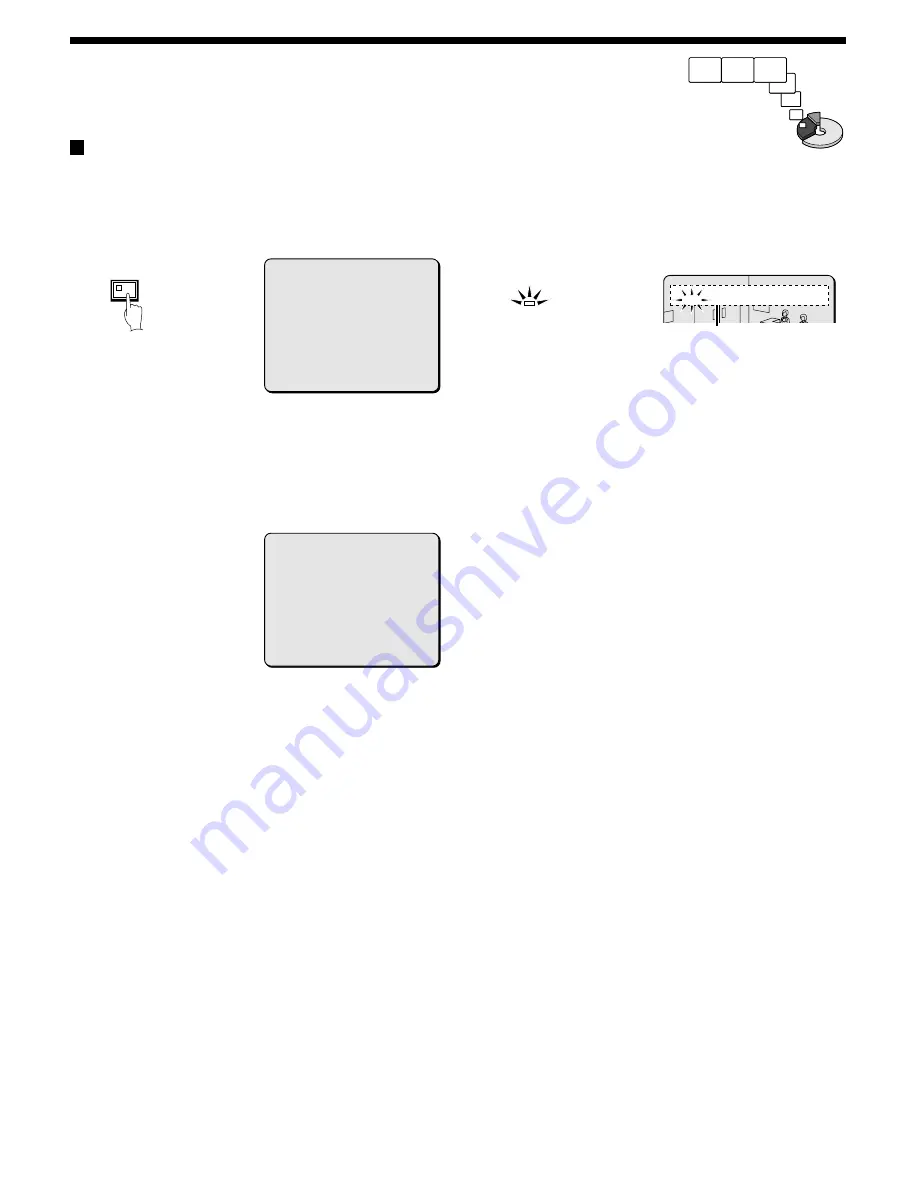
Suspicious person detection
When an alarm occurs, “ALARM” appears in the operating display,
the ALARM indicator flashes and alarm recording (REC symbol)
starts. Alarm images are recorded in the alarm recording area.
Furthermore, the number of alarms in the operating display is
increased by one each time an alarm occurs.
Note:
•
Normal recording and timer recording stop when an alarm occurs
during normal recording or timer recording.
•
In order to record more than 16,000 alarm events (if there is a
single built in hard disk; 32,000 events if two built in hard disks are
being used and mirroring is off), set the normal recording area to
0%.
This will allow the alarm recording area to be the maximum size
available for alarm recordings to be carried out.
The number of alarm events that can be recorded is displayed in
the alarm recording setting screen.
If the number of events that can be recorded exceeds 100,000,
then “99999” is displayed. This number is a guide. If an alarm
occurs while the previous alarm is still being recorded, the alarm
duration will be extended, and so that actual number of alarms
recorded may be less than the number displayed.
In addition, if the size of the normal recording area is set to 0%,
“ALARM SEARCH”, “ALARM THUMBNAIL SEARCH” and
“MOTION DETECTOR SEARCH” cannot be used. In this case,
use “TIME/DATE SEARCH” instead. Furthermore, the ALARM
SKIP function also will not operate, so you should use the fast
forward and fast rewind functions instead.
3
Ending alarm recording
After the end of the alarm duration period (default setting: 5 sec),
the “REC” and “ALARM” displays stop flashing and recording
stops.
<LANGUAGE/LANGUE/IDIOMA>
ENGLISH
<CLOCK SET>
01-01-2002 TUE 00:00:00
<DAYLIGHT SAVING>
MODE : USE
WEEK MONTH TIME
ON 1ST-SUN 04 02:00
OFF LST-SUN 10 02:00
<EXT.CLOCK SET>
ADJUST.TIME 01:00
MENU
<ALARM REC MODE SET>
PICTURE QUALITY : SUPER FINE
AUDIO RECORDING : ON
ALARM RECORDING : ENABLED
ALARM INTERLEAVE : ONLY
PROGRAM GROUP : OFF
REC RATE: @ 0.1FPS, DURATION: 40SEC
PRE-ALARM RECORDING : ON
REC RATE:@ *** FPS, DURATION: ***
=> (01010 ALARMS CAN BE RECORDED )
ALARM TRIGGER : ALARM
The number of
alarms is counted.
ALARM
SA 01
REC ALARM 0001 REPEAT EN 05-10-02 18:10:25
Alarm images are
recorded
22
English


