background image

English

- 18 -

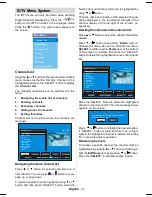
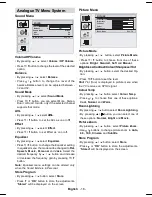
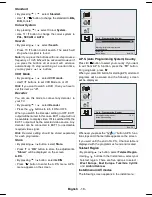
Standard

By pressing

/

select

Standart.

• Use “

” / “

” button to change the standard to

B/G,,

D/K, I

or

L/L'

.

Colour System

By pressing

/

select Colour

System.

• Use

/

button to change the colour system to

PAL, SECAM

or

AUTO

.

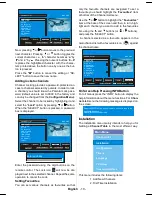
Search

• By pressing

/

select

Search

.

• Press

/

button to start search. The search will

stop when a signal is found.

Note:

If you press the buttons with one-step moves,a

frequency of 0.25 Mhz will be advanced.However if
you press the buttons all at once,it will advance
automatically. To stop searching at a certain time,
you may press

/

buttons.

VCR Mode

• By pressing

/

select

VCR mode

.

• Use

/

buttons to set VCR Mode on or off.

Hint:

If you want to watch a DVD , then you have to

set this item as “off”.

Decoder

You can use this mode to connect any decoder to
your TV.

• By pressing

/

select

Decoder

• Press the

/

buttons to turn it ON or OFF..

When you switch the Decoder setting to OFF, EXT1
output will be muted. In this case, EXT1 output will not
be available to display video. If it is switched ON, the
EXT-1 output will be the selected video source. Any
decoder can be connected to EXT1 to unscramble
required video signal.

Hint:

Decoder setting should be stored separately

for each programme.

Store

• By pressing

/

button select

Store.

• Press

or “

OK

” button to store the adjustments.

Stored

” will be displayed on the screen.

A.P.S.

• By pressing

/

button select

A.P.S

.S

.

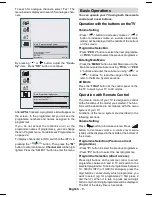
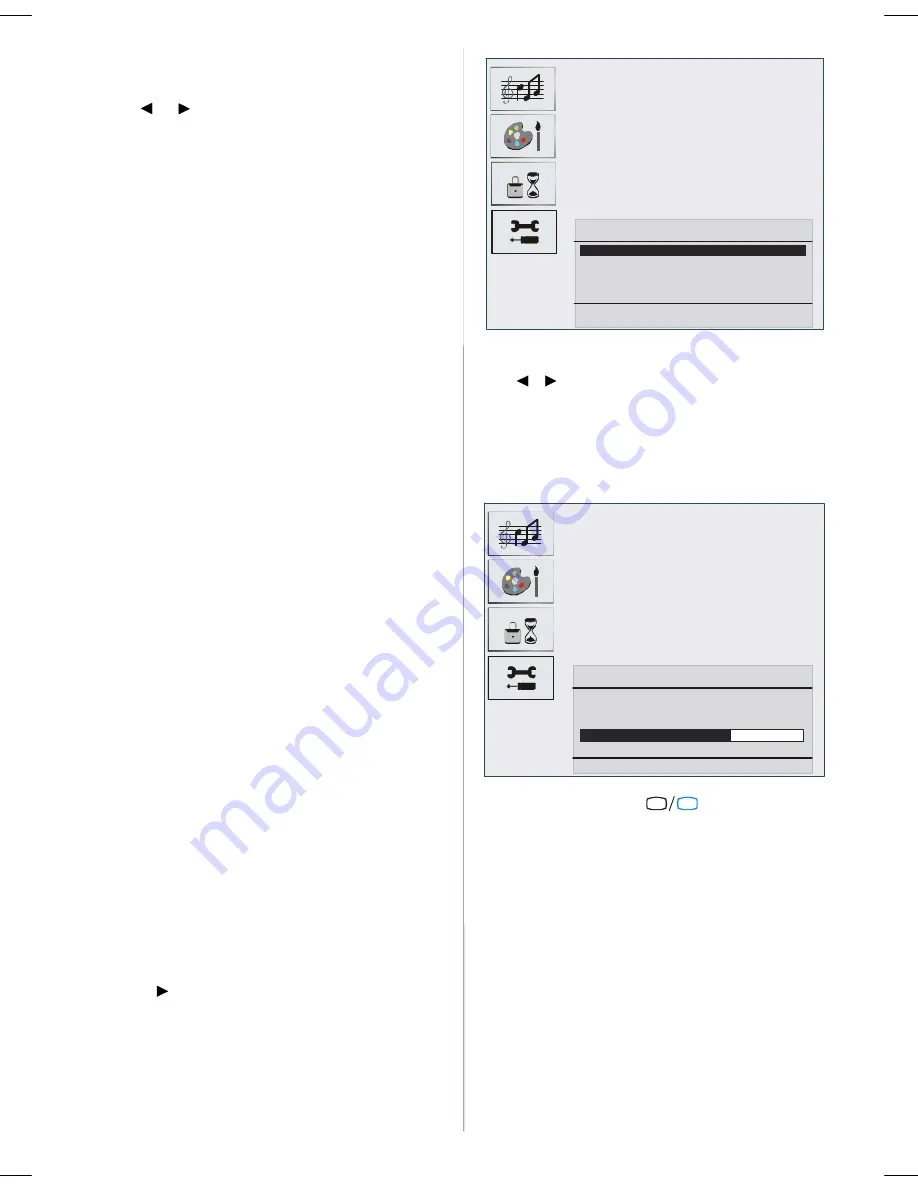
• Press “

” button to enter the A.P.S. menu. A.P.S.

menu appears on the screen.

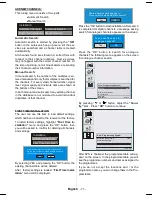
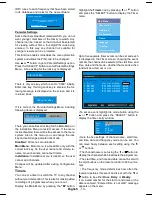
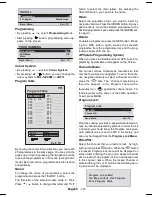
Auto. Programming System

Country

U.K.

Warning! All prestored programs

will be deleted
Start : Ok

Back : Menu

Exit : TV

A.P.S. (Auto Programming System) Country

Press

/

button to select your country. If you want

to exit from A.P.S. function, press the “

TV

” button.

For going back, press “

M

”.

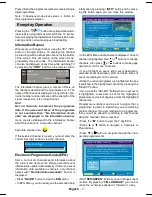
When you press OK button for starting APS, all stored
programs will be erased and the following screen
will be displayed.

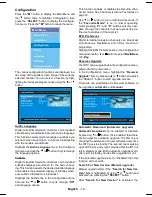
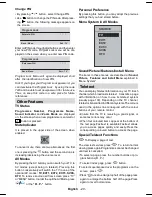
Auto. Programming System

Automatic tuning runs at:

78 %

State: Fine scanning ...

Exit : TV

Whenever you press the “

TV

DTV

” button, A.P.S. func-

tion stops and Channel table appears on the screen.

If you wait until the end of A.P.S., Channel table is
displayed with the programmes found and located.

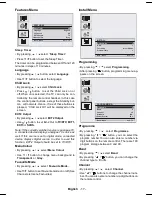
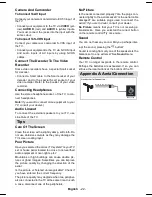
Teletext Region

• By pressing

/

button select

Teletext Region

.

• Using

/

buttons in the Install menu, select your

Teletext region. There are five options to select :

West Europe, East Europe, Turk/Gre, Cyrillic

and

Arabic/Hebrew

.

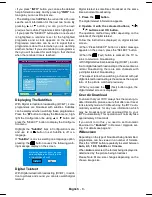
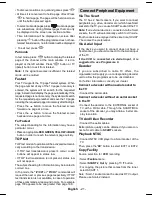
Install menu in AV modes

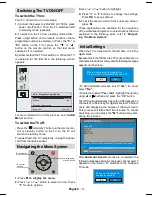
The following screen appears in the install menu:

ENG-20725-1050UK-20 INCH TFT 17MB24-UK IDTV-(LINE OUT)(WO PC-WO YPbPr)(LIPS)-50107492.p65

26.06.2007, 14:36

18

Содержание CE20WLD25-B

Страница 1: ...UCTION MANUAL Colour television Please read this Instruction book before using your television We wish you many hours of pleasure from your new television CE20WLD25 B Problems with set up Call 0870 240 7475 ...

Страница 2: ... Navigating the Menu System 5 Initial Settings 5 Basic Operations 6 Everyday Operation 7 IDTV Menu System 9 Analogue TV Menu Map 15 Analogue TV Menu System 16 Other Features 20 Teletext 20 Connect Peripheral Equipment 21 Tips 22 Appendix A AerialConnection 22 Specifications 23 Connect Peripheral Equipment 24 Peripheral Equipment Connections 24 ...

Страница 3: ...xt Time subtitle on off in the digital mode Red button Page Up Sound Menu Green button Page Down Picture Menu P P SWAP PreviousProgramme Swap I II Mono Stereo Dual A B P Programme Down Volume Down PP Picture Mode Selection OK SELECT Store Still picture Cursor Down Cursor Left 31 M Menu 32 Mute TV DTV M INFO 1 2 3 4 5 6 7 8 9 0 EXIT SWAP P P I II SOURCE AV GUIDE WIDE PP OK S ELECT ABC DEF GHI JKL M...

Страница 4: ...ots and openings on the back cover are in tended for ventilation and to ensure reliable opera tion To prevent overheating these openings must not be blocked or covered in anyway 6 Heat and Flames The set should not be placed near to naked flames and sources of intense heat such as an electric heater Ensure that no naked flame sources such as lighted candles are placed on top of the set 7 Lightning...

Страница 5: ...ou fine picture details Occasionally a few non active pixels may appear on the screen as a fixed point of blue green or red Please note that this does not affect the performance of your product DO NOTLEAVE YOURTVAT STAND BY OR OPER ATINGWHENYOU LEAVE YOUR HOUSE Before Switching On Your TV Power Connection IMPORTANT The TV set is designed to operate on 220 240V AC 50Hz Connections To The Aerial Inp...

Страница 6: ...to change the settings Press OK to set as default 5 To exit the menu or return from sub menu screen press M These explanations are available for the navigation of the whole Menu System to select options that are explained in the following parts refer to Navigat ing The Menu System Initial Settings When the TV is turned on for the first time it is in the digital mode Because this is the first time ...

Страница 7: ...programme or P CH button to select the previous programme Entering Main Menu Press the MENU button to enter Main menu In the Main menu select sub menu using P CH or P CH buttons and enter the sub menu using or buttons To learn the usage of the menus refer to the Menu System sections AV Mode Press the TV AV button at the control panel on the the TV to switch your TV to AV modes Operation with Remot...

Страница 8: ...in you can close this window IT VNews 14 00 15 00 30 CBBC Channel Chuckle Vision T racy Beaker 40 BBC NEWS24 BBC News BBC News 41 IT V News IT VNews IT V News 50 Four T ext No Information No Information 51 BBCi BBCi BBCi Current Reminder 7 Day EPG More 51 BB Ci SELECT ELECT RONIC PROGRAMMEGUIDE Now Next S aturday 21 8 13 48 Channels Current Programme Next Programme ME NU Navigate R olling national...

Страница 9: ...t be used while subtitles are on Would you like to turn subtitles off now Y es No Digital Teletext With Digital terrestrial broadcasting DVB T in addi tion to pictures and sound you can also watch digital teletext Digital teletext is sometimes broadcast at the same time as normal broadcasting 1 Press the button The digital teletext information appears 2 Operate it with the coloured buttons buttons...

Страница 10: ... while the Select item on Channel List menu is highlighted by using or button Then the name and number of the selected channel will be displayed in the top left and top right of the channel display at the top right of the screen re spectively Deleting the channels in the channel list Press or button to select the channel that will be deleted Press or button to select the Delete item on Channel Lis...

Страница 11: ... the digit buttons on the remote control The Lock icon will now be dis played next to the selected channel Repeat the same operation to cancel the Lock Setting Favourites You can set various channels as favourites so that only the favourite channels are navigated To set a favourite you should highlight the Favourites item at bottom of the Channel List menu Use the or button to highlight the Favour...

Страница 12: ...tton then you will be asked to confirm for deleting all channels and settings Installation Add New Channels First Time Installation Y es Y our previous digital channel list will be destroyed Are you sure you want to delete all digital channels and settings for first time installation No By selecting YES and pressing the OK button the existing channel table will be deleted After factory settings is...

Страница 13: ...menu Favourites on page 12 Use or button to turn on off favourite mode If the Favourite Mode is on in normal operating mode pressing P and P buttons will only navi gate through the channels that were previously de fined as favourites in Channel List EPG Preference Digital terrestrial television channels can broadcast simultaneous Next Now and 7 Day electronic programme Highlight the EPG Preference...

Страница 14: ...figuration Menu Timers You can set a timer to switch the TV to any channel without your intervention This is also for making video recordings of programmes when you are out Display the Main Menu by pressing the M button Highlight the Timers line by pressing or button and press the SELECT button to display the Timer menu Main Menu Channel List Installation Configuration Timers Language TV Setup Com...

Страница 15: ...TV Menu System section on page 19 Common Interface Press the M button to display the Main Menu and use the or button to highlight the Common Interface line and press the SELECT button Main Menu Channel List Installation Configuration Timers Language TV Setup Common Interface It is required to subscribe to a pay channel company to view the pay channels of the Digital Terrestrial broad casting Obtai...

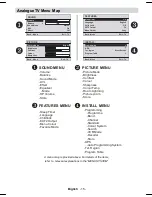
Страница 16: ...fect Off Back Menu Exit TV SOUND MENU PICTURE MENU FEATURES MENU INSTALL MENU Volume Balance Sound Mode AVL Effect Equalizer Mode HP Volume Store Picture Mode Brightness Contrast Colour Sharpness Colour Temp Room Lightning Picture zoom Store Sleep Timer Language Childlock EXT2 Output Menu Colour Favorite Mode Programming Programme Band Channel Standard Colour System Search VCR Mode Decoder Store A...

Страница 17: ...Equalizer menu settings can be altered only when the Sound Mode is in Personal Store Program By pressing button select Store Press or OK button to store the adjustments Stored will be displayed on the screen Picture Menu PICTURE Picture Mode Bright Brightness Contrast Colour Sharpness Back Menu Exit TV Picture Mode By pressing button select Picture Mode Press button to choose from one of these opt...

Страница 18: ...l If this source is set to digital mode connected device displays digital source In order to avail this function EXT 2 Output should be set to TV DTV MenuColour By pressing select Menu Colour Use button to change menu background to Transparent or Gray Favourite Mode By pressing select Favourite Mode Use button to set Favourite mode on or off See Channel List menu Favourites Install Menu INSTALL Pr...

Страница 19: ...required video signal Hint Decoder setting should be stored separately for each programme Store By pressing button select Store Press or OK button to store the adjustments Stored will be displayed on the screen A P S By pressing button select A P S S Press button to enter the A P S menu A P S menu appears on the screen Auto Programming System Country U K Warning All prestored programs will be dele...

Страница 20: ...GREEN but ton again Delete To delete a programme press the RED button Press ing the RED button again erases the selected programme from the programme list and the prog rammes below shift one up APS Auto Programming System When you press the BLUE button for APS Auto Pro gramming System Menu will appear on the Screen Favourite Mode You can set various channels as favourites so that only the favourit...

Страница 21: ...source osd from screen press TV or MENU button In order the quit theAV Mode press TV DTV or the P P button Personal Preference By pressing this button you may adopt the previous settings that you had stored before Menu System in AV Modes SOURCE TV EXT1 EXT2 EXT 3 SVHS DTV Sound Picture Features Install Menu The items in these menus are described at Sound Picture Features and Install Menu explained...

Страница 22: ...w will not appear The subject heading for information may be located in colored box In Top mode the P CH or P CH commands will request the next or previous page respectively If TOP text transmission is not available in case of operation of these commands wraparound occurs For example page 100 appears to be one greater than page 199 Connect Peripheral Equipment Via The Scart The TV has 2 Scart sock...

Страница 23: ...elected the correct TV system Is your TV set or house aerial located too close to non earthed audio equipment or neon lights etc Mountains or high buildings can cause double pic tures or ghost images Sometimes you can improve the picture quality by changing the direction of the aerial Is the picture or Teletext unrecognisable Check if you have entered the correct frequency The picture quality may ...

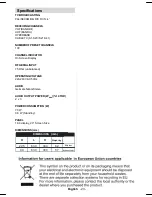
Страница 24: ...PRESETCHANNELS 100 CHANNELINDICATOR On Screen Display RF AERIAL INPUT 75 Ohm unbalanced OPERATING VOLTAGE 220 240V AC 50Hz AUDIO German Nicam Stereo AUDIO OUTPUT POWER WRMS 10 THD 2 x 3 POWER CONSUMPTION W 70 W 0 8 W Stand by PANEL 16 9 display 20 Screen Size DIMENSIONS mm Weight kg With foot Without foot 225 90 630 630 394 360 5 7 6 2 D L H DIMENSIONS mm ...

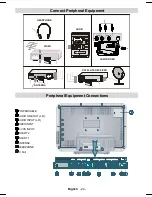
Страница 25: ...eripheral Equipment Connections ANT IN AUDIO IN R L VIDEO IN IN OUT IN OUT HEADPHONE AUDIO VIDEO SATELLITE RECEIVER ANTENNA CAMCORDER POWERCABLE AUDIO LINE OUT L R AUDIOINPUT L R VIDEOINPUT S VHS INPUT SCART 2 SCART 1 ANTENNA HEADPHONE CI Slot ...

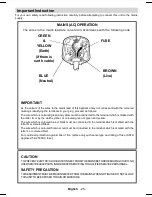
Страница 26: ...the mains lead of this appliance may not correspond with the coloured markings identifying the terminals in your plug proceed as follows The wire which is coloured green and yellow must be connected to the terminal which is marked with the letter E or by the earth symbol or coloured green or green and yellow The wire which is coloured blue or black must be connected to the terminal which is marked...

Страница 27: ...the defect is shown to be due to faulty materials or workmanship within a period of 12 Months from the date of sale to the original purchaser it will be repaired or at the vendors sole option replaced free of charge always providing that The equipment has at all times been used in accordance with the operating instructions issued by the manufacturer and has not been connected to an electrical supp...

Отзывы: