


4
S&C Instruction Sheet 695-545
Safety Information
Understanding
Safety-Alert
Messages
Several types of safety-alert messages may appear throughout this instruction sheet and
on labels and tags attached to your S&C Vista SD Underground Distribution Switchgear.
Familiarize yourself with these types of messages and the importance of these various
signal words:
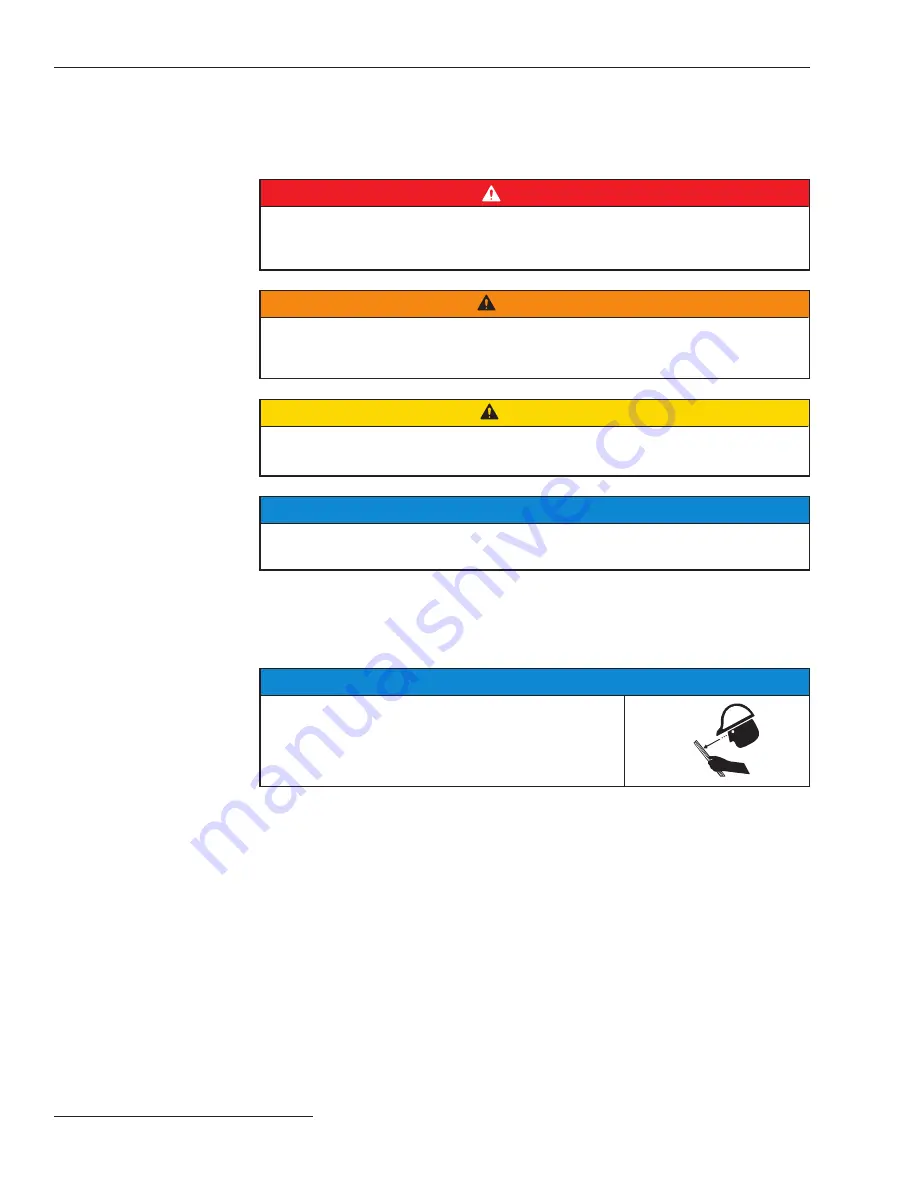
DANGER
“DANGER” identifies the most serious and immediate hazards that will likely result
in serious personal injury or death if instructions, including recommended precau-
tions, are not followed.
WARNING
“WARNING” identifies hazards or unsafe practices that can result in serious per-
sonal injury or death if instructions, including recommended precautions, are not
followed.
CAUTION
“CAUTION” identifies hazards or unsafe practices that can result in minor personal
injury if instructions, including recommended precautions, are not followed.
NOTICE
“NOTICE” identifies important procedures or requirements that can result in prod-
uct or property damage if instructions are not followed.”
Following Safety
Instructions
If you do not understand any portion of this instruction sheet and need assistance, contact
your nearest S&C Sales Office or S&C Authorized Distributor. Their telephone numbers
are listed on S&C’s website
sandc.com
, or call the S&C Global Monitoring and Support
Center at 1-888-762-1100.
NOTICE
Read this instruction sheet thoroughly and carefully
before installing your S&C Vista SD Underground Dis-
tribution Switchgear.
Replacement
Instructions
and Labels
If you need additional copies of this instruction sheet, contact your nearest S&C Sales
Office, S&C Authorized Distributor, S&C Headquarters, or S&C Electric Canada Ltd.
It is important that any missing, damaged, or faded labels on the equipment be replaced
immediately. Replacement labels are available by contacting your nearest S&C Sales
Office, S&C Authorized Distributor, S&C Headquarters, or S&C Electric Canada Ltd.