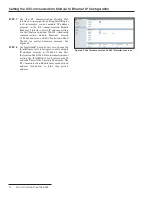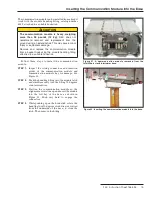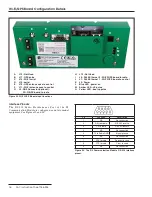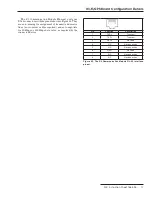
Communication Module Retrofit
Tools Required:
• Nut driver,
¼
-inch
• Nut driver,
⅜
-inch
• Phillips screwdriver, medium
• Flat-head screwdriver, medium
• Diagonal wire cutter (to cut or trim cable ties)
• SCS 8501 Static Dissipative Mat
Removing the Radio Tray
Follow these steps to remove the radio tray assembly from
the communication module:
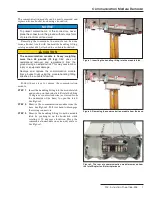
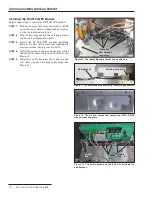
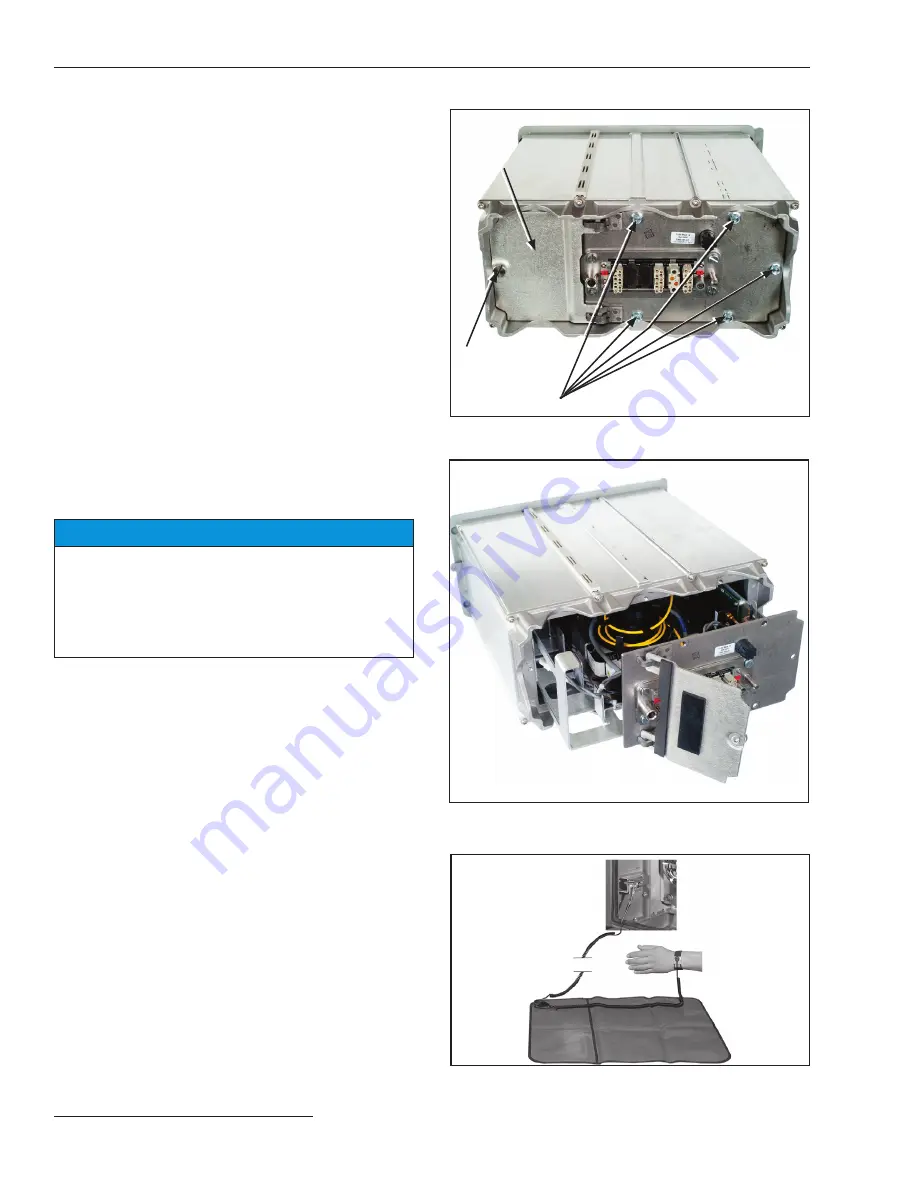
STEP 1.
Loosen the battery compartment cover locking
screw and open the battery compartment cover.
See Figure 4.
STEP 2.
Remove the five
¼
–20 bolts that attach the
radio tray assembly using a
⅜
-inch nut driver.
Retain the bolts. See Figure 4.
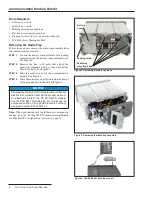
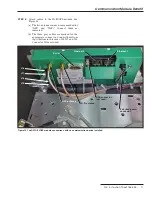
STEP 3.
Slide the radio tray out of the communication
module. See Figure 5.
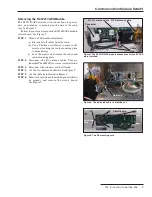
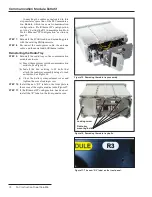
STEP 4.
Place the radio tray on a static dissipative mat or
static grounded workbench. See Figure 6.
Figure 4. Removing the radio tray bolts.
Figure 5. Removing the radio tray assembly.
Figure 6. The SCS 8501 Field Service Kit.
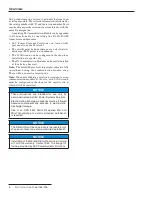
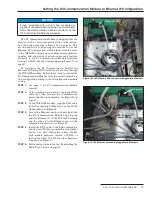
NOTICE
Handling the R3 Wi-Fi/GPS module without effective
electrostatic protection will void the product warranty .
To effectively protect the R3 Wi-Fi/GPS module,
use the SCS 8501 Field Service Kit . The kit can be
purchased online or through S&C Electric Company
using part number 904-002511-01 .
Note:
When performing only the Ethernet configuration
change, go to the “Setting the R3 Communication Module
for Ethernet IP Configuration” section on page 12.
Radio tray
mounting bolts
Locking screw
Battery
cover
8 S&C Instruction Sheet 766-526


