


setup screen
36_ setup screen
- External : It controls the color of the video when the alarm input terminal is synchronized with an
external device.
- Schedule : Set the time during which the camera is operated in the color mode.
•
Dwell Time : It specifies the period for which the selected brightness condition must be maintained to
switch the lighting mode from Day to Night or vice versa.
•
Duration : It specifies the interval of lighting mode conversion.
•
Alarm in : The video is set to Color or B/W as the alarm sensor is open or closed.
`
If the Day/Night mode is set to External Input, the alarm input function of the Event-Alarm Input page is disabled.
•
Activation time(Color) : It specifies the schedule for color mode operation.
`
If it is set, the Color mode is maintained from 00 second of the starting time to 59 second of the ending time.
J
`
When you switch to day/night mode, motion detection mode does not work.
to Setup Special
1.
Select <
Special
>.
2.
Select each item and set it properly.
•
DIS : Compensates the image automatically when it is seen
to shake for stable image output.
M
`
Mitigate the degree of image vibration when the camera
vibrates due to the external factors such as wind.
•
Sharpness : Adjust the overall sharpness of the image.
If selecting <
on
>, you can adjust the sharpness of the
image.
•
Sharpness level : The higher the level is, the sharper and clearer the outline of the image becomes.
•
Gamma : Adjust the contrast of the image.
•
Contrast : Adjusts the difference between the darkest area and the brightest area in the video.
•
Color level : Adjust the strength of video color.
•
Defog : Compensate the video in the foggy or cloudy weather.
It is set to <
off
> as a default. Specials are used when the video looks blurry in the foggy weather.
- Off : Disable the fog elimination function.
- Auto : The image is automatically compensated according to the foggy level. Adjust <
Defog level
>
to be more effective.
- Manual : The user manually sets the amount of compensation for each image.
J
`
If the defog mode is set to <
Auto
>, the performance is proportional to the fog level. To keep the set defog level without
regard to the fog level, set the defog mode to <
Manual
>.
`
If the manual defog level is high in a thin fog, the image may become too dark.
•
Defog level : Control the defog level.
•
LDC : To determine whether or not to use the image distortion correction.
•
LDC Level : To adjust the level of the distortion correction factor.
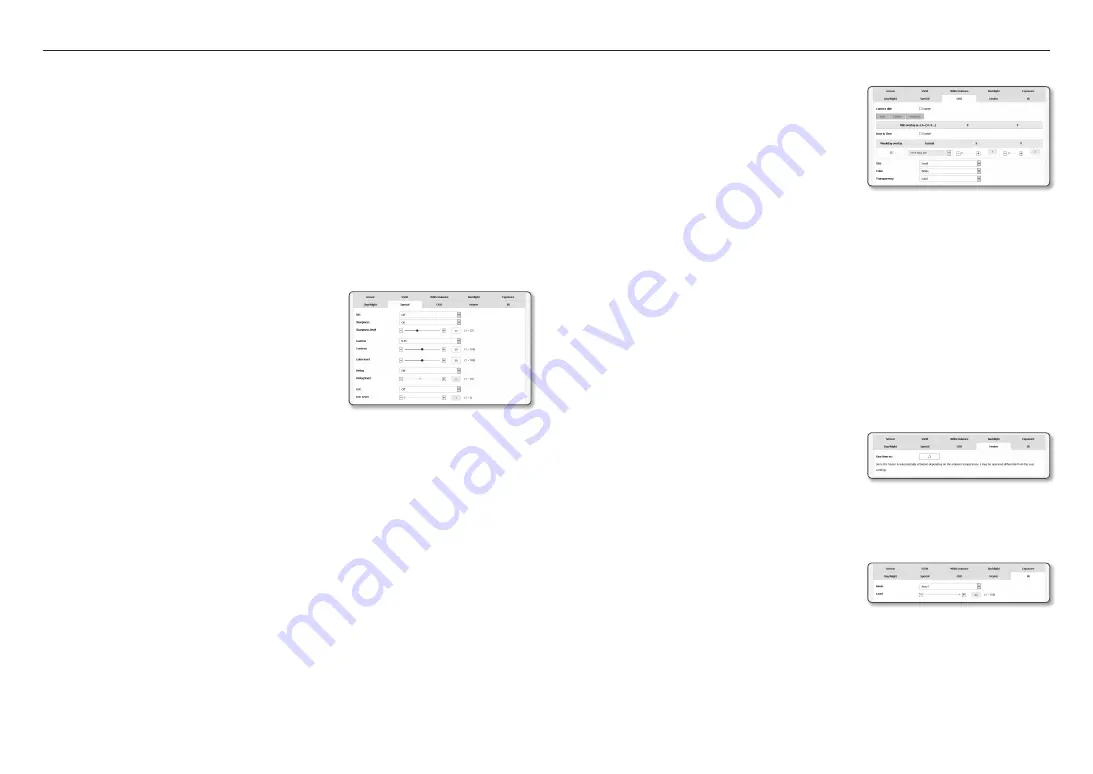
to Set oSD
1.
Select <
oSD
>.
2.
Select each item and set it properly.
•
Camera title : It specifies the name of the camera to be
displayed on the screen.
Select the <
use
> check box to add a camera name.
- Add : Click the <
add
> button and you can add a
total of 5 lines, 15 characters per line and a total of 60
characters.
- Preview : Click the <
preview
> button to check the name of camera that will be displayed on the
screen.
•
Camera title X, Y : It specifies the position of the camera name on the screen.
•
Date & time : Set the time display and date formats on the screen.
•
Date & Time X, Y : Specify the position of time display on the screen.
•
Weekday overlay : Specify the use of date display date on the screen.
•
Size : Sets the size of OSD to small/medium/large.
•
Color : Sets the color of the OSD to white/red/blue/green/black/gray.
•
Transparency : Sets the transparency of OSD to opaque / low / middle / high.
J
`
A position-adjustable item (Camera title, Date & Time) may not be displayed normally if it overlaps with another fixed OSD
item.
`
Multilingual other than English: Input only in the selected language is available.
to set the heater
1.
Select <
Heater
>.
When frost forms, the user can click the button and turn on
the heater for 30 minutes to remove the frost.
J
`
At low temperature when frost is likely to form, the heater is always
on; at a high temperature where the product can be affected by it, it does not operate, even when the request to operate has
been sent.
to Set ir
1.
Select <
ir
>.
2.
Select each item and set it properly.
•
Mode : When the IR indicator turns on in B/W mode, the
screen will be protected from saturation on the center area
so that you can identify a short-distant object.
- Off : IR mode will be disabled.
- Auto1 : Adjust the IR brightness according to the brightness of the object on the center screen.
- Auto2 : The brightness of the IR is automatically adjusted according to the brightness of the object
located in the middle or periphery of the screen.
- Manual : Adjust the IR brightness manually.
•
Level : Adjust the level of IR in manual mode.


