41
ENGLISH
DEUTSCH
Advanced Recording
Weiterführende
F u n k t i o n e n
✤
Setting the CLOCK feature works in CAMERA mode.
✤
The DATE/TIME is automatically recorded on a tape.
Before recording, please set the DATE/TIME.
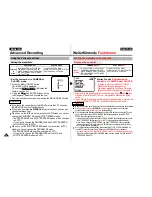
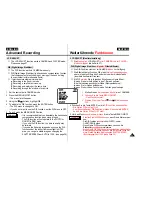
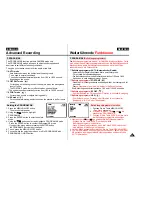
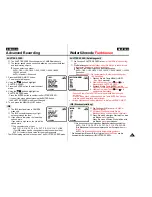
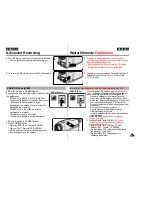
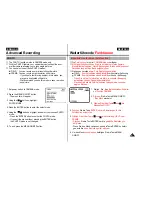
1.Press the MENU ON/OFF button.
- The menu list will appear.
2.Using the , buttons, highlight CLOCK
SETTING.
3.Press the ENTER button to enter the
SETTING mode.
- BLINKING indicates the possible changes
for the setting.
The year will be the first to blink.
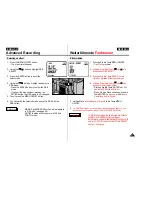
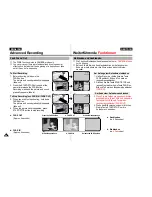
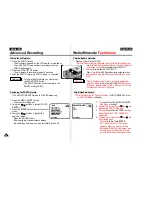
4.Using the , button, change the year
setting.
5.Press the ENTER button.
- The month to be reset will blink.
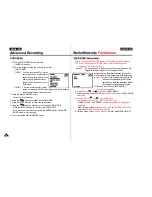
6.Using the , button, change the month
setting.
7.Press the ENTER button.
- The day to be reset will blink.
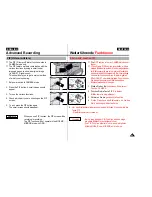
8. You can set the day, hour and minute following the same procedure
used for setting year and month.
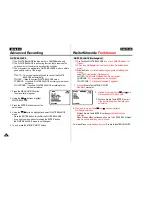
9.Press ENTER after setting the minute.
- The COMPLETE! OSD will be blinking and a few minutes later,
the date/time setting screen will disappear.
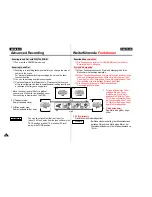
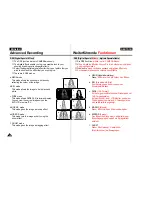
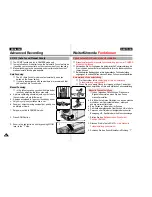
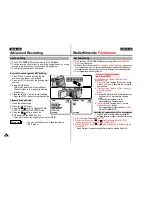
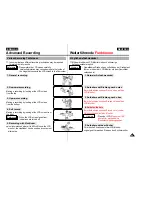
• Tuning on/off the DAT E / T I M E
- If you want to turn on and off the DATE/TIME, please use the
DATE/TIME button on the left side panel.
- Whenever you press the button, it selects the function repeatedly in
the order of (OFF DATE/TIME TIME DATE)
CLOCK SETTING (DATE/TIME)
Datum und Uhrzeit einstellen
✤
Stellen Sie Datum und Uhrzeit im CAMERA-Modus ein
.
✤
Datum und Uhrzeit werden automatisch mit auf das Band aufgeze-
ichnet, wenn sie bei der Aufnahme auf dem Monitor angezeigt wer-
den.
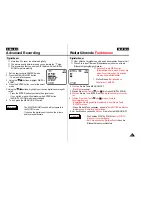
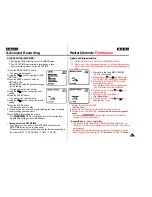
1. Drücken Sie die Taste MENU ON/OFF.
-
Das Menü
erscheint.
2.
Wählen Sie mit oder die Menüoption
CLOCK SETTING (Datum/Zeit einstellen).
3.
Drücken Sie die Taste ENTER, um das
Einstellmenü aufzurufen.
-
Der blinkende Wert kann eingestellt wer-
den. Als erstes blinkt die Jahreszahl.
4.
Stellen Sie mit der Taste oder das
aktuelle Jahr ein.
5.
Drücken Sie die Taste ENTER.
- Der Monat blinkt.
6. Stellen Sie mit der Taste oder den
aktuellen Monat ein.
7.
Drücken Sie die Taste ENTER.
- Der Tag blinkt.
8.
Stellen Sie den Tag und die Uhrzeit auf dieselbe Weise ein.
9.
Drücken Sie die Taste ENTER
, nachdem Sie die Minuten eingestellt
haben.
-
Die Anzeige COMPLETE! (fertig!) blinkt. Kurz darauf erlischt die
Anzeige für Datum und Uhrzeit.
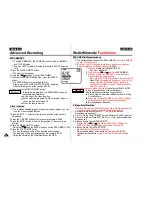
• Datum/Zeit
ein- bzw. ausblenden
-
Verwenden Sie die Taste DATE/TIME auf dem Bedienfeld links am
Camcorder, um Datum und Uhrzeit auf dem Monitor ein- bzw. wieder
auszublenden.
-
Bei jedem Tastendruck werden nacheinander die folgenden Anzeige-
modi aufgerufen: Keine Anzeige
Datum/Zeit
Zeit
Datum.

