25
ENGLISH
DEUTSCH
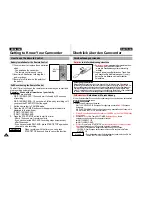
Basic Recording
Einfache Aufnahmen erstellen
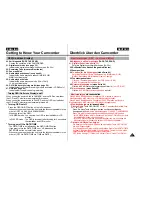
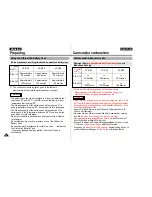
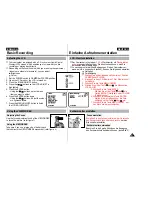
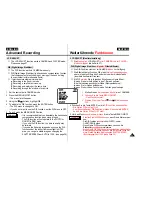
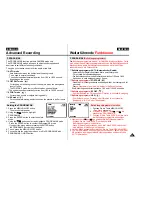
Make sure that you make these preparations.
Did you connect a power source? (Battery Pack or DC cable)
Did you set the Power switch to the CAMERA position?
Did you insert a cassette?
Open the LCD monitor and make sure that STBY is displayed in the
OSD. (If the protection tab of the cassette is opened, STOP will be
displayed)
If you want to see the image in the Viewfinder, close the LCD monitor.
Did you open the LENS CAP?
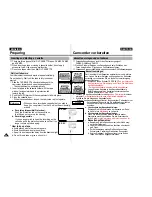
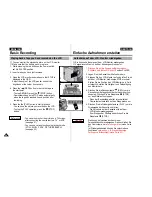
Make sure the image you want to shoot appears in
the LCD monitor or Viewfinder.
Make sure the battery level indicates that there is
enough remaining power for recording.
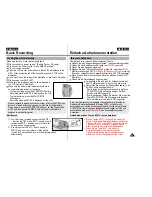
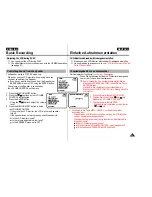
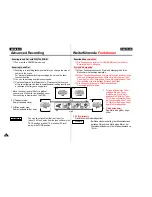
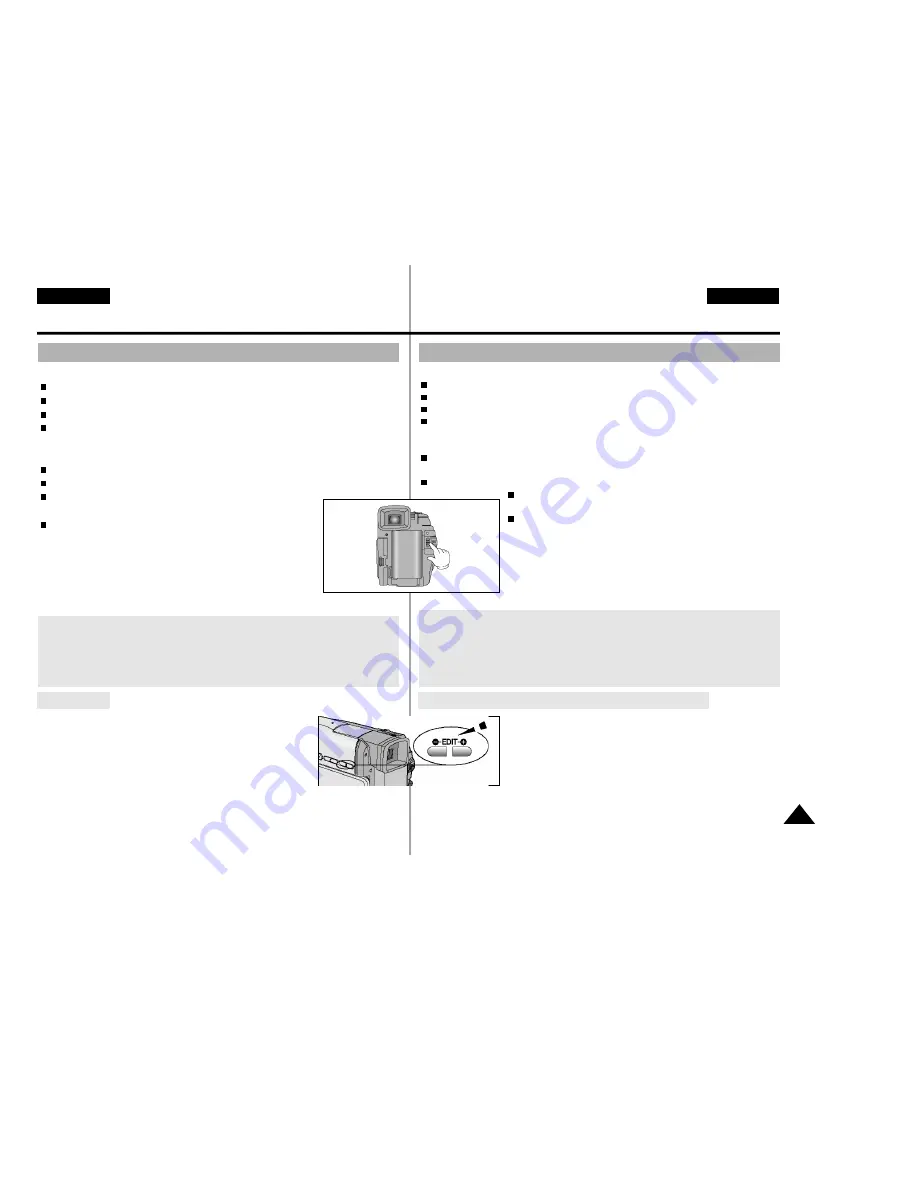
- To start recording, press the START/STOP button.
Recording starts and REC is displayed on the LCD.
- To stop recording, press the START/STOP
button again.
Recording stops and STBY is displayed on the LCD.
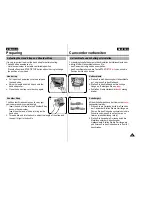
Making the First Recording
✤
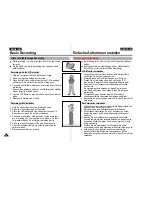
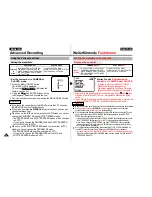
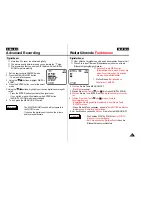
You can view a recorded scene with the EDIT +,
– function in STBY mode. EDIT – enables you to
reverse and EDIT + enables you to forward, for
as long as you keep pressing.
✤
If you press the the EDIT – button quickly in
STBY mode, your camcorder will play back in
reverse for 3 seconds and return to the original position
a u t o m a t i c a l l y.
Edit Search
When a cassette is loaded and the camcorder is left in the STBY m o d e
for over 3 minutes without being used, it will switch off automatically.
To use it again, push the STA RT / S TO P button or set the Power switch
to OFF and then back to CAMERA. This Auto Power off feature is
designed to save battery power.
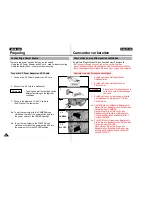
Überprüfen Sie vor einer Aufnahme folgende Punkte.
Haben Sie eine Stromquelle angeschlossen? (Akku oder Netzanschluß)
Haben Sie den Betriebsmodus-Schalter auf
CAMERA
gestellt?
Haben Sie eine Kassette eingelegt?
Klappen Sie den LCD-Monitor aus und prüfen Sie, ob auf dem LCD-
Monitor die Anzeige STBY
für Standby (Betriebsbereitschaft)
erscheint.
( Wenn der Löschschutz der Kassette aktiviert ist, wird STO P a n g e z e i g t ) .
Wenn Sie das Bild im Sucher sehen möchten, klappen Sie den LCD-
Monitor ein.
Haben Sie die Objektivkappe abgenommen?
Vergewissern Sie sich, daß Ihr Aufnahmemotiv auf
dem LCD-Monitor oder im Sucher angezeigt wird.
Überprüfen Sie anhand der Ladezustandsanzei
ge,
ob
der Akku ausreichend geladen ist.
- Zum Starten der Aufnahme drücken Sie die Taste
START/STOP. Die Aufnahme beginnt. Auf dem
Monitor wird REC angezeigt.
- Zum Beenden der Aufnahme drücken Sie erneut die
Taste START/STOP. Die Aufnahme wird beendet.
Auf dem Monitor wird wieder STBY angezeigt.
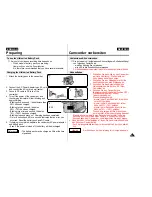
Ihre erste Aufnahme
✤
Mit den Tasten EDIT +/- können Sie A u f n a h m e n
sofort im Aufnahme-Bereitschaftsmodus überprüfen.
Drücken Sie EDIT - oder EDIT + und halten Sie die
Taste gedrückt, um die zuletzt aufgenommenen
Bilder rückwärts bzw. vorwärts wiederzugeben.
✤
Wenn Sie die Taste EDIT - im A u f n a h m e -
Bereitschaftsmodus kurz drücken, gibt der
Camcorder die letzten drei A u f n a h m e s e k u n d e n
wieder und kehrt zur Ausgangsposition zurück.
Aufnahmen mit den Tasten EDIT +/- kurz überprüfen
Bleibt der Camcorder mit eingelegter Kassette über drei Minuten im
Aufnahme-Bereitschaftsmodus (Anzeige STBY), schaltet er sich
automatisch aus. Um ihn wieder einzuschalten, drücken Sie die Ta s t e
S TA RT / S TO P oder stellen den Betriebsmodus-Schalter auf OFF und
anschließend wieder auf
C A M E R A
. Diese Ausschaltfunktion spart
A k k u s t r o m .

