

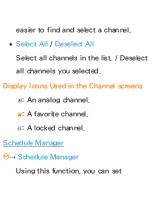
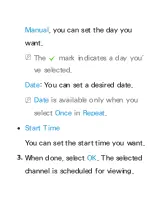


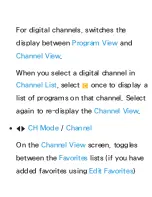


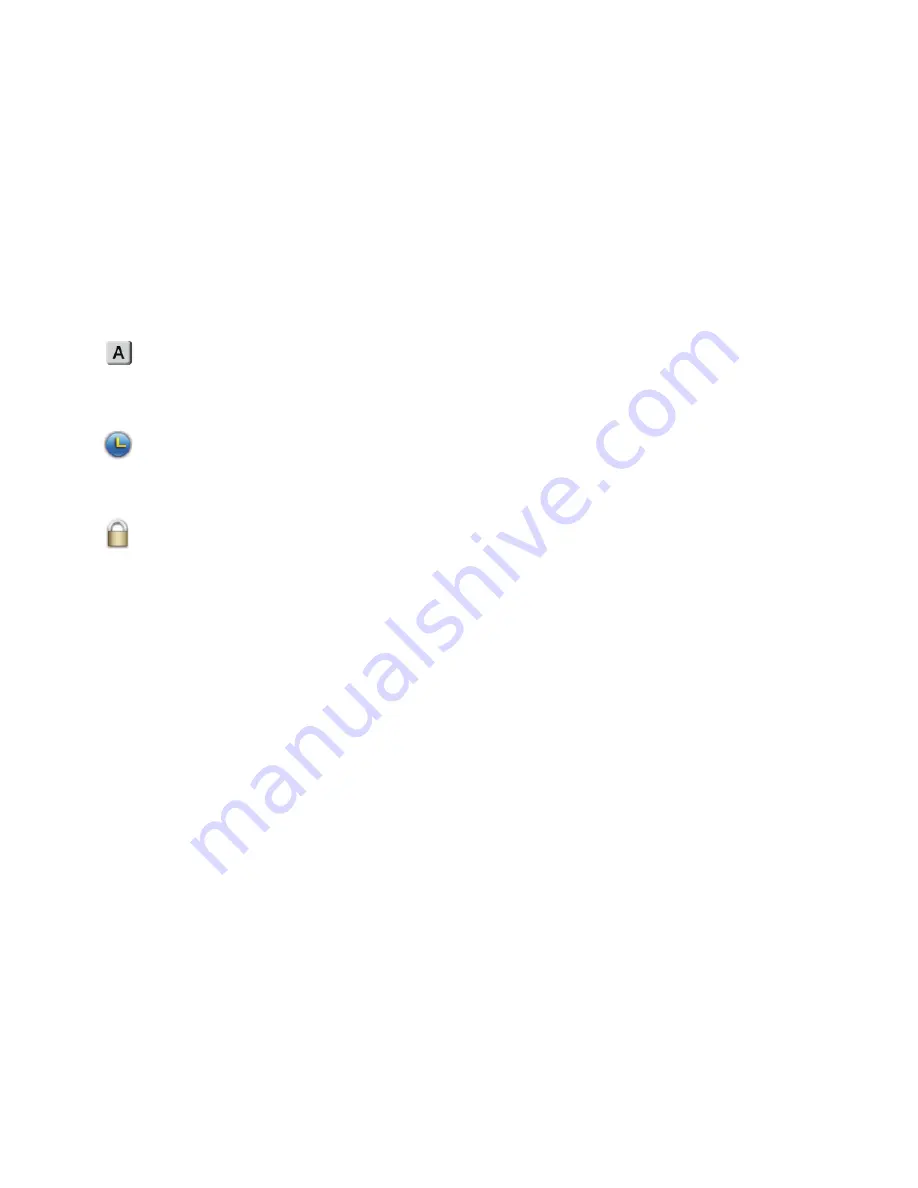
Display Icons Used in the Channel List
screens
:
An analog channel.
: A reserved program.
: A locked channel.
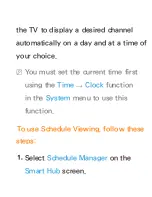
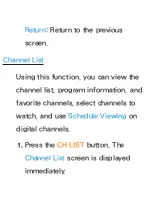
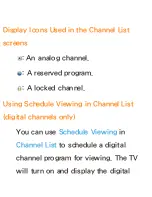
Using Schedule Viewing in Channel List
(digital channels only)
You can use
Schedule Viewing
in
Channel List
to schedule a digital
channel program for viewing. The TV
will turn on and display the digital
Содержание UN32ES6500F
Страница 56: ...games N N Only available when the TV is connected to a PC via an HDMI to DVI and an HDMI to HDMI cables ...
Страница 93: ...dialog box select 60 or 60 Hz Otherwise just click OK and exit the dialog box ...
Страница 118: ... Using WPS PBC Using Plug Access ...
Страница 182: ...Time Set the time that the TV turns off automatically ...
Страница 309: ...Smart Hub with the Settings Menu section of this manual ...
Страница 584: ...refer to each device s user s guide ...
Страница 601: ...the TV transmits the ARC signal continuously the receiver will be blocked from receiving the signal ...
Страница 639: ...down Vertical Line and side to side Horizontal Dot The regular slight movement of the picture reduces screen burn in ...
Страница 660: ...function the PIP function turns off automatically except inputting a URL address ...
Страница 669: ...supports up to 2 channel ...


