17
Operation
C
h
a
p
te
r
2
-.---.-.-.-----.---.-.-.
---..-.---.-..---.----
---.----.---.-.-...---.-.
---..-.---.-..---
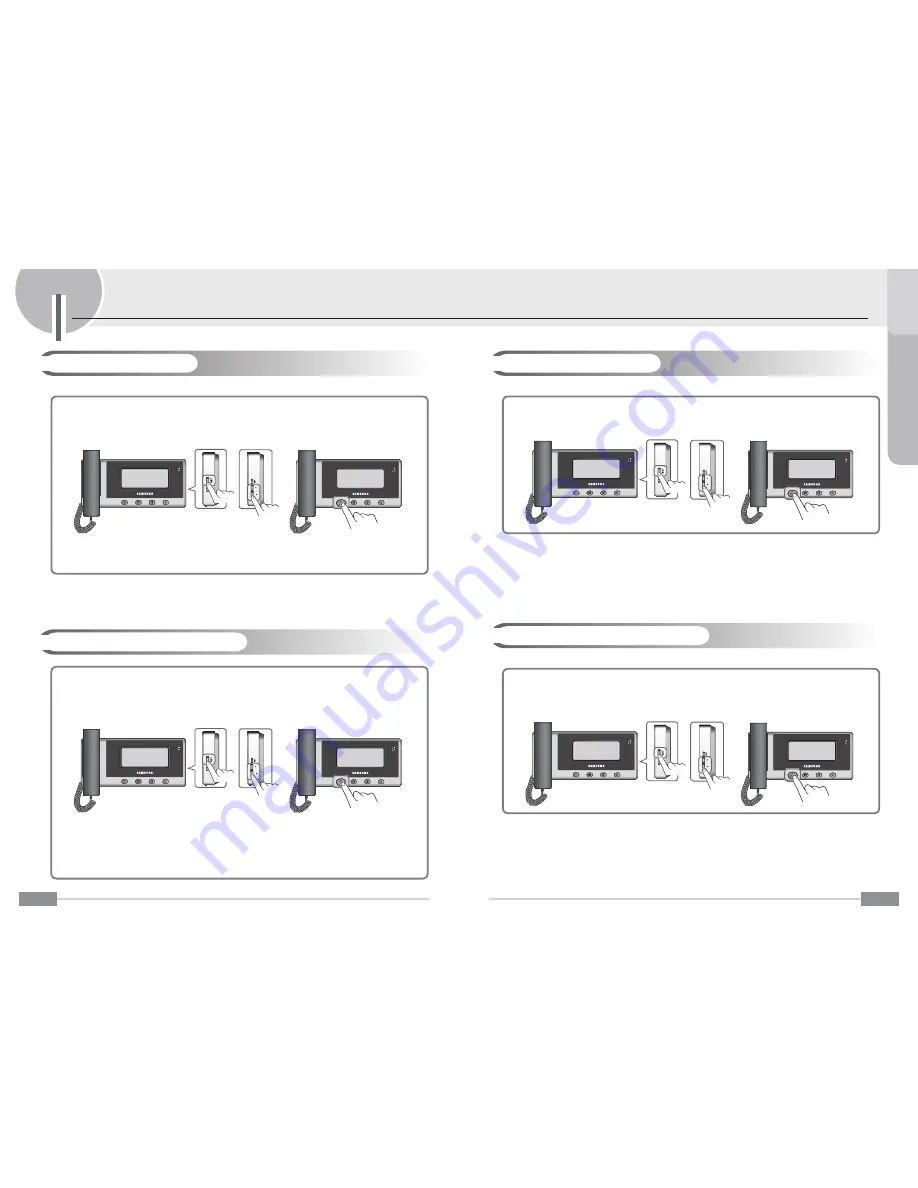
1. During the Supervisor setting mode, press the
SET
button repeatedly to select the
Q.CHROMA DELAY
.
2. Press the
+
and
-
buttons repeatedly to select the
desired time
(
1SEC
~
3SEC
).
3. Press the
Interphone
button to store your setting.
-.---.-.-.-----.---.-.-.
---..-.---.-..---.----
---.----.---.-.-...---.-.
---..-.---.-..---
ⶺ
Setting the Chroma Delay
Set to the Chroma delay time for image displaying.
-.---.-.-.-----.---.-.-.
---..-.---.-..---.----
---.----.---.-.-...---.-.
---..-.---.-..---
1. During the Supervisor setting mode, press the
SET
button repeatedly to select the
R.STORAGE IMAGE
NUM
.
2. Press the
+
and
-
buttons repeatedly to select the
desired number
(
32
,
64
,
128
or
333
).
3. Press the
Interphone
button to store your setting.
-.---.-.-.-----.---.-.-.
---..-.---.-..---.----
---.----.---.-.-...---.-.
---..-.---.-..---
ⶺ
Setting the Storage Image Number
Set to the number of storage image.
ⷅ
After set to the R.STORAGE IMAGE NUM, the stored all images are deleted.
16
These functions are used to customize some product functions in the user’s environment.
4VQFSWJTPSTFUUJOH'VODUJPOT
-.---.-.-.-----.---.-.-.
---..-.---.-..---.----
---.----.---.-.-...---.-.
---..-.---.-..---
1. During the Supervisor setting mode, press the
SET
button repeatedly to select the
O.SUPERVISOR
DEFAULT
.
2. Press the
+
/
-
buttons repeatedly to select the
YES
or
NO
.
Yes :
Perform the initialization
No :
Cancel the initialization
3. Press the
Interphone
button to store your setting.
-.---.-.-.-----.---.-.-.
---..-.---.-..---.----
---.----.---.-.-...---.-.
---..-.---.-..---
ⶺ
Initializing the Supervisor mode
-.---.-.-.-----.---.-.-.
---..-.---.-..---.----
---.----.---.-.-...---.-.
---..-.---.-..---
1. During the Supervisor setting mode, press the
SET
button repeatedly to select the
N.VIDEO MODE
SELECT
.
2. Press the
+
/
-
buttons repeatedly to select the
NTSC
or
PAL
.
3. Press the
Interphone
button to store your setting.
-.---.-.-.-----.---.-.-.
---..-.---.-..---.----
---.----.---.-.-...---.-.
---..-.---.-..---
Set to the video signal scanning type for door camera1/2.
ⷅ
After connecting to the DOOR1/2 port to camera (lobby), be sure set to the camera’s video signal scanning type on the
N.VIDEO MODE SELECT item.
ⷅ
When the DOOR1 and DOOR2 port are connected to cameras, the both camera device’s video signal type are same mode,
otherwise display will be abnormal.
ⶺ
Setting the Video mode
ⷅ
Supervisor Default setting values
- ID
MASTER
- Camera Quantity 1
- Bell set
Release
- Multi lobby
Release
- Door1 open
Main
- Door2 Open
Main
- Door1 open time 1sec
- Door2 open time 1sec
- Door1 call time 1min
- Door2 call time 1min
- Slave call time
1min
- Door1 talk time 3min
- Door2 talk time 3min
- Slave talk time
3min
- Nand bulk adjust no
- Video mode
NTSC
- Indicate LED
OFF
- Chroma delay
1sec
- Storage image num 128
Содержание SVD-4332
Страница 1: ...Z6806140601A GC68 01539A ED 02 ...
Страница 2: ......


