


Deutsch_
47
Suche
Mit der Suchfunktion können Sie nach beliebigen Stichwörtern suchen.
Beispielsweise nach Schauspielern, Filmtiteln oder anderen Stichworten aber auch
nach Kategorien, wie Spielfilme, Serien, Unterhaltung, etc.
Die Suche erfordert eine Internetverbindung. Die Ergebnisse umfassen nicht nur
Fernsehsendungen aus der digitalen Programmzeitschrift und aus Ihren Aufnahmen,
sondern auch das Filmangebot der Online-Videothek Select Video, falls diese bei
Ihnen verfügbar ist. Drücken Sie die Taste
Suche (
)
auf Ihrer Fernbedienung,
um die Suche zu beginnen.
Sie können auch die Taste
Menü (
)
auf Ihrer Fernbedienung drücken und
dann mit den vier Pfeiltasten
ɀɁೞ
die Zeile
Suche
wählen.
Sie sind automatisch in der Stichwortsuche.
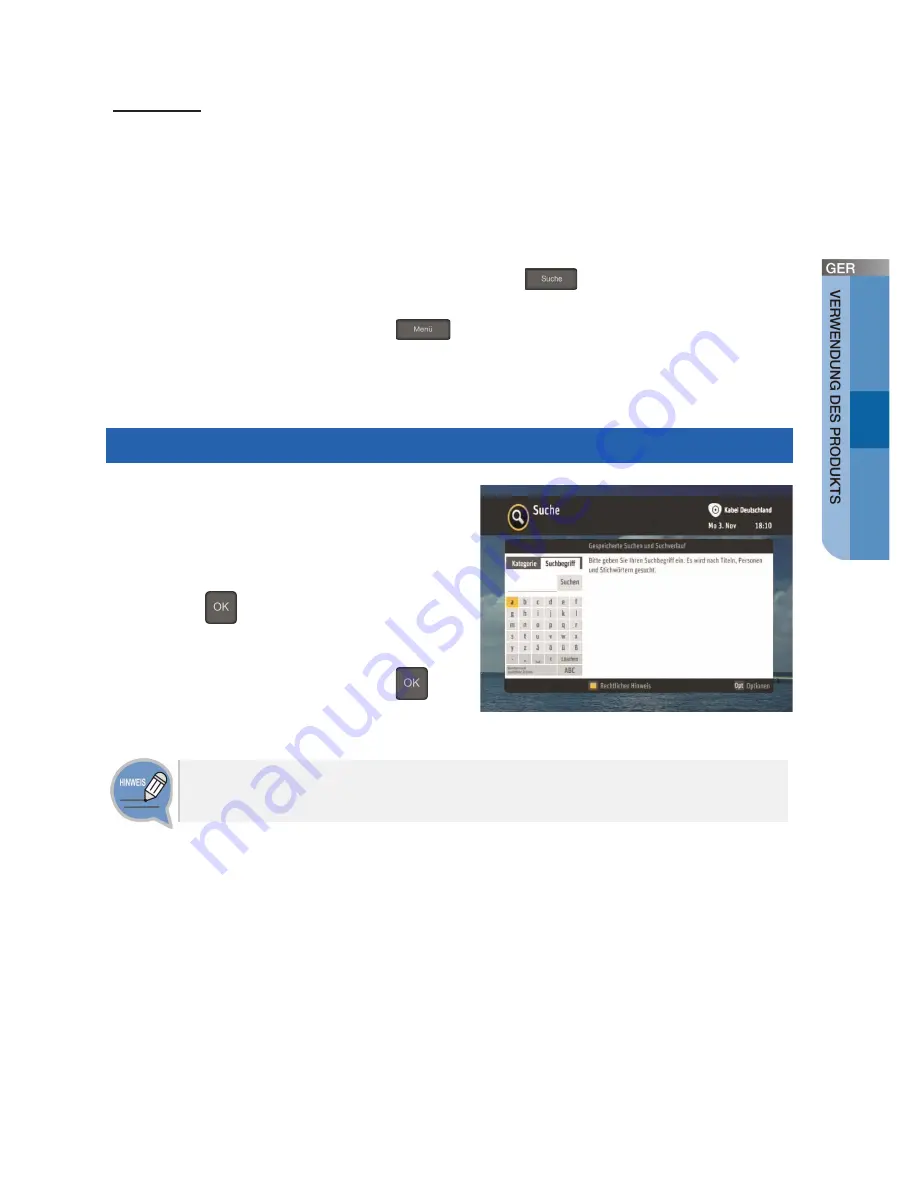
Suche nach Stichwort
Geben Sie den gewünschten Suchbegriff
über die Bildschirmtastatur ein:
- Wählen Sie die einzugebenden Zeichen mit den
vier Pfeiltasten
ɀɁೞ
und drücken Sie für
jedes Zeichen, das Sie auswählen wollen, die
Taste
OK (
)
.
- Starten Sie die Suche indem Sie mit den
Pfeiltasten
ȽȾ
auf den Eintrag
Suchen
gehen und drücken Sie die Taste
OK (
)
.
Ziffern können Sie sowohl über die Bildschirmtastatur eingeben als auch direkt
mit den Zifferntasten Ihrer Fernbedienung.


