


COLOR CCD CAMERA
User’s Manual
37
COLOR CCD CAMERA
User’s Manual
36
Operating Your Camera
Gain
To get brighter picture.
1. Press the SET button to display the setup menu and move the arrow
indicator to ‘GAIN’ using the UP or DOWN button.
2. Set ‘gain’ to desired mode using the LEFT or RIGHT mode.
AGC-H:
Gain is increased or decreased from 0 to 30dB automatically as
following the illumination.
AGC-L:
Gain is increased or decreased from 0 to 27dB automatically as
following the illumination.
OFF:
Deactivation
SETUP
CAMERA ID
OFF
BACKLIGHT WDR
WHITE BAL.
W-ATW
MOTION DET.
OFF
LENS
DC
SHUTTER OFF
SENSE UP
OFF
GAIN AGC-L
SSNR
MIDDLE
SPECIAL
EXIT
SSNR(Samsung Super Noise Reduction)
To reduce the noise on the screen.
1. Press the SET button to display the setup menu and move the arrow indicator
to ‘SSNR’ using the UP or DOWN button.
2. Set ‘SSNR’ to desired mode using the LEFT or RIGHT mode.
LOW:
low reduction of the noise
MIDDLE:
middle reduction of the noise
HIGH:
high reduction of the noise
OFF:
Deactivation
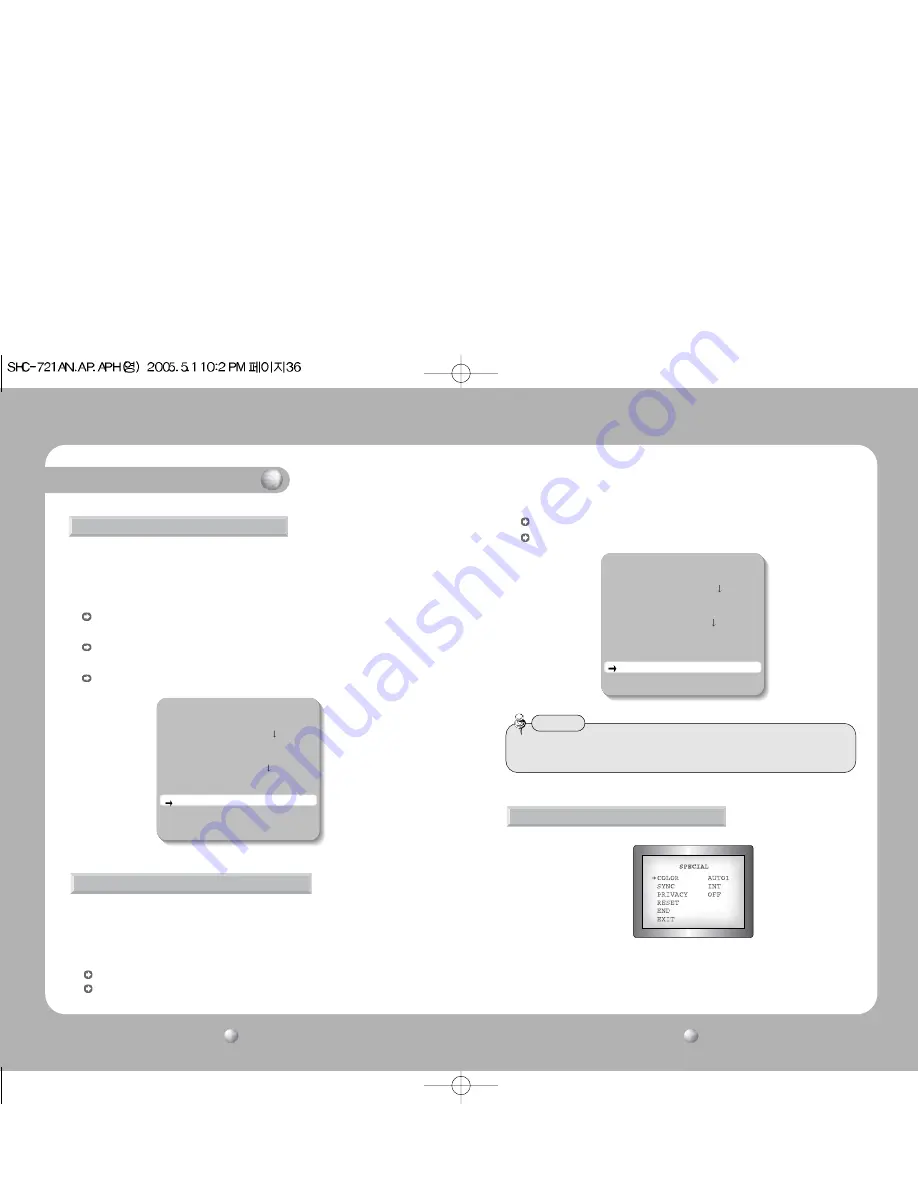
1. Press the SET button to display the setup menu and move the arrow indicator
to ‘SPECIAL’ using the UP or DOWN button.
SETUP
CAMERA ID
OFF
BACKLIGHT WDR
WHITE BAL.
W-ATW
MOTION DET.
OFF
LENS
DC
SHUTTER OFF
SENSE UP
OFF
GAIN AGC-L
SSNR
MIDDLE
SPECIAL
EXIT
• If you change the ‘GAIN’ menu from AGC-L to AGC-H, sensitivity is increased as well
as noise on the screen.
Notes
SPECIAL
Содержание SHC-721AH
Страница 24: ...MEMO MEMO ...


