7
.2
<Scanning>
•
Subject
/
Message
: Subject and message of the email.
•
Remove All
: Erases everything in the input area.
•
Address
: Inputs the recipient's address just by pressing stored
addresses. You can store frequently used email addresses from
your computer using the
SyncThru Web Service
. (Page 7.3)
•
Duplex
: Selects whether the machine scans on one side of the
paper (
1 Sided
), both sides of the paper (
2 Sided
), or both sides of
paper but back is rotated 180 degrees (
2 Sided, Rotate Side 2
).
•
Resolution
: Selects the scanning resolution value.
•
Back
: Returns to the previous screen. If the network
authentication is enabled, the log off confirmation message popes
up and closes
Scan to Email
.
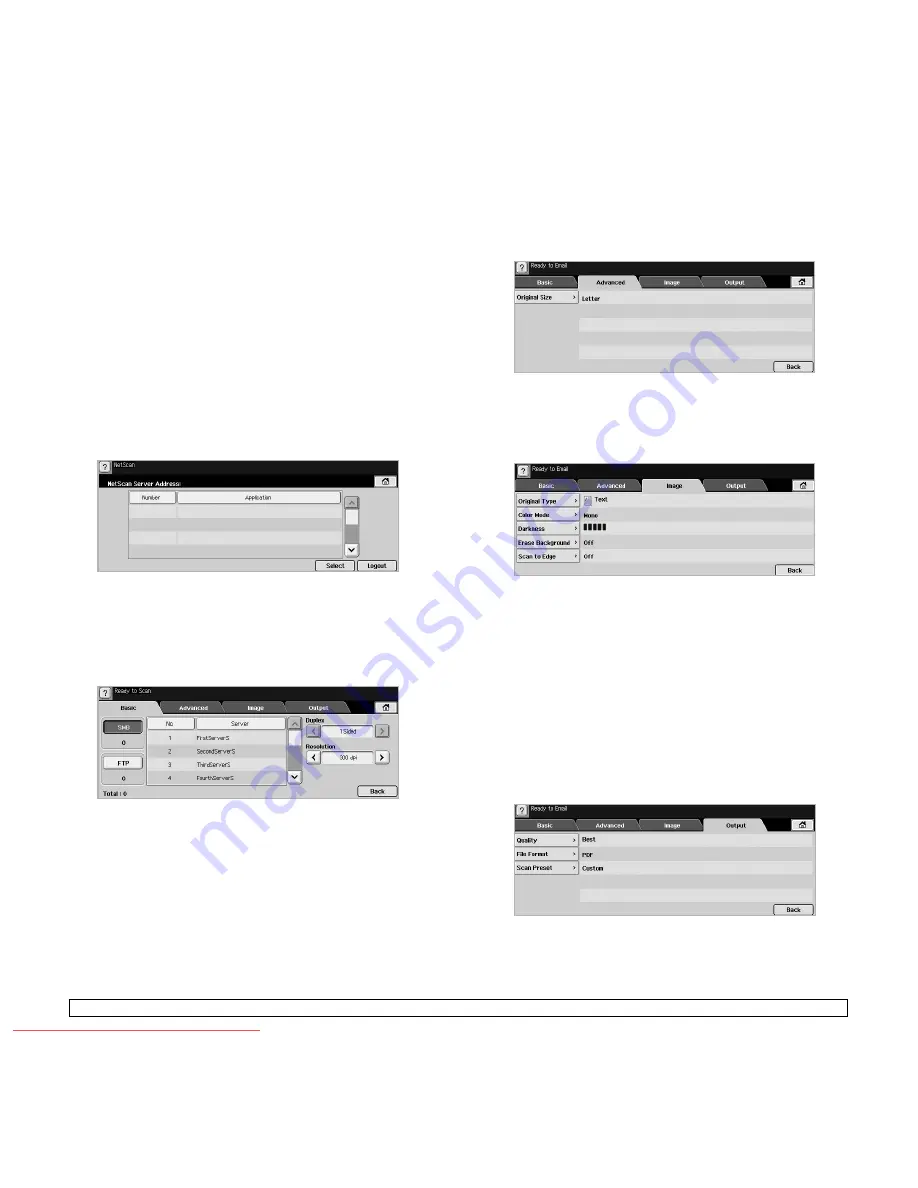
NetScan
If the authentication for network appears, you have to enter user name
and password to enter the
NetScan
screen.
•
Number
: Lists the number in order for application programs.
•
Application
: Shows the available application programs from your
computer.
•
Select
: Moves to the application program you have selected.
Scan to Server
•
SMB
: Sends the scanned file to SMB. Press
SMB
for that option.
•
FTP
: Sends the scanned file to FTP. Press
FTP
for that option.
•
No.
: Index number which you entered in
SyncThru Web Service
.
(Page 7.5)
•
Server
: Alias name which you entered in
SyncThru Web Service
.
(Page 7.5)
•
Duplex
: Selects whether the machine scans on one side of the
paper (
1 Sided
), both sides of the paper (
2 Sided
), or both sides of
paper but back is rotated 180 degrees (
2 Sided, Rotate Side 2
).
•
Resolution
: Selects the scanning resolution value.
•
Back
: Returns to the previous screen.
Advanced tab
•
Original Size
: Sets the originals to a specific fixed size. (Page 7.7)
•
Back
: Returns to the previous screen.
Image tab
•
Original Type
: Selects whether the original is text or photo.
(Page 7.7)
•
Color Mode
: Adjusts the color options of the scan output. If the
original is color and you want to scan in color, press
Color Mode
.
(Page 7.7)
•
Darkness
: Adjusts the degree of darkness of the scan output. Use
left/right arrow to adjust the values. (Page 7.8)
•
Erase Background
: Erases backgrounds like paper patterns.
(Page 7.8)
•
Scan to Edge
: Scans originals from edge-to-edge. (Page 7.8)
•
Back
: Returns to the previous screen.
Output tab
•
Quality
: Adjusts the display quality of the scan output. (Page 7.8)
•
File Format
: Selects the file format of the scan output. (Page 7.8)
Downloaded From ManualsPrinter.com Manuals


