Operating Instructions
11-25
Samsung Electronics
ENGLISH
57
57
Advanced Recording
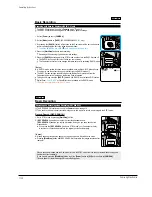
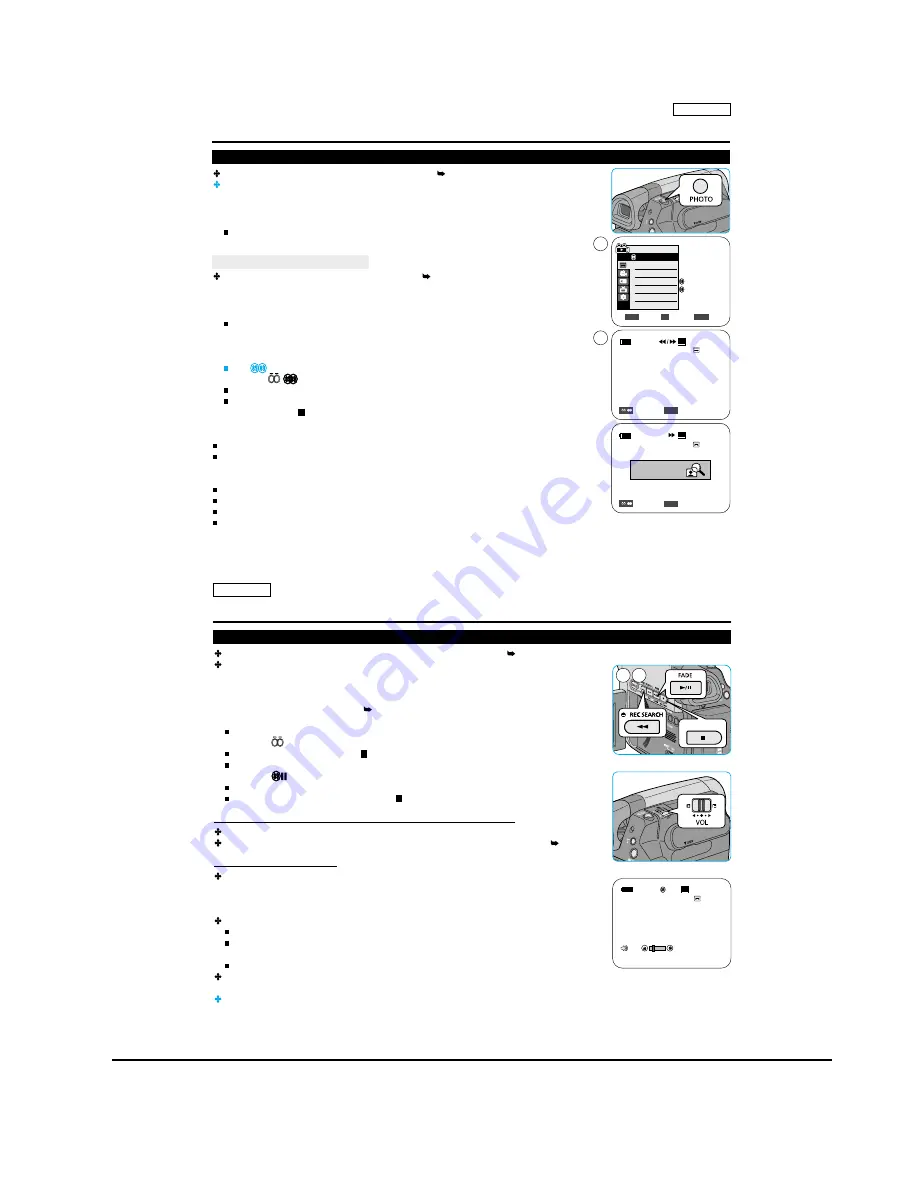
Still Image Recording
Still image recording works only in <Camera> mode. page 19
A tape must be inserted as Still Images are recorded on a tape.
1. Set the [Power] switch to [CAMERA].
2. Set the [Mode] switch to [TAPE]. (SC-D363/D364/D365/
D366
only)
3. Press the [PHOTO] button.
The still image is recorded for about 6~7 seconds.
4. After the still image has been recorded, the Camcorder returns to its previous mode.
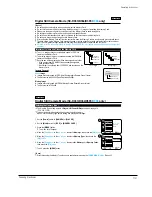
Searching for a still image
The Photo Search works only in <Player> mode. page 19
1. Set the [Power] switch to [PLAYER].
2. Set the [Mode] switch to [TAPE]. (SC-D363/D364/D365/
D366
only)
3. Press the [MENU] button.
The menu list will appear.
4. Move the
[Zoom] lever
to the
up or down
to select <Tape>, then press the
[OK] button
.
5. Move the
[Zoom] lever
to the
up or down
to select <Photo Search>, then press the
[OK]
button
.
ÏÏ
/
will flash on the LCD.
6. Press the [
ÏÏ
/
(REW/FF)] buttons to search the still image.
The photo search process appears while you are searching.
After completing the search, the Camcorder displays the still image.
7. To exit, press the [ (STOP)] or [MENU] button.
[ Notes ]
Still image recording is not available while recording.
You can use still image recording by using the [PHOTO] button on the remote control.
Pressing the [PHOTO] button on the remote control records the still image at once with
automatic focusing. (SC-D364/D
366
only)
When there are no still images recorded on the tape, it will be fully rewound or forwarded.
Still image recording is not available while
COLOR NITE
or 16:9 Wide is in use.
DIS, Digital Zoom,
COLOR NITE
,
Visual Effect
are not available, when still image recording.
Still image recording while EASY.Q, DIS or Digital Zoom mode is in use will the release the current mode.
(After a still image is taken, the mode will return automatically.)
QUI
CK
MEN
U
OK
Sound[1]
Off
Move
Select
Exit
MENU
OK
ZOOM
Player Mode
Tape
Photo Search
Photo Copy
Audio Select
Audio Effect
Search
Exit
MENU
ÏÏ
/
SP
25min
Photo searching...
0:44:38:03
Search
Exit
MENU
ÏÏ
/
SP
0:41:56:10
25min
Photo Search
4
6
Photo Search
ENGLISH
58
58
Playback
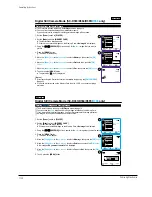
Playing Back a Tape You have recorded on the LCD Screen
The Playback function and speaker works only in <Player> mode. page 19
You can monitor the playback picture on the LCD Screen.
1. Set the [Power] switch to [PLAYER].
2. Set the [Mode] switch to [TAPE]. (SC-D363/D364/D365/
D366
only)
3. Insert the tape you wish to view. page 32
4. Open the LCD Screen.
Adjust the angle of the LCD Screen and set the brightness or color if necessary.
5. Press the [
ÏÏ
(REW)] button to rewind the tape to the starting point.
To stop rewinding, press the [ (STOP)] button.
The Camcorder stops automatically after rewinding is complete.
6. Press the [ / (PLAY/STILL)] button to start playback.
You can view the picture you recorded on the LCD Screen.
To stop the play operation, press the [ (STOP)] button.
Adjusting the LCD Bright/LCD Color during Playback
You can adjust the LCD Bright/LCD Color during playback.
The adjustment method is the same procedure as used in <Camera> mode. page 29
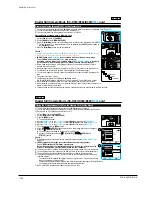
Adjusting the Volume
When you use the LCD Screen for playback, you can hear recorded sound from the built-
in Speaker.
- Take the following steps to lower the volume or mute the sound while playing a tape on
the Camcorder.
When you hear sounds once the tape is in play, use the [Zoom] lever to adjust the volume.
A volume level display will appear on the LCD Screen.
Levels may be adjusted from anywhere between <00> to <19> and you will not hear
any sound when the volume is set on <00>.
If you close the LCD Screen while playing, you will not hear sound from the speaker.
When the AV cable is connected to the Camcorder, you cannot hear sound from the Built-
In Speaker and cannot adjust the volume.
Volume control is disabled while PB Zoom is in use.
COLOR
NITE
LIGHT
STOP
5 6
PLAY
QUIC
K
MENU
60min
0:46:00:11
SP
[05]
Содержание SC-D362
Страница 14: ...Product Specification 2 6 Samsung Electronics MEMO ...
Страница 48: ...4 18 Disassembly and Reassembly Samsung Electronics MEMO ...
Страница 70: ...Exploded View and Parts List 5 22 Samsung Electronics MEMO ...
Страница 91: ...Samsung Electronics 8 1 8 Wiring Diagram ...
Страница 92: ...Wiring Diagram 8 2 Samsung Electronics MEMO ...
Страница 102: ...PCB Diagrams 9 10 Samsung Electronics MEMO ...
Страница 168: ...Operating Instructions 11 46 Samsung Electronics MEMO ...
Страница 180: ...Troubleshooting 12 12 Samsung Electronics MEMO ...
Страница 200: ...Circuit Operating Description 13 20 Samsung Electronics MEMO ...


