26
English
Setup
If you want to display Initial Settings screen
again in order to make changes, press the
STOP
(
) button on the front panel of the
product for more than 5 seconds with no disc
inserted.
Use the HDMI cable to connect the product to
an
(HDMI-CEC)
-compliant Samsung TV.
If the TV uses a language supported by the
product, that language will be set to a
preferred language automatically.
However, the
(HDMI-CEC)
feature
should be set to
On
in both TV and the
product.
If the product is left in the stop mode for more
than 5 minutes without being operated, a
screen saver will appear on your TV. If the
product is left in the screen saver mode for
more than 25 minutes, the power will
automatically turn off except during playback
of a CD-DA (Automatic Power-Off Function).
Setting the Menu
DISC MENU
MENU
TITLE MENU
TOOLS
RETURN
EXIT
INFO
TUNER
POPUP
DISC MENU
TITLE MENU
TOOLS
INFO
TUNER
POPUP
1
2
4
3
1
MENU
Button : Press this to move to the home menu.
2
RETURN
Button : Return to the previous menu.
3
ENTER / DIRECTION
Button:
Press the arrow buttons to move the cursor and select
an item.
Press the
ENTER
button to launch the selected item or
confi rm the setting.
4
EXIT
Button : Press this to exit the menu.
Press the
POWER
button.
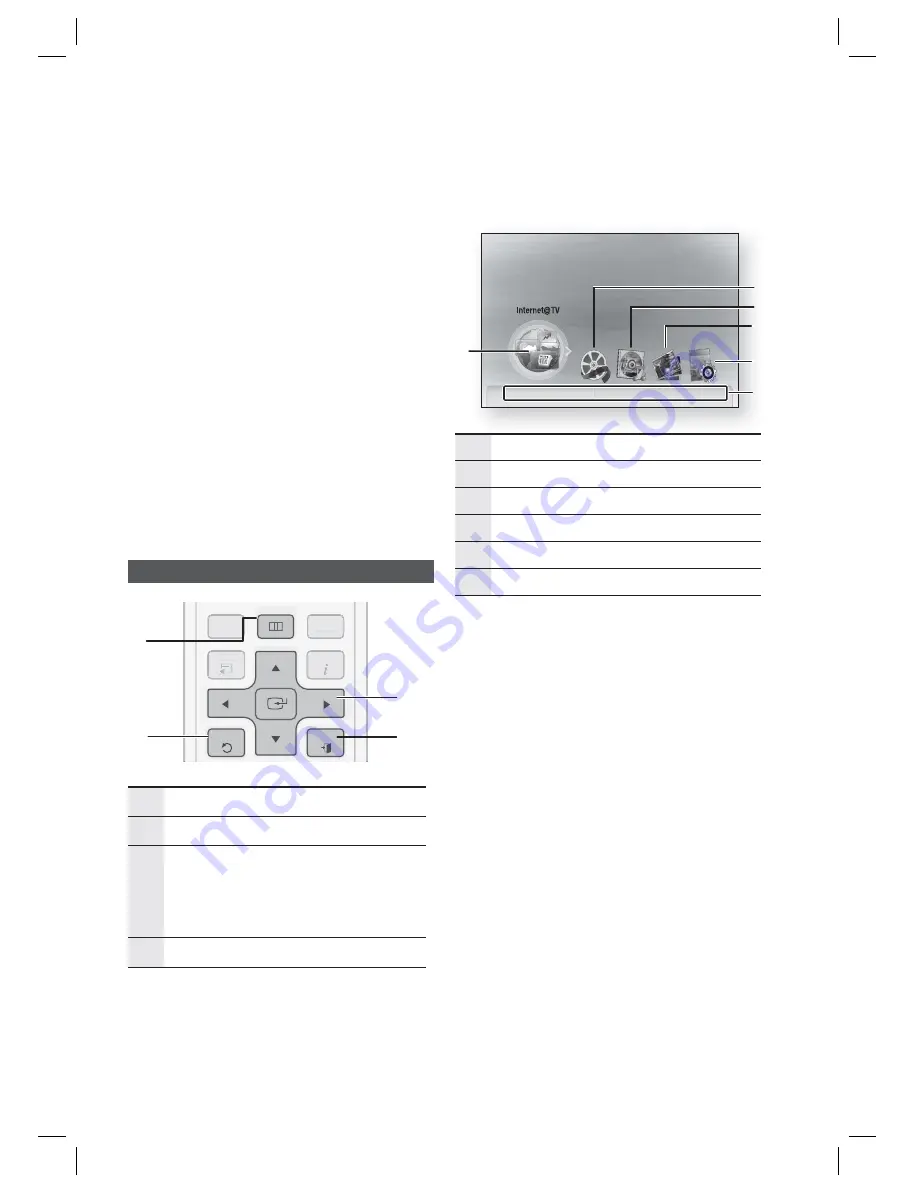
The Home Menu will appear.
Home Menu
internet radio
You Tube
No Disc
a
Change Device
d
View Devices
"
Enter
Please activate Internet@TV service
to enjoy a variety of Internet Services.
1
2
4
3
5
6
1
Selects the Internet@TV.
2
Selects the Videos.
3
Selects the Music.
4
Selects the Photos.
5
Selects the Settings.
6
Displays buttons available.
Press the ◄► buttons to select
Settings
,
then press the
ENTER
button.
Press the ▲▼ buttons to select the desired
submenu, then press the
ENTER
button.
Press the ▲▼ buttons to select the desired
item, then press the
ENTER
button.
Press the
EXIT
button to exit the menu.
NOTE
When the product is connected to the network,
select Internet@TV from the home menu.
Download desired content from
Samsung AppS
.
The access step may differ depending on the
selected menu.
The OSD (On Screen Display) may change in
this product after upgrading the software
version.
1.
•
2.
3.
4.
5.
✎
HT-C6800_ELS_0914.indd 26
HT-C6800_ELS_0914.indd 26
2010-09-14 9:55:38
2010-09-14 9:55:38


