RECORDING PHOTOS
You can take photos and store them in the storage media. Set the desired resolution before
recording.
page 51
PRECHECK!
Insert a memory card.
page 28
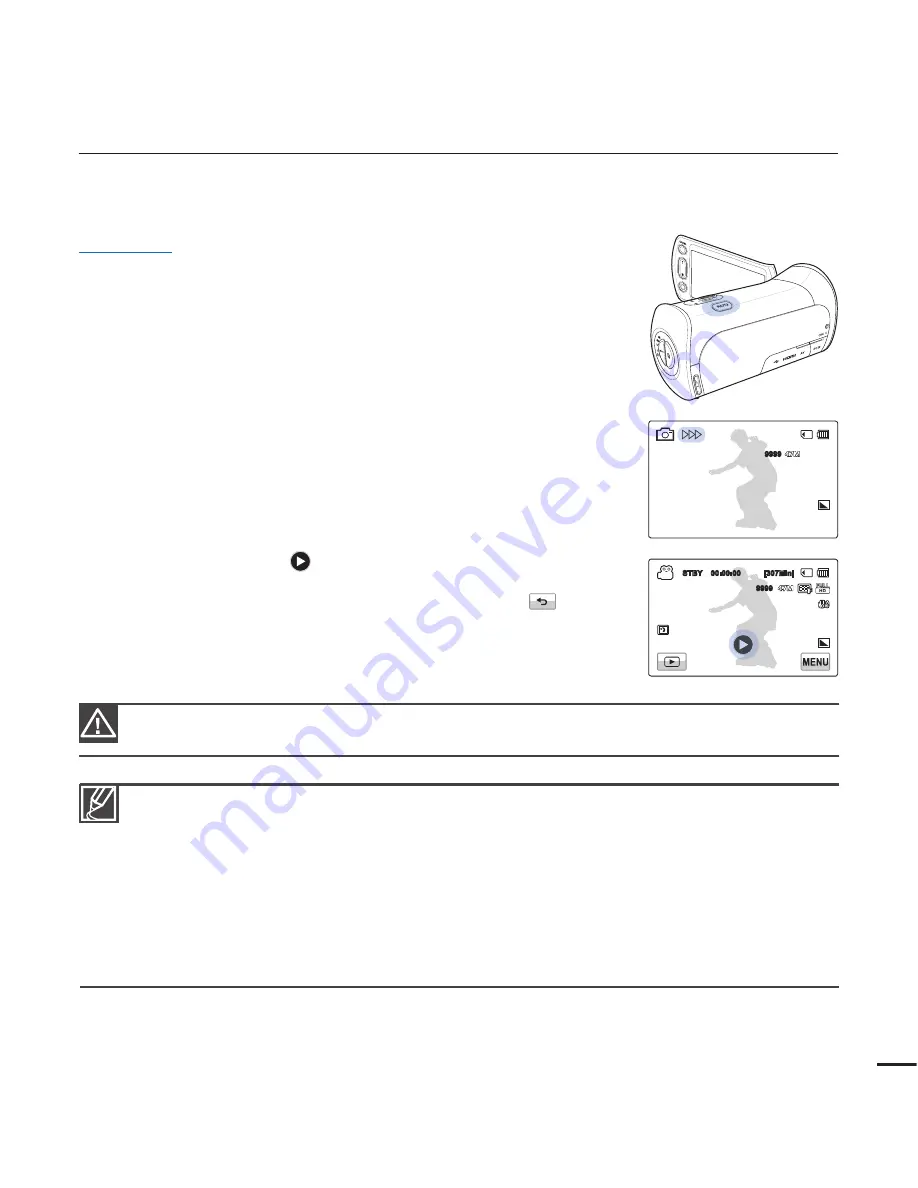
Select the record mode by pressing the
MODE
button.
page 24
1.
Select a subject to record.
Adjust the LCD panel to the best angle for recording.
Use the
Zoom
lever or
Zoom
button to adjust the size of
the subject.
page 39
2.
Frame the subject in the LCD screen, and then half-press the
PHOTO
button.
When the subject is in focus, (
) indicator appears green.
If it appears red, readjust the focus.
3.
Fully press the
PHOTO
button.
4.
Touch the Quick View (
) icon to view the most recently
recorded photo.
To return to the standby mode, touch the Return (
) tab.
•
•
•
•
•
•
The recordable number of photos varies depending on the recording conditions and the photo
resolution.
page 31
The camcorder does not record audio when you take photos.
If focusing is diffi cult, use the manual focus function.
page 57
For the on-screen display information, see page 14.
Adjust the brightness of the LCD screen using menu items. Adjusting the brightness does not affect
the recorded image.
page 77
For various functions available during recording, see pages 49~65
Photo fi les conform to the DCF (Design rule for Camera File system) standard, established by JEITA
(Japan Electronics and Information Technology Industries Association).
•
•
•
•
•
•
•
Do not turn off the camcorder or remove the memory card when taking photos as it may damage the
storage media or data.
37
9999
STBY 00:00:00 [307Min]
9999
OFF
OFF
SUPER
SUPER


