36
Basic recording
•
For on-screen information display, see pages 16~18.
•
For approximate recording times, see page 33.
•
Eject the battery when you have finished recording to prevent
unnecessary battery power consumption.
•
For various functions available when you record videos, see pages
52~66.
•
During recording, some button operations are unavailable. ([
MODE
]
button, [
MENU
] button, etc.)
•
Sound is recorded from the internal stereo microphone on the
top-front of the camcorder. Take care that this microphone is not
blocked.
•
Before recording an important video, make sure to test the recording
function to check if there is any problem with the audio or video
recording.
•
You can adjust the brightness of the LCD screen in the menu
options. Adjusting the LCD screen does not affect the image being
recorded.
page 77
•
You cannot use a locked memory card for recording. You will see a
message saying recording is disabled due to the lock.
•
Recording videos in a quiet environment increases microphone
sensitivity. This increased sensitivity may cause the microphone
to record surrounding ambient noise. The increased microphone
sensitivity may also cause the camcorder to record the noise the
zoom mechanism makes if you use the zoom while recording.
•
When you record indoors or in the dark places, ISO sensitivity is
automatically adjusted. In very dark places, the ISO adjustment
can cause interference effects on images and prevent you from
recording these images correctly. We recommend you use a
professional, infrared camcorder when recording in dark places or at
night.
•
An image can be blurred when the Anti-Shake(HDIS) function is
enabled and the camcorder is mounted on a tripod or fixed in place.
Release the Anti-Shake(HDIS) function when the camcorder is
mounted on a tripod.
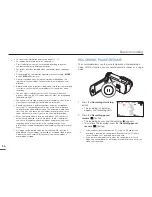
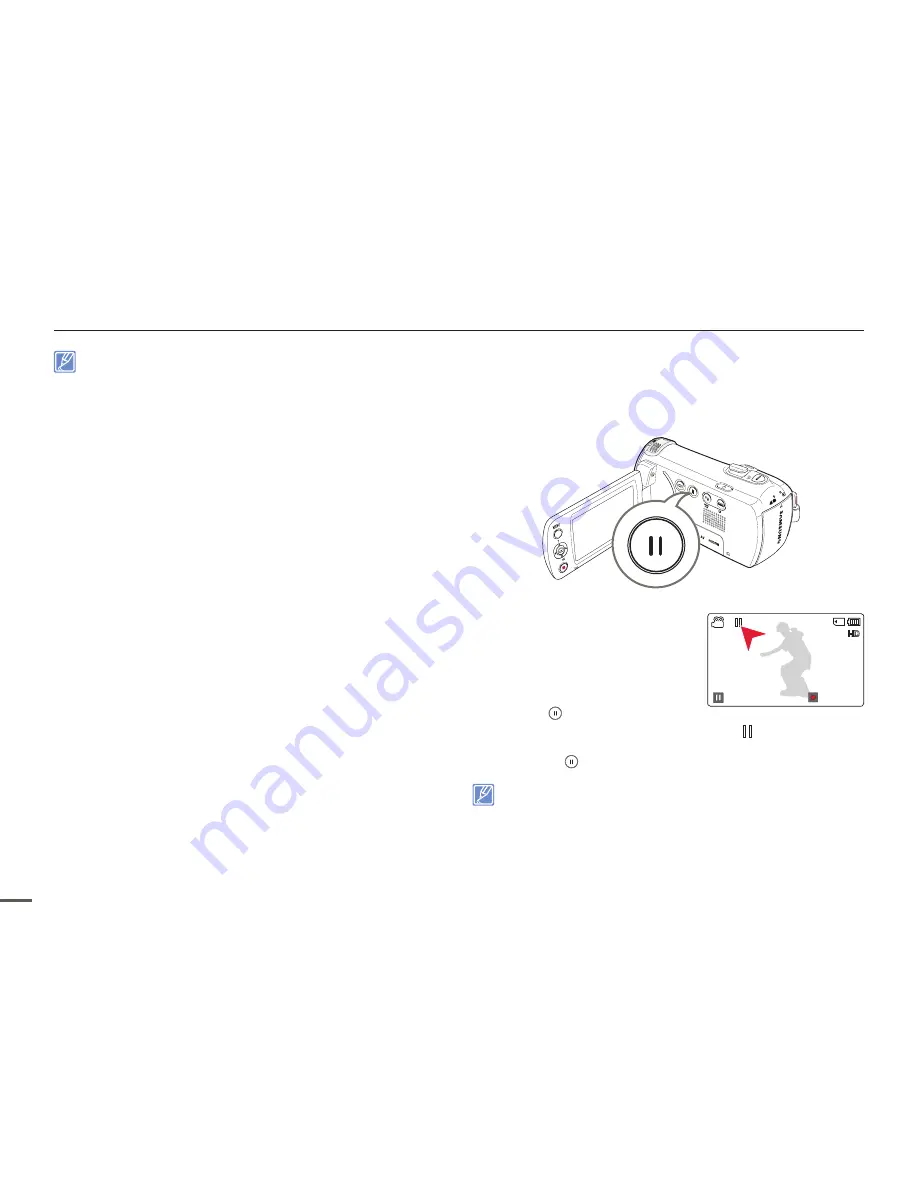
RECORDING PAUSE/RESUME
The camcorder allows you to pause temporarily while recording a
video. With this function, you can record separate scenes as a single
video.
1
Press the [
Recording start/stop
]
button.
•
The recording (
) indicator
appears and recording starts.
2
Press the [
Recording pause/
resume ( )
] button.
•
The recording pauses and the indicator ( ) appears.
•
To continue the recording, press the [
Recording pause/
resume ( )
] button.
•
If you connect your camcorder to a PC using a USB cable when
recording is paused, the camcorder will connect to the PC after it
saves the video it has recorded up to the pause.
•
If you remove the memory card when the camcorder is in Pause
mode, the camcorder turns off the power and will not save any of the
video it has recorded.
[220Min]
0:01:24
0005
Resume
Stop


