background image

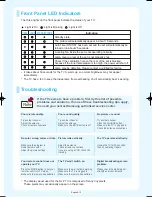
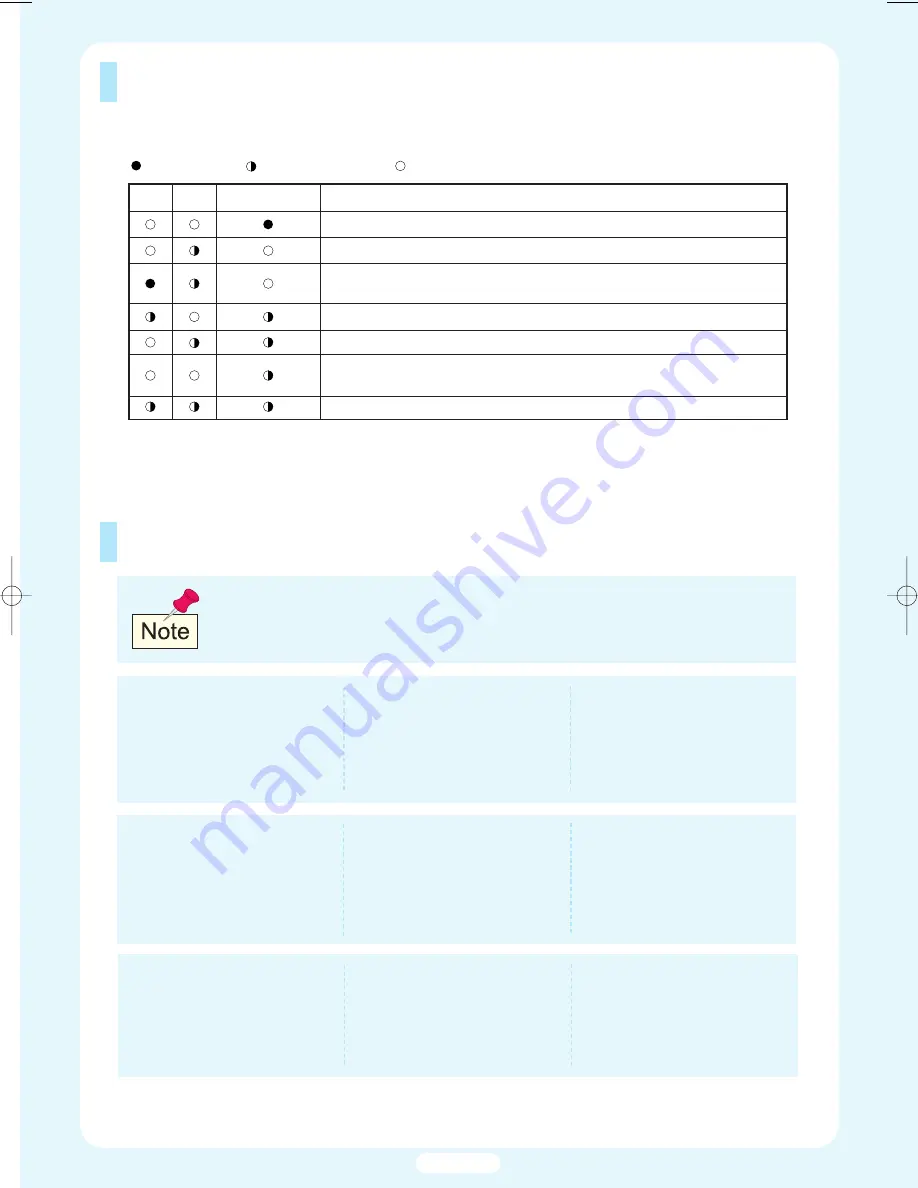
Front Panel LED Indicators

The three lights on the front panel indicate the status of your TV.

: Light is On    : Light is Blinking   

: Light is Off

It takes about 30 seconds for the TV to warm up, so normal brightness may not appear 

immediately.

The TV has a fan to keep the inside lamp from overheating. You’ll occasionally hear it working.

TIMER

Standby state.
The picture will automatically appear in about 15 seconds.
Auto Timer ON/OFF has been set and the set will automatically be

turned on in about 25 seconds.
A cooling fan inside the set is not operating normally.
Lamp cover on rear of the set is not properly shut.
Check if the ventilation hole on the rear of the set is blocked,

because if the inner temperature is too high, the power will shut off. 
Lamp may be defective. Please contact a certified technician.

LAMP STAND BY/TEMP

Indication

Troubleshooting 

Poor picture quality.

Try another channel.

Adjust the antenna.

Check all wire connections.

The TV operates erratically.

Unplug the TV for 30 seconds, 

then try operating it again.

Your remote control does not
operate your TV.

Press the MODE button to put your

remote control into TV mode.

Make sure the remote has batteries.

Poor sound quality.

Try another channel.

Adjust the antenna.

Make sure the MUTE button is off.

No color, wrong colors or tints.

Make sure the program is

broadcasted in color.

Adjust the picture settings.

No picture or sound.

Try another channel.

Press the SOURCE button.

Make sure the TV is plugged in.

Check the antenna connections.

Picture rolls vertically.

Adjust the antenna.

Check all wire connections.

If you are using a VCR, check the 

tracking.

Digital broadcasting screen
problem.

Please check the digital signal

strength and input antenna.

The TV won’t switch on.

Make sure the wall outlet is working.

Make sure the TV is plugged in.

Make sure the remote has batteries.

If the TV seems to have a problem, first try this list of possible
problems and solutions. If none of these troubleshooting tips apply,
then call your nearest Samsung authorized service center.

The display panel used for the DLP TV is composed of many tiny pixels.
These pixels may occasionally appear on the screen.

English-15

BP68-00461A-00Eng_1206  12/6/04  12:39 PM  Page 15

Содержание HLR4677W - 46" Rear Projection TV

Страница 1: ...sure that you have all the parts shown here If any piece is missing or broken call your dealer Accessories Instruction Manual Safety Guide Quick Guide Anynet Manual Manual Guide Warranty Cards 2 Regis...

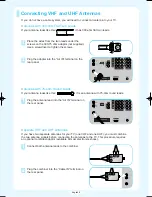
Страница 2: ...300 ohm flat twin leads 1 Plug the antenna lead into the Air IN terminal on the rear panel 1 Connect both antenna leads to the combiner 2 Plug the combiner into the Cable IN terminal on the rear pane...

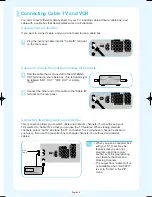
Страница 3: ...f you want to connect cable and you do not need to use a cable box Connecting an Analog Cable Converter Box This connection allows you to watch cable and premium channels You should keep your TV selec...

Страница 4: ...l as watch videotapes You should keep your TV selected to Cable IN so that you can use the TV s features When viewing premium channels or recording with the VCR select Air IN whichever channel is vaca...

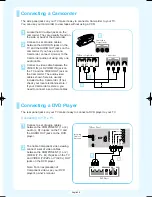
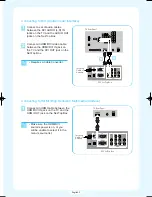
Страница 5: ...ereo you need to connect a set of two cables The side panel jacks on your TV make it easy to connect a Camcorder to your TV You can use your camcorder to view tapes without using a VCR TV Rear of righ...

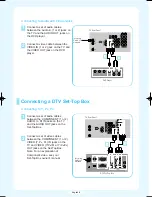
Страница 6: ...t a set of audio cables between the COMPONENT 1 or 2 AUDIO L R IN jacks on the TV and the AUDIO OUT jacks on the Set Top Box Connect a set of video cables between the COMPONENT 1 or 2 VIDEO Y PB PR IN...

Страница 7: ...DVI Digital Visual Interface Connecting to HDMI High Definition Multimedia Interface 1 Connect an HDMI cable between the HDMI DVI IN jack on the TV and the HDMI OUT jack on the Set Top Box Incoming Ca...

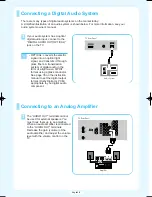
Страница 8: ...ot be used for external speakers You must hook them up to an amplifier When an audio amplifier is connected to the AUDIO OUT terminals Decrease the gain volume of the audio amplifier and adjust the vo...

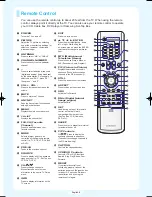
Страница 9: ...ht up down left or right While using the on screen menus press the ENTER to activate or change a particular item MTS Multichannel Television Stereo Press to choose Stereo Mono or SAP Secondary Audio P...

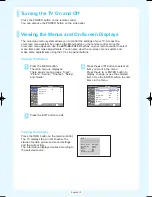
Страница 10: ...e current channel the status of certain picture and sound settings and the current time The information displayed varies according to the selected source Cable 3 Picture Mode Sound Mode MTS Caption V...

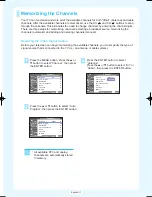
Страница 11: ...i e an antenna or cable system 1 Press the MENU button Press the or button to select Channel then press the ENTER button 2 Press the ENTER button to select Antenna Press the or button to select Air or...

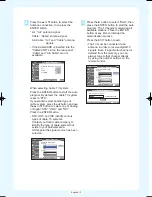
Страница 12: ...ected 5 Press the button to select Start then press the ENTER button to start the auto program The TV begins memorizing all available stations Press the ENTER button at any time to interrupt the memor...

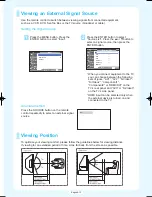
Страница 13: ...Press the or button to select a signal source then press the ENTER button When you connect equipment to the TV you can choose between the following sets of jacks AV1 AV2 S Video1 S Video2 Component1 C...

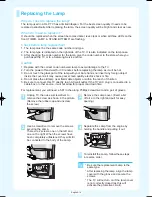
Страница 14: ...may cause poor screen quality electric shock or fire 4 Do not place the old lamp near flammable objects or within the reach of children 5 Be sure to connect this TV directly to an AC wall outlet If t...

Страница 15: ...he TV for 30 seconds then try operating it again Your remote control does not operate your TV Press the MODE button to put your remote control into TV mode Make sure the remote has batteries Poor soun...

Страница 16: ...English 16 Memo...

Отзывы: