3-5
3. Disassembly and Reassembly
Part
Photo
Description
DISPENSER
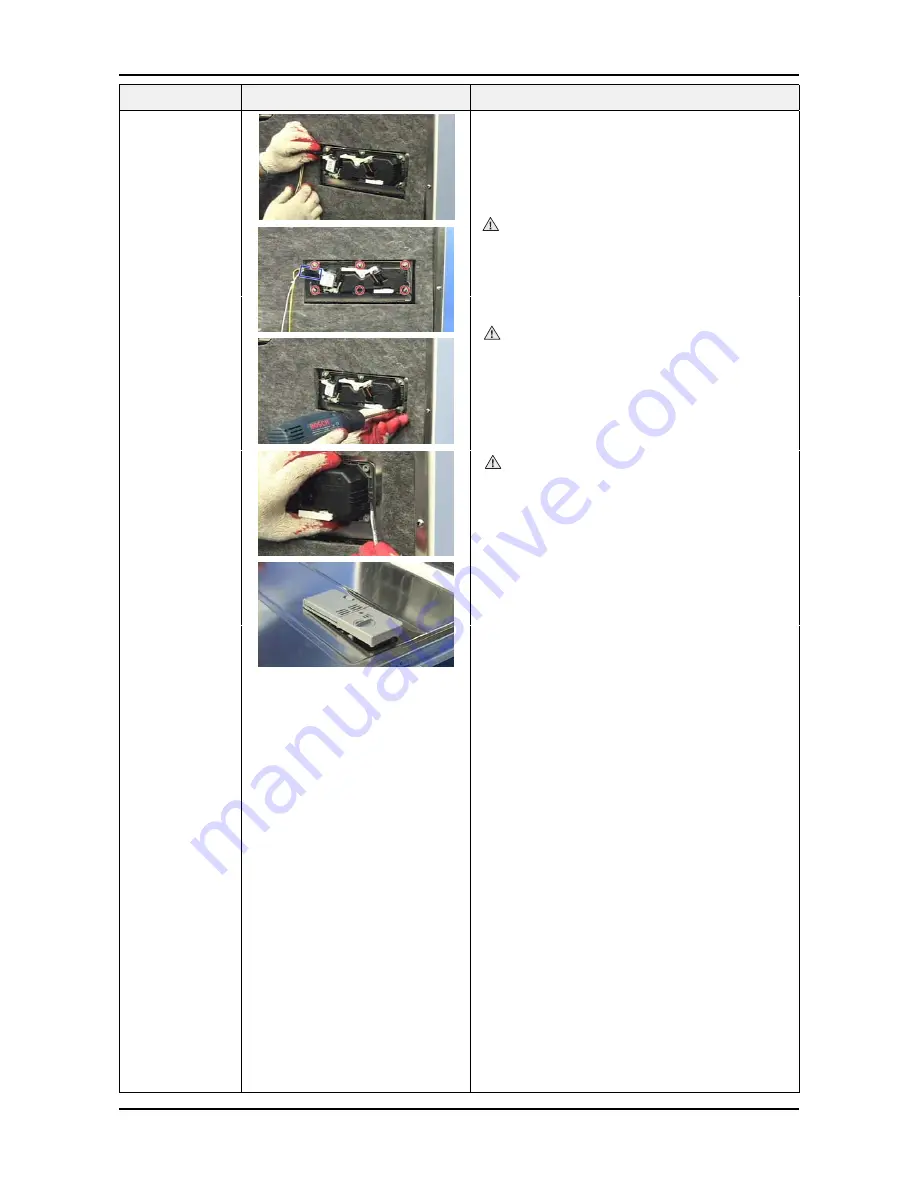
6. Dispenser
Ƒ
Separate outdoor ass'y
* No different screw allowed
4) Hold Inner door's inside and remove.
1) Remove the four (4) connectors on both sides of the
dispenser.
Caution
The connectors are of the locking type and are
hard to remove. Be careful not to break them when
removing them.
2) Remove the six (6) screws holding the INNER DOOR
and the two (2) bracket dispensers in place.
Caution
7KHGLVSHQVHULV¿[HGWRWKHWXEIURQWZLWKDKRRN
8VHDÀDWVFUHZGULYHUWRUHPRYHLWIURPWKHWXEIURQW
Caution
Be careful as the inner door is sharp.
Содержание DMS300 series
Страница 8: ......
Страница 48: ...5 4 5 Exploded Views and Parts List 5 3 TUB ASS Y DMS500 400 300 301TR ...
Страница 50: ...5 6 5 Exploded Views and Parts List 5 4 BASE ASS Y DMS500 400 300 301TR ...
Страница 52: ...5 8 5 Exploded Views and Parts List 5 5 SUMP ASS Y DMS500 400 300 301TR ...
Страница 54: ...5 10 5 Exploded Views and Parts List 5 6 ASSY RACK DMS500 400 300 301TR DMS500 400 301TR DMS300TR DMS TR 22 23 ...


