


Printing
_ 49
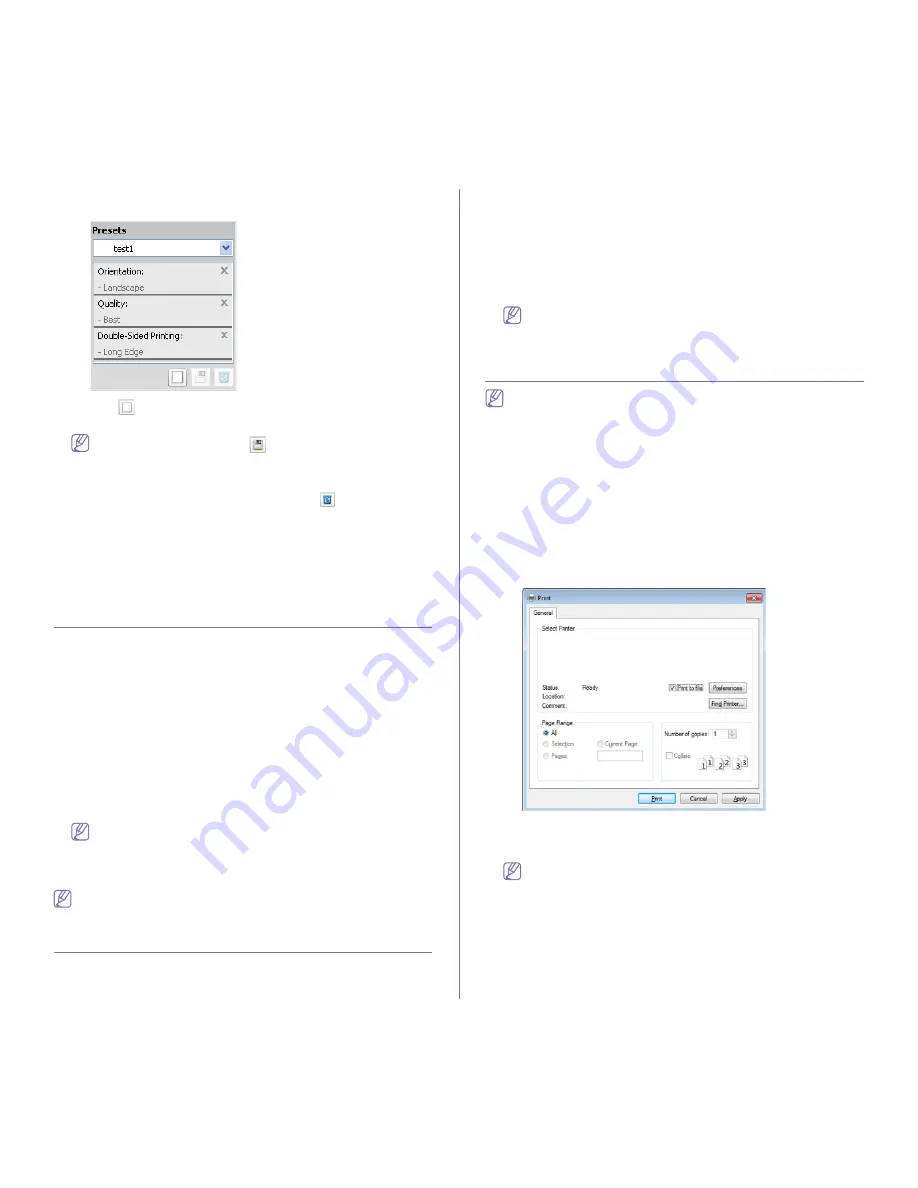
1.
Change the settings as needed on each tab.
2.
Enter a name for the item in the
Presets
input box.
3.
Click
(
Add
). When you save
Presets
, all current driver settings
are saved.
Select more options and click
(
Update
), settings will be added
to the Presets you made. To use a saved setting, select it from the
Presets
drop-down list. The machine is now set to print according
to the settings you have selected. To delete saved settings, select
it from the
Presets
drop-down list and click
(
Delete
).
You can also restore the printer driver’s default settings by
selecting
Default Preset
from the
Presets
drop-down list.
Using help
Click the option you want to know on the
Printing Preferences
window and
press
F1
on your keyboard.
Changing the default print settings
1.
Click the Windows
Start
menu.
•
For Windows Server 2000, select
Settings
>
Printers
.
•
For Windows XP/Server 2003, select
Printer and Faxes
.
•
For Windows Server 2008/Vista, select
Control Panel
>
Hardware
and Sound
>
Printers
.
•
For Windows 7, select
Control Panel
>
Devices and Printers
.
•
For Windows Server 2008 R2, select
Control Panel
>
Hardware
>
Devices and Printers
.
2.
Right-click on your machine.
3.
For Windows XP/Server 2003/Server 2008/Vista, select
Printing
Preferences
.
For Windows 7 or Windows Server 2008 R2, from context menus, select
Printing preferences
.
If
Printing preferences
has a
►
, you can select other printer
drivers connected to the selected printer.
4.
Change the settings on each tab.
5.
Click
OK
.
If you want to change the settings for each print job, change it in
Printing Preferences
.
Setting your machine as a default machine
1.
Click the Windows
Start
menu.
•
For Windows Server 2000, select
Settings
>
Printers
.
•
For Windows XP/Server 2003, select
Printer and Faxes
.
•
For Windows Server 2008/Vista, select
Control Panel
>
Hardware
and Sound
>
Printers
.
•
For Windows 7, select
Control Panel
>
Devices and Printers
.
•
For Windows Server 2008 R2, select
Control Panel
>
Hardware
>
Devices and Printers
.
2.
Select your machine.
3.
Right-click your machine and select
Set as Default Printer
.
For Windows 7 or Windows Server 2008 R2, if
Set as default
printer
has a
►
, you can select other printer drivers connected to
the selected printer.
Using advanced print features
XPS printer driver
: used to print XPS file format.
•
The XPS printer driver can be installed only on Windows Vista OS
or higher.
•
You can install the XPS printer driver when you insert the software
CD into your CD-ROM drive. When the installation window
appears, select
Advanced Installation
>
Custom Installation
.
You can select the XPS printer driver in the
Select Software and
Utilities to Install
window.
•
Install optional memory when an XPS job does not print because
the printer is out of memory.
Printing to a file (PRN)
You will sometimes need to save the print data as a file.
1.
Check the
Print to file
box in the
window.
2.
Click
.
3.
Type in the destination path and the file name, and then click
OK
.
For example,
c:\Temp\file name
.
If you type in only the file name, the file is automatically saved in
My Documents
,
Documents and Settings
, or
Users
. The saved
folder may differ, depending on your operating system or the
application you are using.
Содержание CLP-775ND
Страница 13: ...Regulatory information_ 13 China only...


