


67
Ŷ
To search for an image, follow these steps:
1. Press the Thumbnail button in Smart
Album.
- Each time you press the Thumbnail
button, you increase the number of
thumbnails the camera displays, from 3
to 9 to 20. Pressing the button decreases
the number of thumbnails the camera
displays. See the illustrations below.
2. Use the Up/Down/Left/Right buttons to select an image.
Ŷ
To delete an image, follow these steps:
1. Follow Steps 1 and 2 above.
2. Press the Delete button. The Delete window appears.
3. Press the Up/Down button to select Yes, and then press the OK
button.
Thumbnail (
º
) / Enlargement (
í
) button
Ɣ
In Smart Album, it may take a few seconds for images to
appear, depending the number of images you’ve recorded.
This is not a malfunction. Please wait until the Smart Album
screen appears.
[1-Thumbnail Window]
[9-Thumbnail Window]
[20-Thumbnail Window]
1
3
1
3
12
11
5
Filter 2010.01.01
1
3
1
3
12
11
5
Filter 2010.01.01
1
3
1
3
12
11
5
Filter 2010.01.01
1
3
1
3
12
11
5
Back Set
Type
Date
Color
Week
Face
Ŷ
Details of Each Category
Category
Description
File Format
Type
Categorized depending on the
fi
le type
(e.g., picture, video, or voice)
Pictures,
Videos,
Voice
Date
Categorized depending on the sequence
of recorded dates.
Color
Categorized depending on the main color.
Week
Categorized depending on the sequence
of recorded weeks.
Face
Categorized depending on the faces
photographed in the Face Detection mode.
Ɣ
The [Face] category appears only if there are faces that
were photographed in the Face Detection mode.
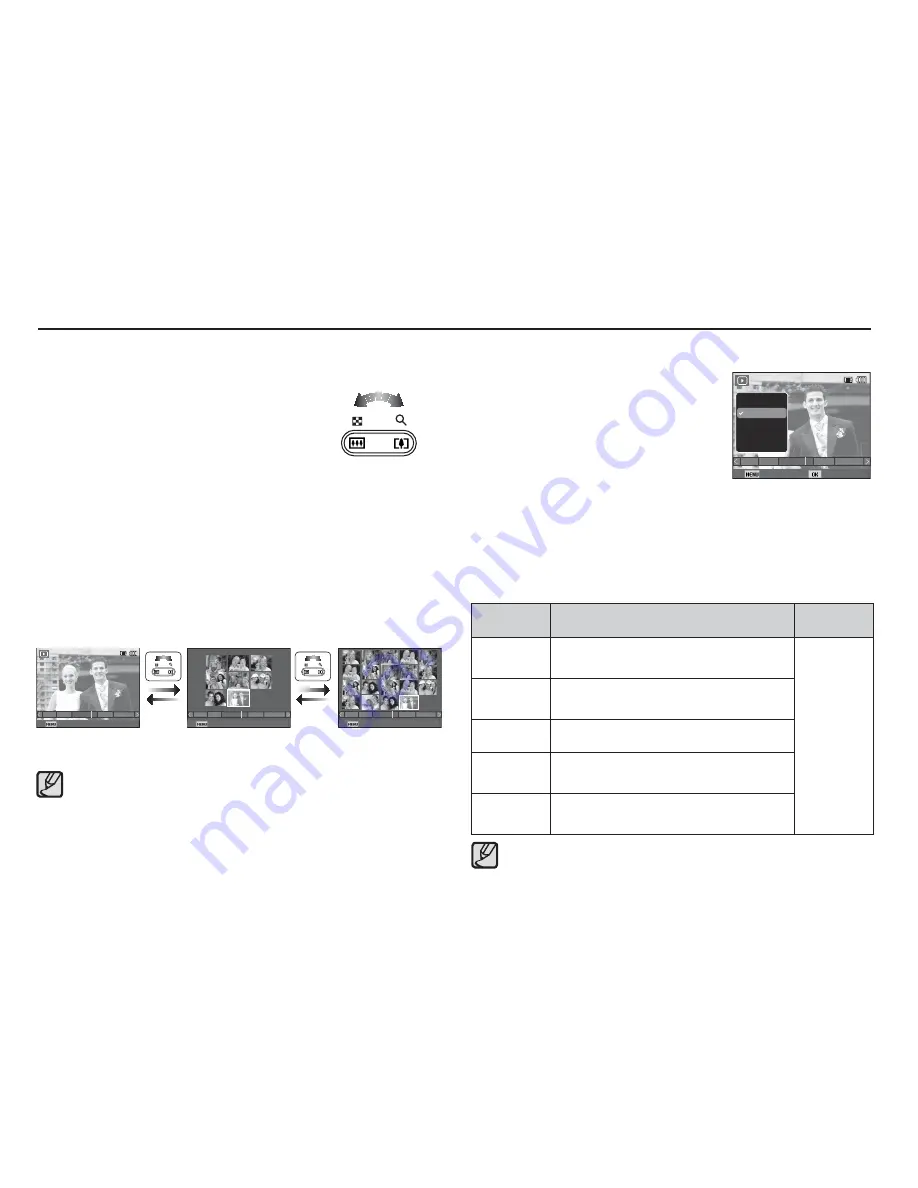
Ŷ
Smart Album Filter
1. Press the MENU button in Smart
Album mode. A list of categories
appears on the left of the screen.
2. Use the Up/Down button to move up
or down the list.
3. Press the OK button to select a
category. The camera selects the
images that
fi
t the category, then
displays them in the Smart Album
format.


