12
Quick Start
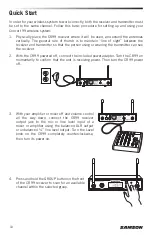
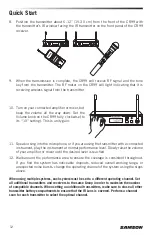
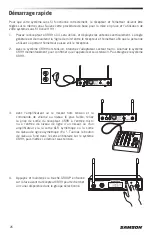
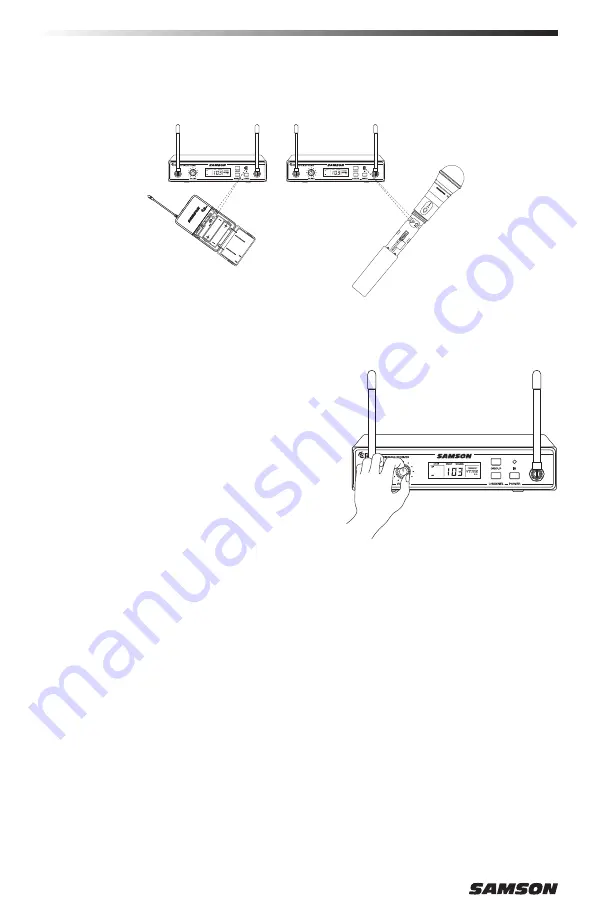
8. Position the transmitter about 6-12” (15-30 cm) from the front of the CR99 with
the transmitter’s IR window facing the IR transmitter on the front panel of the CR99
receiver.
9. When the transmission is complete, the CR99 will receive RF signal and the tone
key from the transmitter. The RF meter on the CR99 will light indicating that it is
receiving wireless signal from the transmitter.
10. Turn on your connected amplifier or mixer, but
keep the volume all the way down. Set the
Volume knob on the CR99 fully clockwise (to
its “10” setting). This is unity gain.
11. Speak or sing into the microphone, or if you are using the transmitter with a connected
instrument, play the instrument at normal performance level. Slowly raise the volume
of your amplifier or mixer until the desired level is reached.
12. Walk around the performance area to ensure the coverage is consistent throughout.
If you find the system has noticeable dropouts, reduced overall working range, or
unexpected noise bursts, change the operating channel of the system using the steps
above.
When using multiple systems, each system must be set to a different operating channel. Set
all additional transmitters and receivers to the same Group in order to maximize the number
of compatible channels. When setting an additional transmitters, make sure to close all other
transmitter battery compartments to ensure that the IR Lens is covered. Perform a channel
scan for each transmitter to select the optimal channel.
Содержание CONCERT 99
Страница 1: ...OWNER S MANUAL FREQUENCY AGILE UHF WIRELESS SYSTEM...
Страница 83: ......


