USB Storage Media · Print a List of Available Documents on USB Storage Medium
37
EN
5 Confirm with
OK
.
6 Using
[
, select whether you would like to save
the file as an image file or as a PDF file.
7 Confirm with
OK
.
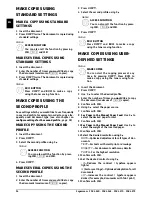
8 Select the desired resolution using
[
:
DRAFT
—Greyscale scan with low resolution, for
instance, for using on the Internet.
TEXT
—Black and white scan with medium resolu-
tion for text documents
GREY
—Greyscale scan with medium resolution
PHOTO
—Greyscale scan with high resolution, for
instance, for photographs
9 Confirm with
OK
.
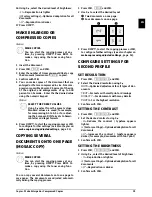
10 Set the desired contrast using
[
.
-
/
1
—Reduces the contrast / typeface appears
lighter
4
(Factory settings)—Optimized adaptation for all
documents
+
/
7
—Increases the contrast / typeface appears
darker (for example, documents with faint print)
11 Confirm with
OK
.
12 Using
[
, select the desired level of brightness:
-
/
1
—Reproduction is lighter
4
(Factory settings)—Optimized adaptation for all
documents
+
/
7
—Reproduction is darker
13 Confirm with
OK
. The document is scanned and
saved on the USB storage medium.
PRINT A LIST OF AVAILABLE
DOCUMENTS ON USB STORAGE
MEDIUM
Introduction
You can print a list of all the TXT-, JPEG-, and TIFF
files on the connected USB storage medium.
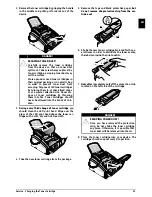
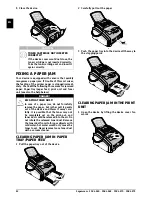
1 Make sure that a USB storage medium is con-
nected to the USB host port on the front of the
device. Connect a USB storage medium to the USB
host port as required.
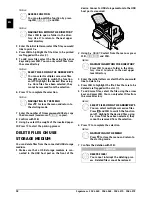
2 Using
[
PRINT LIST
select from the menu or
press
OK
,
911
and
OK
. The list is printed.
Print a List of Available Documents on USB Storage Medium
PRINT DOCUMENT FROM USB
STORAGE MEDIUM
Introduction
You can print one or more of the TXT-, JPEG-, and
TIFF files on the connected USB storage medium.
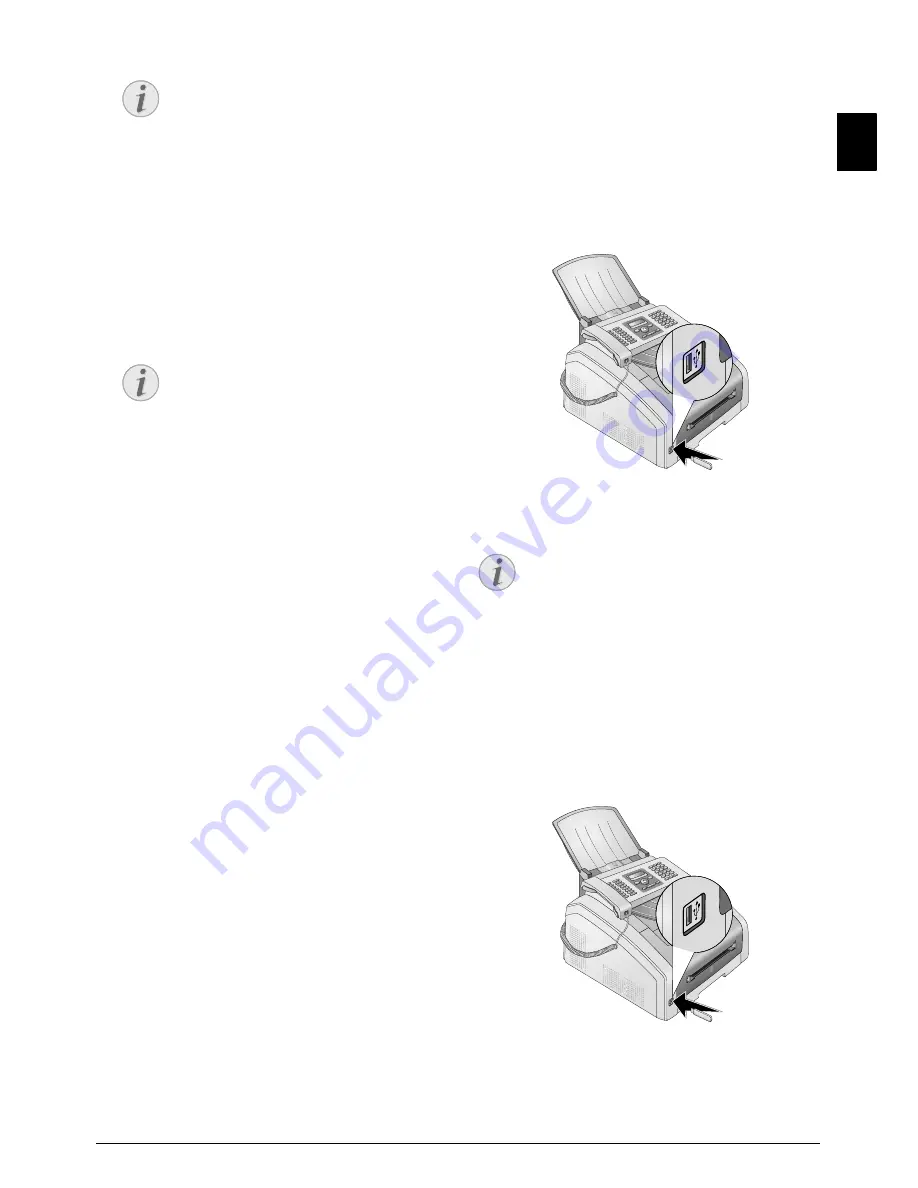
1 Make sure that a USB storage medium is con-
nected to the USB host port on the front of the
device. Connect a USB storage medium to the USB
host port as required.
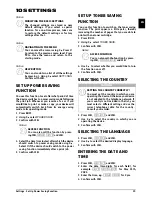
2 Using
[
PRINT FILE
select from the menu or
press
OK
,
912
and
OK
.
Notice
ENTER LETTERS
Enter capital letters by pressing and
holding
ú
key. You can enter space
using
½
.
To insert special characters and sym-
bols, press
;ü
. Press
ûü
to insert lan-
guage specific special characters. Select
with
[
. Confirm with
OK
.
You can move the cursor using
[
. Use
C
to delete individual characters.
Notice
SELECT THE FILE FORMAT
For an image file, you can select whether
you would like to save the file in TIFF or
JPEG format (see also chapter on
Select-
ing File Format
, page 42).
Notice
ACCESS FUNCTION
You can also call the function by pressing
OK
,
211
and
OK
.


