


978-922-1832
●
www.sagescience.com
●
BluePippin Operations Manual 460013 Rev F
8-2
5.
(Optional) Enter a BP pause value
. This is not recommended for Tight mode. See
Section 8.2, below, for a description of this feature.
6.
Enter the Sample ID information.
7.
Save.
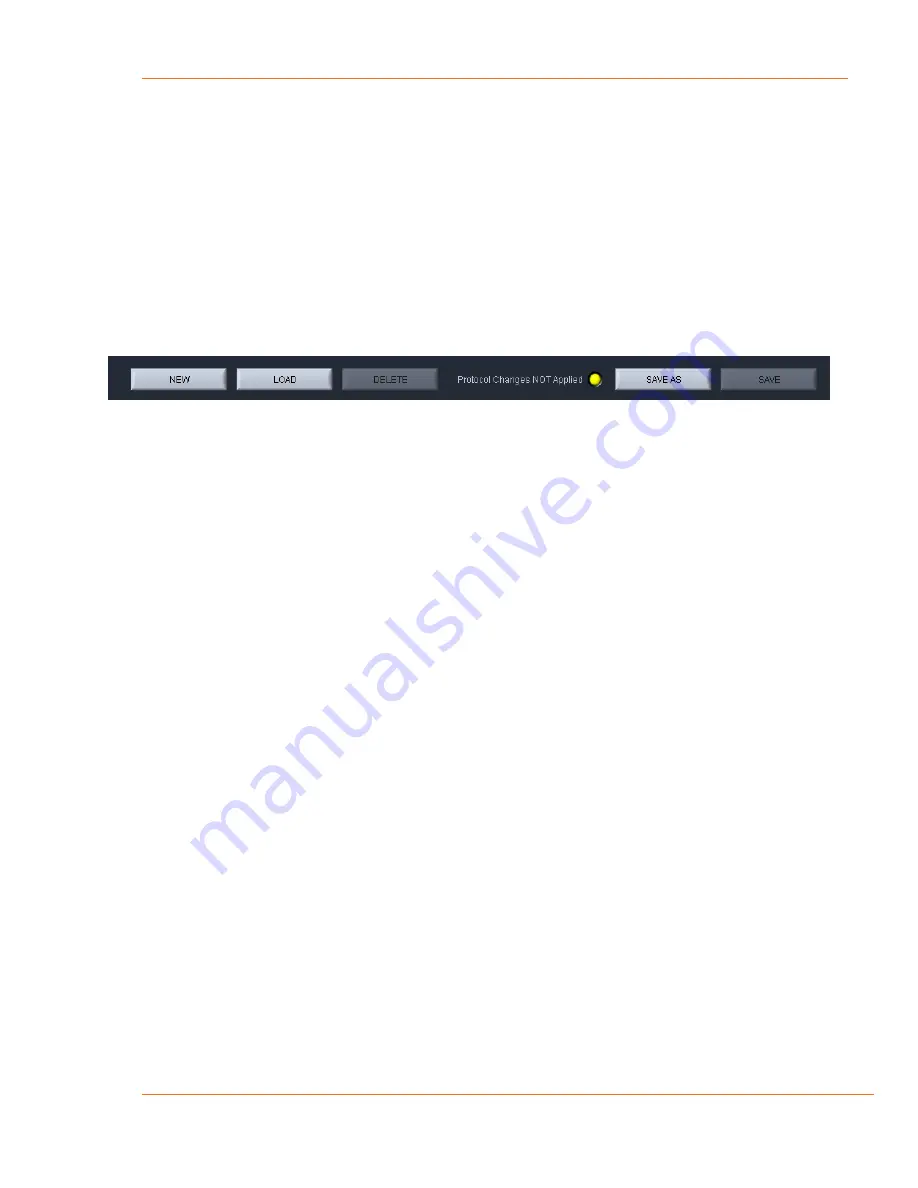
After programming a new protocol, or editing an existing one, the protocol file
must be saved prior to use. If the protocol is new, press “Save”. If a protocol has been
edited, a yellow alert will be displayed in the “Protocol Changes Not Applied” field. “Save”
will save the file under the previously saved name, and “Save As” will allow a new name
for the file to be applied.
All protocol files are saved in a file directory, /home/pippin/BluePippin/Protocols, and may
be accessed in the File Manager tab.
8.2 Range Mode
– programming broad size range collections
The “Range” programming mode is a method for selecting DNA size range collections by
a starting and ending base pair value in software. The system will collect the fragment
range between the start and end base pair values. This option should be used when
colle
ctions that are broader than are provided by the “Tight” setting are needed.
For size reference, either internal DNA standard or external DNA markers (run in a
separate lane) may be used, depending on cassette type and/or application. Cassette
kits for smaller DNA size range collections (90-1500 bp) use internal standards and
larger collections (>2 kb) require use of one cassette lane to run and external reference
marker. Assignation of reference DNA is detailed in
Sections
7.5
and
7.6
.
In the protocol editor:
1.
Select an appropriate cassette type for size selection
, if a new protocol is being
created.
2.
Assign the internal or external reference DNA
.
a.
For cassettes using
internal standards
:
i.
press the “USE INTERNAL STANDARDS” button.
b.
For cassettes using an
external marker
lane:
i.
enter the lane into which the marker will be loaded, into the “Reference Lane”
field (“1” is the default value)
ii.
press the “APPLY REFERENCE TO ALL LANES” button.