SDC-620 Multiple door controller
6
Copyright© 2016
– Saflec Systems (Pty) Ltd.
http://www.saflecsystems.co.za
NOTE:
The power supplied by the controller is dependant on the length of the cable and the
number of readers being supplied with power. Should the cable length be too long, or should there
be too many readers the voltage drop might cause the power to be insufficient.
The devices do not have to be powered from the controller. They can also be powered individually
from a separate power supply, should this be preferable, however best practice would be to strap
the ground of the external power supply to the ground on the controller as per the previous
diagram to prevent issues with a ground potential difference.
Step 5a: (Optional) Connect the Ethernet Host interface
One of the controllers on the RS-485 controller network has to be connected to the PC for the
device network to be able to communicate with the host system. This can be done through either
the Ethernet connection or the RS-232 connection.
The Ethernet cable is a non-
‘power over Ethernet’ cable to an RJ-45 plug. The typical wiring used
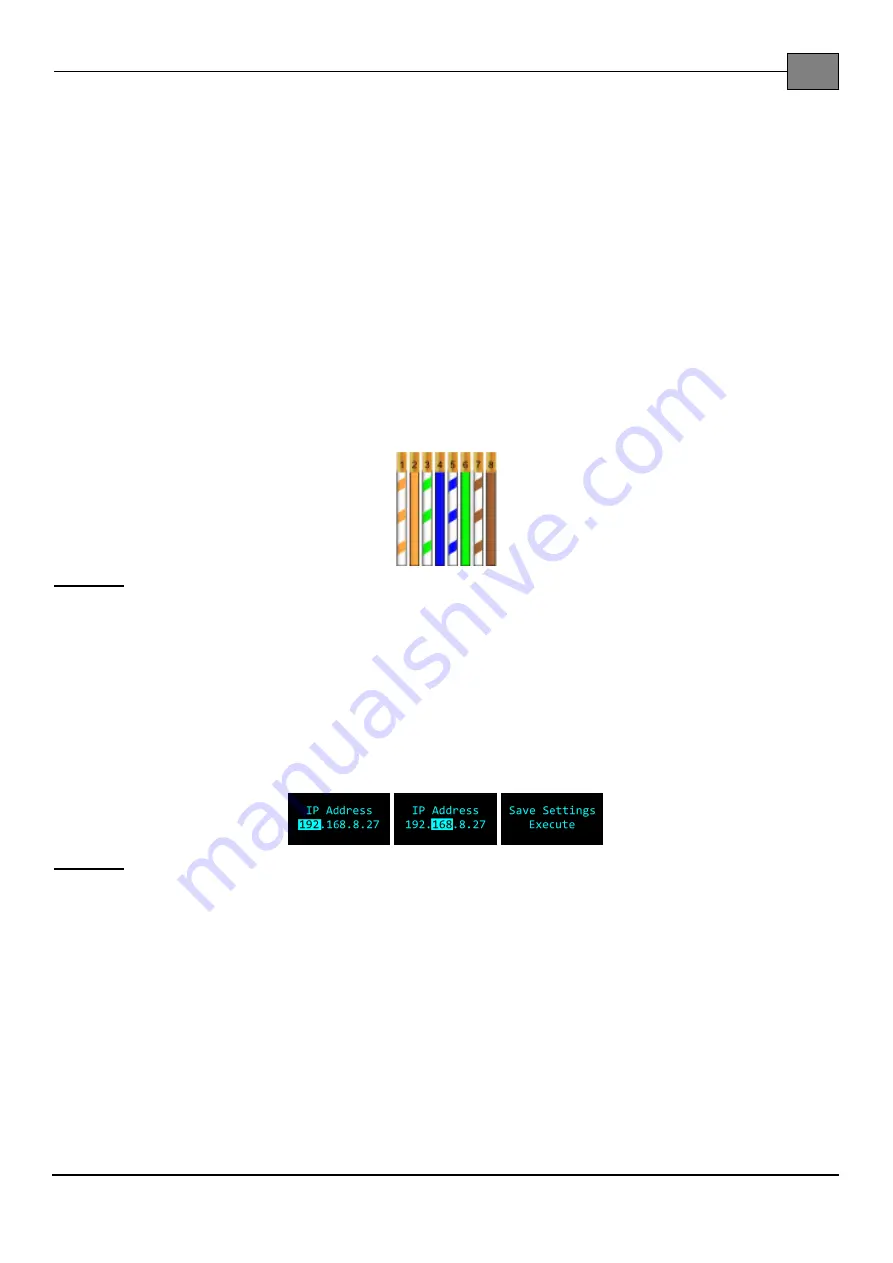
for the Cat5 cable that is used for this connector is the ‘T-586B’ wiring scheme as seen in the
figure below.
Figure 7
Wiring used in the RJ-45 plug as seen from below.
Configure the network configuration for the controller using the diagnostics panel:
Browse the menu to the page entitled ‘IP Address’
Press ‘Enter’ to edit the address
Using the Right and Left buttons select the part of the ad
dress that you’d like to change.
The part will be highlighted as in the figure below.
Use the Up and Down buttons to increase or decrease the number at that position. Holding
the button down will speed up the change.
Figure 8
The pages as seen during configuration.
Repeat the above process for the
‘Subnet Mask’ and ‘Gateway’ settings.
Once you’ve set everything correctly, browse through the pages until you get to a page
entitled ‘Save Settings’. Press Enter to apply the change then reboot the controller.


