


Then, click “Play” to immediately start playback.
4.4. Search
Via DVR
1) Full Event Search
Press “LIST” to show the list for all types of the recorded files. Choose the item you want to see and press
“ENTER” to start playback.
2) Search
by
Time
Press “MENU” to enter the menu list, and go to “ADVANCE” “EVENT LOG”. Move to “QUICK SEARCH”, and
press “ENTER” to enter the quick time search menu. You can search any specific events by time (Year / Month /
Day / Hour / Min) and directly play the file you find.
Via Supplied Software “Video Viewer”
Search by Event via the Supplied Software “Video Viewer”
Click
on the menu bar, and click
to enter the “Status List” page. Select the “Record” tab to show all
the recordings, or sort the list by time or event.
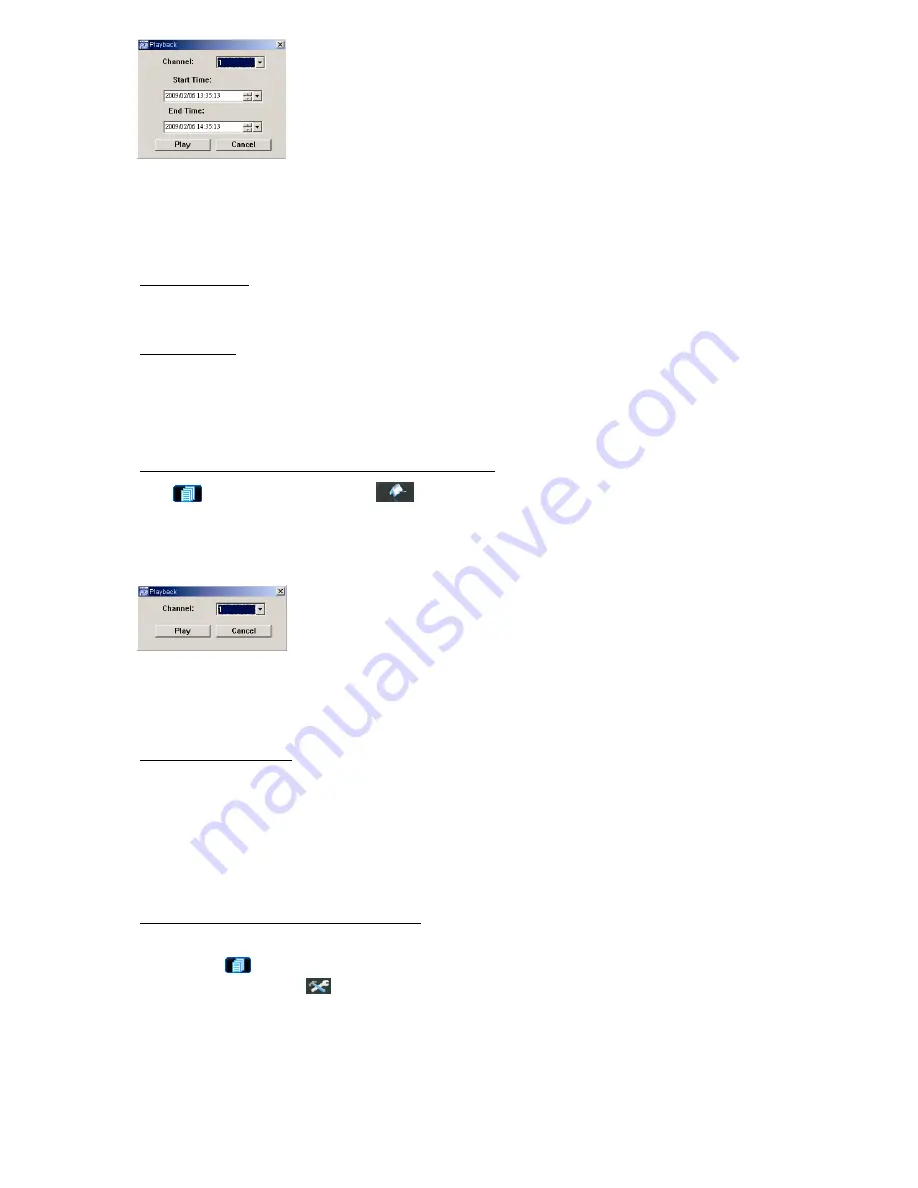
Select a log from the list, and click “Play”, or double-click the selected log. A channel selection window will pop up,
and you can select the channel you want to see from the drop-down list.
Then, click “Play” to immediately start playback.
4.5. Firmware / OSD Upgrade
1) By using USB flash drive
Step 1. Format the USB memory device as FAT32 format first.
Step 2. Get the upgrade files from your distributor and save the upgrade files in your USB flash device (do not
change the file name).
Step3. Insert the USB flash drive into the DVR USB port.
Step 3. Move to “ADVANCE” “SYSTEM INFO”, and move to “UPGRADE”. Press “ENTER”.
Step 4. Select “YES”, and press “ENTER” again to confirm upgrade.
2) By using the supplied software “Video Viewer”
Step 1. Save the upgrade files at your PC (do not change the file name), and log into Video Viewer.
Step 2. Click “
” (Miscellaneous Control) to show the miscellaneous control panel. In the miscellaneous
control panel, click “
” (
Tools) on the miscellaneous control panel to enter the upgrade window.
Step 3. Enter the user name, password, IP address and port number of the DVR.
Step 4. Click “Firmware” or “Language” tab as needed, and click “Add” to select the firmware or OSD files to
upgrade.
Step 5. Click “Update Firmware” or “Update Language” button to start the upgrade.


