background image


4.2. Recording 

When the recording and the pre-alarm function are activated, this device will overwrite 8GB data from the oldest 

for continuous recording without notice. 

1) 

Manual Recording Icon 

By defaults, when the DVR is properly connected with cameras and the HDD is installed, you can see “

” 

(recording) on the screen. 

2) 

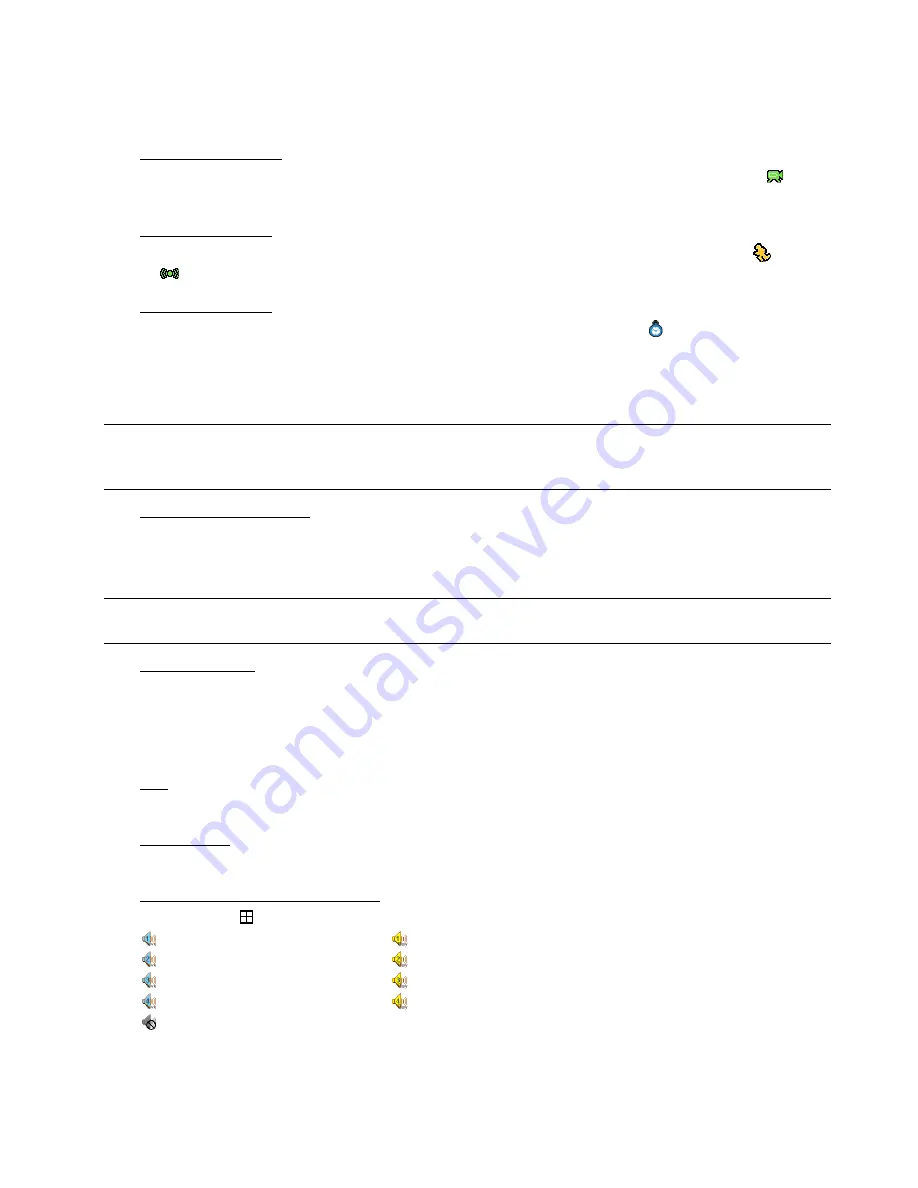
Event Recording Icon 

When the motion / alarm detection is activated, once motion or external alarm happens, you will see “

” (motion) 

or “

” (external alarm) on the screen. 

3) 

Timer Recording Icon 

When the timer record is activated, you will see the LED light of “Timer” is on, and “

” (timer) on the screen. 

4.3. Playback 

Press “PLAY” on the DVR control panel, and the device will playback the latest recorded video. 

Note: There must be at least 8192 images of recorded data for playback to work properly. If not, the 

device will stop playback. For example, if the IPS is set to 30, the recording time should be at least 
273 seconds (8192 images / 30 IPS) for the playback to work properly. 

1) 

Fast Forward / Fast Rewind 

You can increase the speed for fast forward and rewind on this device. In the playback mode: 

Press “

“ once to get 4X speed forward and press twice to get 8X speed, etc. And the maximum speed is 32X. 

Press “

“ once to get 4X speed rewind and press twice to get 8X speed, etc. And the maximum speed is 32X. 

Note: 

During playback, the image size of the recorded data (FRAME, FIELD or CIF) will be shown on the 

screen. 

2) 

Pause / Image Jog 

Press “

” to pause the playback. 

In the pause mode: 

Press “

” once to get one frame forward. 

Press “

” once to get one frame rewind. 

3) Stop 

Press “

” under the playback mode, and the screen of this device will return to live monitoring mode. 

4) Slow 

Playback 

Press “SLOW” to get 1/4X speed playback and press twice to get 1/8X speed playback. 

5) 

Audio Playback (Selected models only) 

Press “SEQ” + “

” to select the live or playback sound of the audio channels.


Live audio of the 1st audio channel 


Playback audio of the 1st audio channel


Live audio of the 2nd audio channel


Playback audio of the 2nd audio channel


Live audio of the 3rd audio channel


Playback audio of the 3rd audio channel


Live audio of the 4th audio channel


Playback audio of the 4th audio channel


The audio channel is not selected.


Содержание KD67x4

Страница 1: ...KD673_672_671_670_AC791_790_CD540_MR673_quick_V1 1 DIGITAL VIDEO RECORDER QUICK START Please read instructions thoroughly before operation and retain it for future reference...

Страница 2: ...the best image quality on your LCD monitor make sure 1 the selected DVR VGA output resolution is supported by your monitor and 2 the VGA output settings on both the LCD monitor and DVR are consistent...

Страница 3: ...ting mode press to change the setting in the menu 13 AUDIO SLOW ZOOM Press SLOW ZOOM at the same time to select live or playback sounds of the audio channels 14 PTZ SEQ Selected models only Press SEQ...

Страница 4: ...rt for connecting external devices external alarm PTZ camera etc For detailed I O port PIN configuration please refer to APPENDIX 1 in the user manual 7 VGA Selected models only Connect to a LCD monit...

Страница 5: ...le or RCA line with BNC connector 4 Camera Setup PTZ cameras only For detailed camera title ID protocol and baud rate setup please refer to 5 5 REMOTE in the user manual 3 3 Optional Peripheral Connec...

Страница 6: ...enu to set the password four digits The default admin password is 0000 3 7 Record Setting By defaults the record function is activated when the DVR is powered on and a camera is connected To change th...

Страница 7: ...Rewind You can increase the speed for fast forward and rewind on this device In the playback mode Press once to get 4X speed forward and press twice to get 8X speed etc And the maximum speed is 32X Pr...

Страница 8: ...5 Firmware OSD Upgrade 1 By using USB flash drive Step 1 Format the USB memory device as FAT32 format first Step 2 Get the upgrade files from your distributor and save the upgrade files in your USB f...

Страница 9: ..._D673_672_671_670_AC791_790_CD540_MR673_ _V1 1...

Страница 10: ...GA VGA 1 800 x 600 2 1024 x 768 3 1280 x 1024 4 1440 x 900 5 1400 x 1050 6 1680 x 1050 7 1600 x 1200 LCD 1 DVR VGA 2 DVR VGA DVR UPS 2 2 1 1 LED POWER DVR HDD ALARM TIMER PLAY DVR 2 MENU 3 ENTER 4 LIS...

Страница 11: ...VR UPS 11 1 4 12 13 AUDIO SLOW ZOOM SLOW ZOOM 14 PTZ SEQ SEQ PTZ PTZ 15 USB OSD USB USB FAT32 2 2 1 VIDEO INPUT 1 4 DVR 2 VIDEO OUTPUT CRT 3 AUDIO IN DVR DVR Audio 1 Audio 2 Audio 3 Audio 4 CH1 CH2 CH...

Страница 12: ...5 IR IR IR 6 EXTERNAL I O 9 PIN DSUB PTZ I O PIN 1 7 VGA LCD 8 LAN 9 DC 19V 3 3 1 DVR SATA 1 DVR DVR DVR 2 3 PCB DVR 4 5 DVR 1...

Страница 13: ...3 2 BNC RCA DVR DVR NTSC PAL 1 2 BNC RCA DVR 3 BNC RCA DVR 4 PTZ ID 5 5 3 3 DVR DVR 3 4 AC LED 10 15 DVR UPS 3 5 DVR DVR MENU admin 0000 DVR DVR 48 3 6 MENU ENTER admin 0000 3 7 DVR MENU 5 2 RECORD...

Страница 14: ...4 4 1 DVR 4 2 8GB 1 DVR 2 3 TIMER LED 4 3 DVR PLAY DVR 8192 8192 DVR IPS 30 273 8192 30 IPS...

Страница 15: ...RAME FIELD CIF 2 3 DVR 4 SLOW 1 4X 1 8X 5 SEQ DVR Audio 1 Audio 2 Audio 3 Audio 4 CH1 CH2 CH3 CH4 DVR Audio 1 Audio 2 CH1 Audio 1 4 4 1 DVR LIST ENTER 2 MENU ENTER 4 5 OSD 1 USB 1 USB FAT32 2 USB 3 US...

Страница 16: ...2 Video Viewer 1 Video Viewer 2 Video Viewer 3 DVR IP 4 OSD 5...

Отзывы: