INSTALLING A HARD DRIVE
PART 1: SEAT THE HARD DRIVE
Operating System Drives Only:
IMPORTANT: If you are replacing operating system hard drives, this is the sequence you should follow:
1. Power down the server.
2. Remove the operating system hard drives from the server.
3. Remove the remaining content or CreationStation hard drives, but be prepared to reseat them.
4. Seat the new operating system drives as shown in Steps 1 through 3 below.
5. Power on the server.
6. Configure the operating system hard drives as shown on Page 9 “Hard Drive Configuration”. If you are
adding more drives, you do not have to exit the Configuration Utility to reboot until all the drives have
been added.
7. Reseat the remaining content or CreationStation hard drives, wait until they appear in the configuration
utility and configure as shown on Page 9 “Hard Drive Configuration”.
For
T-420
,
T-400X
,
RM-400X
,
RM-640
and
RM-640X
: The operating system is on one hard drive. This drive is
placed in the bay labeled
0
.
For
WAN-880X
: The operating system is on two hard drives in a RAID array. The two hard drives that make up
the RAID are located in the bays labeled
0
and
1
.
For
WAN-1240
: The operating system is on two hard drives in a RAID array. The two hard drives that make up
the RAID are located in the bays labeled
8
and
9
.
If you received a single hard drive to replace a malfunctioning hard drive in the RAID array, you will need to
know which drive needs to be removed.
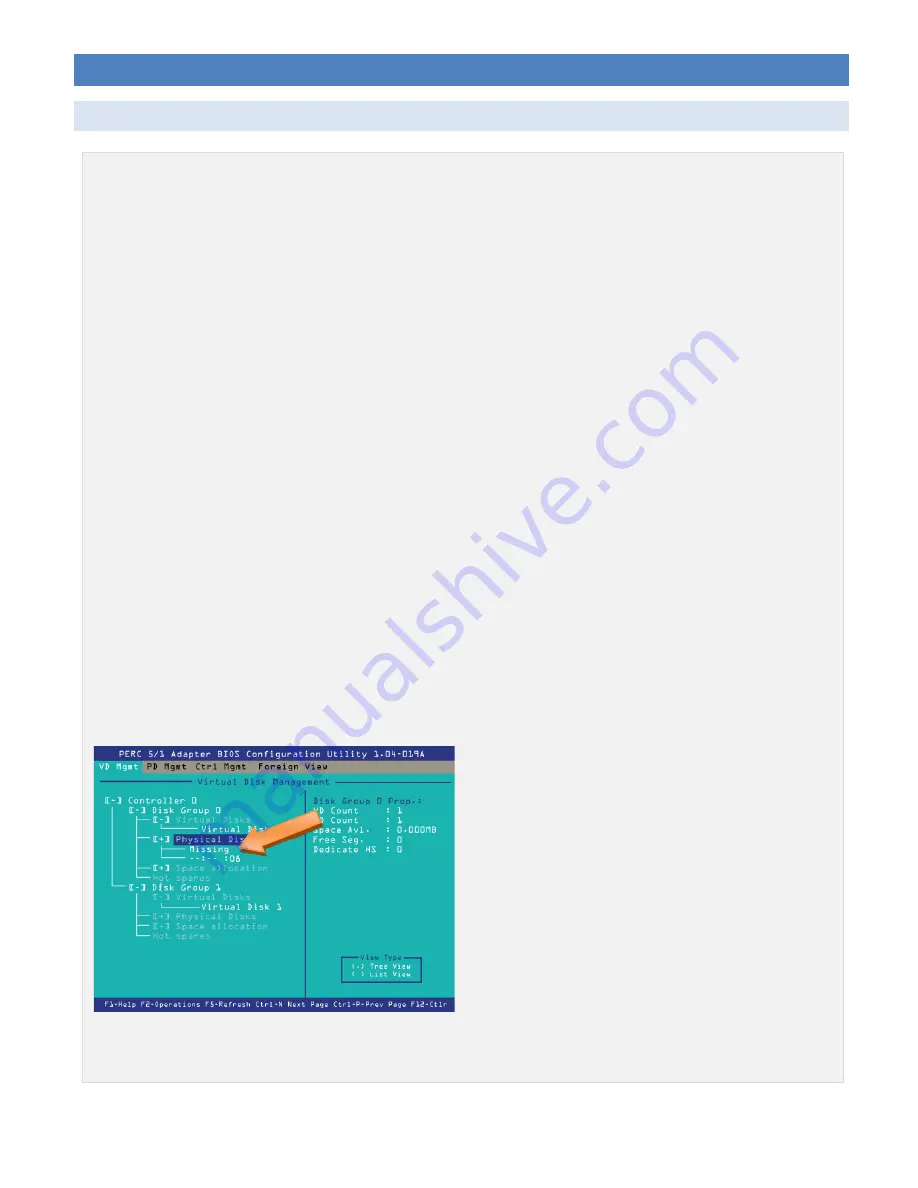
The “Virtual Disk Management” screen will report a missing disk if you are running with only one functioning
drive in the RAID array.
There will be a green light above the functioning drive. Please look for the lights above each bay as well as any
status or error messages that may be visible on the display on the front panel.
G1250V01D
Page 5


