31
Video Operations
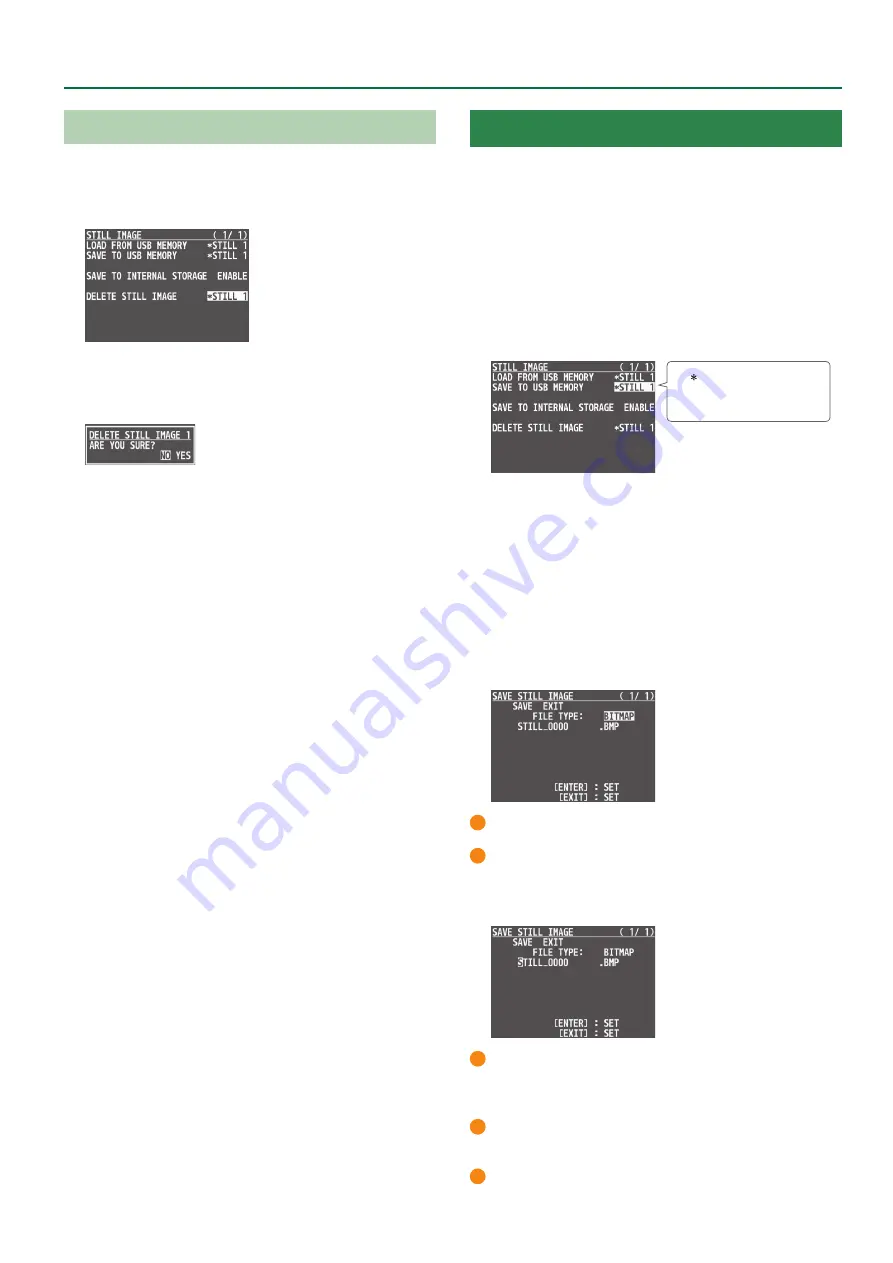
Deleting a Still Image
Here’s how to delete the still image that’s saved in the unit.
1 .
Press the [MENU] button
0
”STILL IMAGE”
0
select
“DELETE STILL IMAGE,” and press the [VALUE] knob.
2 .
Use the [VALUE] knob to select the still image you
want to delete, and press the [VALUE] knob.
A confirmation message appears.
* If you decide to cancel, press the [EXIT] button.
3 .
Use the [VALUE] knob to select “YES,” and press the
[VALUE] knob.
The still image is deleted. When the operation is finished, the
message “COMPLETE” appears.
* Do not turn off the power while the “PLEASE WAIT” message is
shown.
4 .
Press the [MENU] button to quit the menu.
Saving a Still Image to a USB Flash Drive
Here’s how a still image captured from the input/output video
(p. 29) can be saved to a USB flash drive.
* An image captured while HDCP is ON cannot be saved.
Saving a new still image file
1 .
Connect the USB flash drive to the USB MEMORY
port.
2 .
Select the [MENU] button
0
“STILL IMAGE”
0
“SAVE TO USB MEMORY,” and press the [VALUE] knob.
A “ ” symbol is displayed for
memory where a still image
is already saved.
3 .
Use the [VALUE] knob to select the memory
(STILL 1– 8) for the still image that you want to save,
and press the [VALUE] knob.
The SAVE STILL IMAGE screen appears.
4 .
Use the [VALUE] knob to select “NEW FILE...,” then
press the [VALUE] knob.
5 .
Use the [VALUE] knob to select the FILE TYPE, then
press the [VALUE] knob.
1
Use the [VALUE] knob to Select the file format (BITMAP, PNG, JPEG).
2
Press the [VALUE] knob.
6 .
Enter a file name.
* You can enter a text string of up to 16 characters in length.
1
Use the [VALUE] knob to move the cursor.
Pressing the [EXIT] button deletes the character at the cursor
location.
2
Press the [VALUE] knob to highlight the character at the cursor
location.
3
Use the [VALUE] knob to change the character, and press the
[VALUE] knob.


