


Fine-tuning the Cutting Conditions
You can accurately set items such as the blade force, movement speed, and blade offset to match the nature of
the media and the shape to cut. First, perform a cutting test, and then determine and enter the setting values.
After entering the setting values, perform a cutting test again and check the results. Repeat the process of per-
forming a cutting test and making the settings several times to find the optimal setting values.
Procedure
1.
Close the front cover.
2.
Press [
◀
], [
▶
], [
▲
], or [
▼
] to move the cutting carriage to the location where you want to carry out the cutting test.
You can freely set the location for the cutting test.
3.
Press [FUNCTION].
4.
Press [
▼
] several times to display the screen shown below.
FUNCTION
CUT CONFIG
5.
Press [
▶
] to display the screen shown below.
CUT CONFIG
TEST CUT
6.
Press [ENTER].
The test pattern is cut.
7.
When the cutting of the test pattern is finished, press [
▼
].
8.
Check the results of the cutting test.
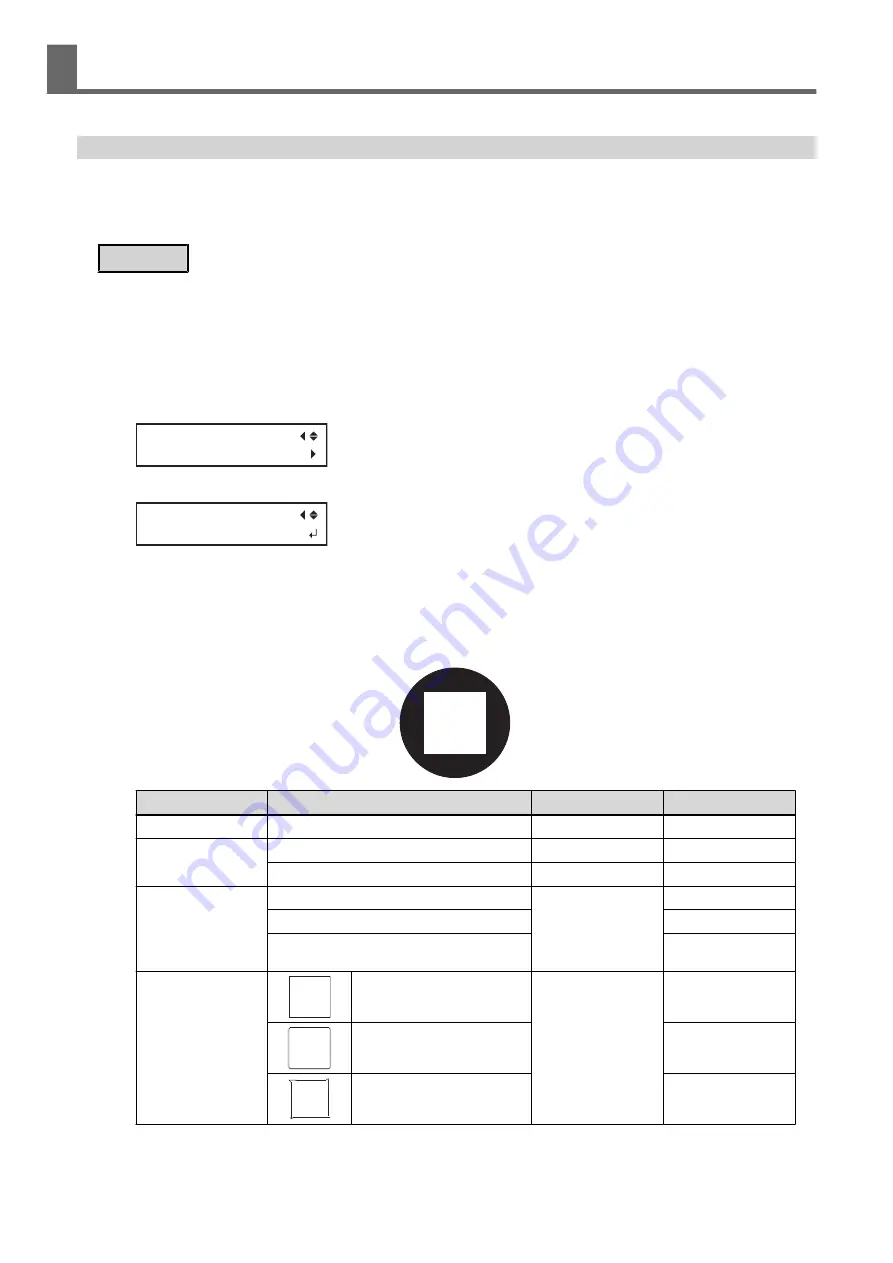
Check item
Result
Setting item
Adjustment
Check the shape.
The cut shape is distorted.
SPEED
Reduce
Peel off the circle.
The square also peels off.
FORCE
Increase
Some uncut areas remain.
SPEED
Reduce
Peel off the square.
The blade leaves faint traces on the backing paper.
FORCE
No change
The blade trace is indistinct.
Increase
The blade trace is too deep and cuts into the back-
ing paper.
Reduce
Check the shape of the
square you have peeled
off.
The corners are not rounded and
do not have "horns."
Offset
No change
The corners are rounded.
Increase
The corners have "horns."
Reduce
9.
Press [
▲
] or [
▼
] to select the cutting condition you want to set.
Accurately Adjusting the Cutting Settings
1. Optimizing the Output Quality
163
Содержание TrueVIS VG2-540
Страница 9: ...Chapter 1 Basic Handling Methods 8 ...
Страница 36: ...Setup of Media 2 Basic Operations 35 ...
Страница 43: ...Setup of Media 42 2 Basic Operations ...
Страница 60: ...Ink Pouch TR2 Cleaning Liquid Pouch Replacement 2 Basic Operations 59 ...
Страница 61: ...Chapter 2 Output Method 60 ...
Страница 70: ...REDO ADJ YES DONE 10 Press ENTER to confirm your entry Printing Output 1 Printing Method 69 ...
Страница 100: ...REDO ADJ YES DONE 10 Press ENTER to confirm your entry Printing and Cutting Output 3 Printing and Cutting Method 99 ...
Страница 122: ...REDO ADJ YES DONE 10 Press ENTER to confirm your entry Cutting with Crop Marks 4 How to Cut with Crop Marks 121 ...
Страница 138: ...Chapter 3 Optimizing Quality and Efficiency 137 ...
Страница 195: ...W1100mm B Adjusting the Output start Location 194 2 Optimizing Work Efficiency ...
Страница 217: ...Chapter 4 Maintenance 216 ...
Страница 272: ...Chapter 5 Troubleshooting Methods 271 ...
Страница 305: ...Chapter 6 Appendix 304 ...
Страница 308: ...8 Detach the blade holder Preparing to Move the Machine 1 Operations When Moving the Unit 307 ...


