Intelligent Dome Camera (6400AK Series) User Manual
11
structure of the Dome, and turn back to the initial position by the resetting program,
then vertically turn to 45
°
.When the Dome totally stops, the self-checking
finishes and it is ready to be under control.
c. You should wipe the dust and stain that on the transparent cast with a soft
flannel to prevent scratching the under hood.
d. Please let the screw be aligned from 3 holes in under hood and cover, and
fasten it with 3 M3 screws.
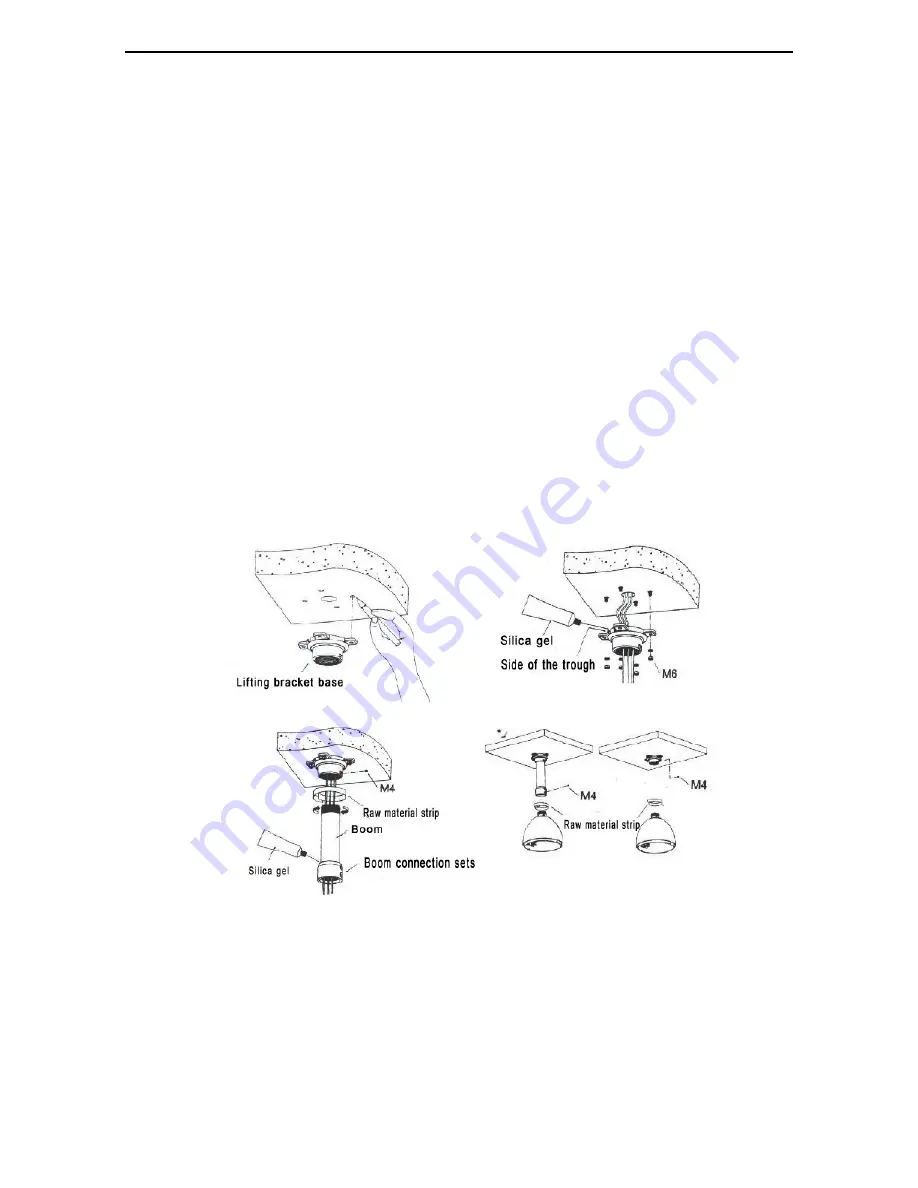
3.1.2 Intelligent Dome Camera Ceiling-mounted Bracket Installation
Ceiling-mounted Bracket Installation
Note: The ceiling which to be installed on should be solid and with no
delaminating. The bearing capacity of the installation location should be able to
afford at least five times of the total weight of the Dome, frame and pedestal, in
order to avoid image jitter caused by unstable installation
Note: If the camera used in outdoor, Waterproof seal should be in the camera
and bracket connecting part.
a. select a firm place on the ceiling that can withstand the weight of 5 kg.
b. With impact driller to lay a fixed hole on the mark holes.
c. Put the cable
、
communication line and video wire through the frame holes,
and set aside enough cable for connection.
d. Put the bracket secured to the ceiling then install the Dome Camera well.


