RT-7690-2 User Guide
17
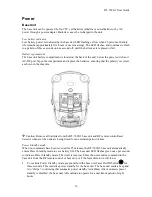
To re-enable automatic power standby, press and hold the Laser On/Off button again for three
seconds. The command is confirmed by another beep and one “chirp.”
When the base unit enters Power Standby mode, it “remembers” the settings that were in effect,
and returns to these settings when a command is issued and power comes back on. Current
settings are
not
retained when power is turned off with the base unit main power switch.
RF Remote Control/Laser Detector
The RF remote control/laser detector is powered by a 9V battery (alkaline or non-alkaline).
Low battery indicator
When RF remote control/laser detector battery capacity falls below 25 percent, an icon
on the
detector LCD display indicates low battery power (approximately four hours of use remaining).
Battery replacement
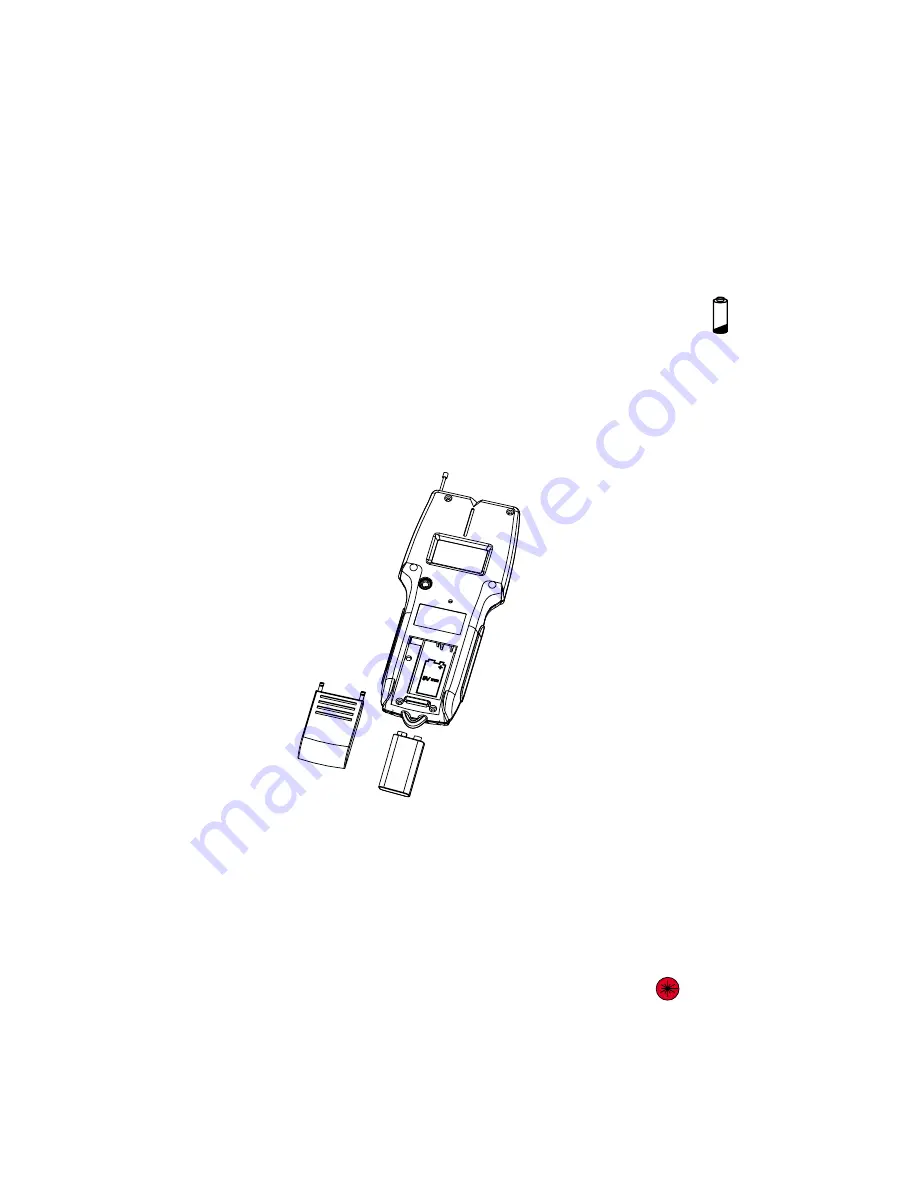
The remote control/detector battery compartment is located at the back of the unit. Open the
compartment and replace the 9V battery, ensuring that the polarity is correct, as shown in the
diagram.
Caution: Remove all batteries from the RT-7690-2 base unit and RF remote control/laser
detector whenever the units are being stored for an extended period of time.
Power Standby mode
The RF remote control/laser detector enters Power Standby mode if none of the RF remote
control buttons are pressed
or
if the detector is not used for 20 minutes. The RF remote
control/laser detector timer is reset each time the user presses a button to operate the RF remote
control or the detector is used.
To override Power Standby mode, press and hold the Laser On/Off button
on the RF
remote control/laser detector for three seconds. This overrides automatic power standby for
the RF remote control/laser detector. The RF remote control/laser detector emits a beep and
two “chirps,” confirming that automatic power standby is disabled. After automatic power
Содержание RT-7690-2
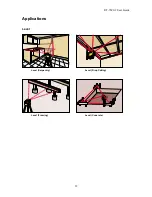
Страница 14: ...RT 7690 2 User Guide 12 Applications Level Level Carpentry Level Drop Ceiling Level Framing Level Concrete ...
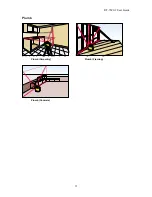
Страница 15: ...RT 7690 2 User Guide 13 Plumb Plumb Carpentry Plumb Framing Plumb Concrete ...
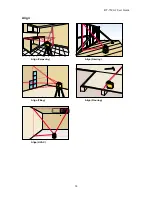
Страница 16: ...RT 7690 2 User Guide 14 Align Align Carpentry Align Framing Align Tiling Align Flooring Align HVAC ...
Страница 17: ...RT 7690 2 User Guide 15 Grade Grade Concrete ...

