197
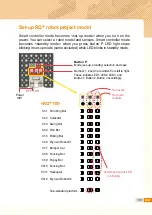
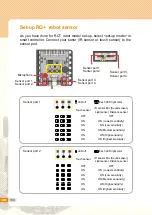
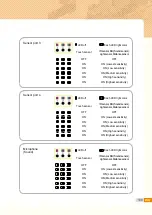
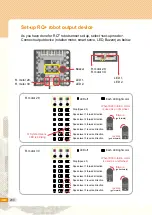
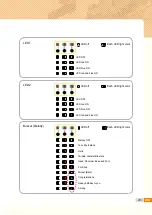
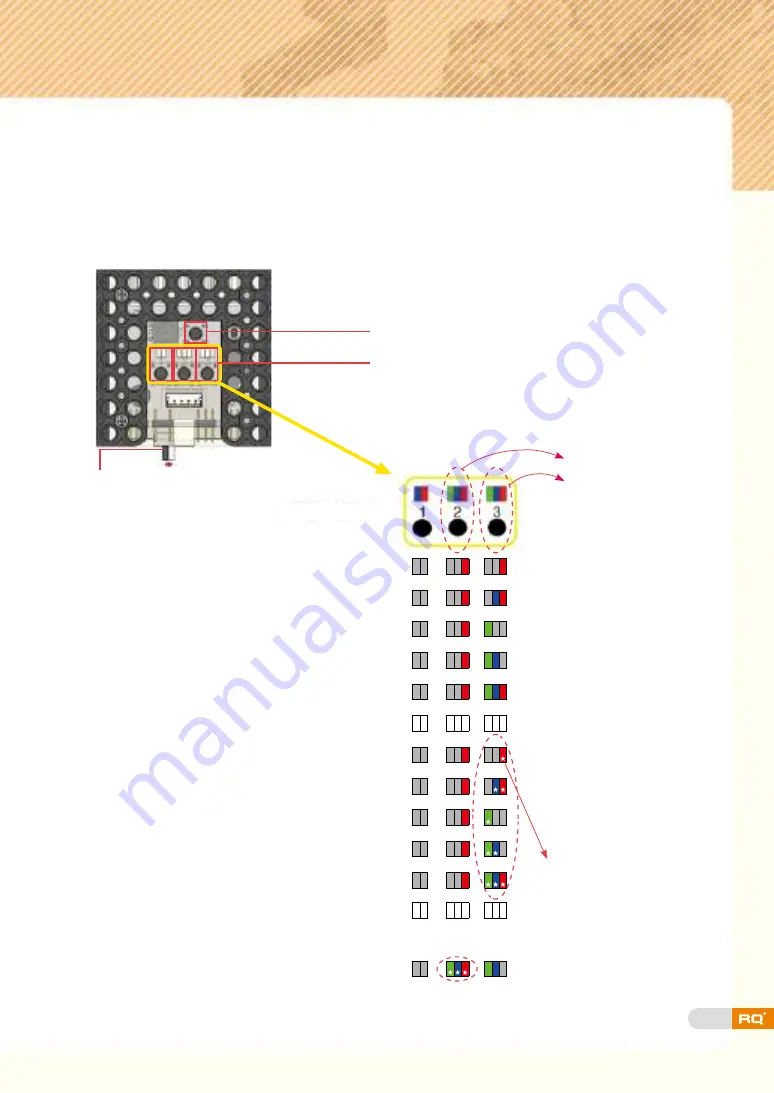
Set-up RQ+ robot project model
<RQ+110>
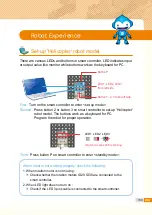
Smart controller mode becomes <set-up mode> when you turn on the
power. You can select a robot model and sensors. Smart controller mode
becomes <standby mode> when you press button P. LED light stops
blinking in set-up mode (some excluded) while LED blinks in standby mode.
Button P:
Mode (set-up, standby) selection and save
Power
S/W
OFF ON
Set levels
Set robot
models
★
Symbol means LED
is blinking.
Number 1, 2 and 3 are written from left to right.
These indicate LED1, LED2, LED3, and
Button 1, Button 2, Button 3 accordingly.
Ch1
Ch2
Ch3
Ch4
Ch5
Ch6
Ch7
Ch8
Ch9
Ch10
Ch11
Ch12
Punching Bot
Cultivator
Swing Bot
Fish Bot
Rolling Bot
My own Robot #1
Bumper Car
Fencing Bot
Puppy Bot
Fencing Bot
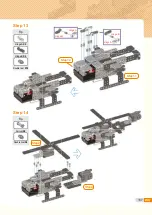
Helicopter
My own Robot #2
Non-standard platform
Содержание RQ PLUS 110
Страница 1: ......
Страница 2: ...List BASICS Punching Bot Cultivator Swing Bot Fish Bot Rolling Bot 06 20 40 58 74 90 ...
Страница 23: ...25 Step3 Step 6 Step 5 Tip Tip 3 5 frame X1 2 5 L frame X1 3 6 L frame X1 Double rivet X6 Double rivet X4 ...
Страница 25: ...27 Step7 Step8 Step 9 Step 10 Tip Tip Double rivet X2 Double rivet X8 ...
Страница 31: ...33 Punching Bot ready completion ...
Страница 37: ...39 0 02 ...
Страница 48: ...50 Step 15 Step 16 Tip Tip Double rivet X2 3 5 frame X1 5 5 frame X1 3s rivet X4 Double rivet X4 ...
Страница 50: ...52 Cultivator robot ready completion ...
Страница 72: ...74 Living under water fish 4 Fish Bot ...
Страница 77: ...79 Step3 3 7 frame X3 3 9 frame X1 2s rivet X2 Double rivet X10 Double rivet X1 Tip Tip Step 5 Step 6 ...
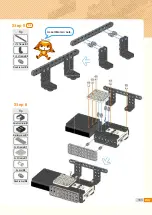
Страница 92: ...94 Tip Tip 3 7 frame X1 2 5 L frame X2 Double rivet X4 Smart controller X1 Double rivet X4 Step 3 Step 4 ...
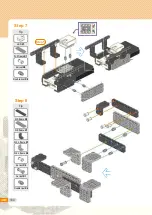
Страница 94: ...96 Tip 5 5 frame X1 Double rivet X8 Step 7 X2 Tip 2s rivet X4 Step 8 X2 ...
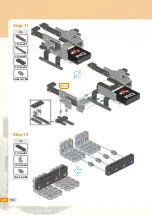
Страница 96: ...98 Tip Tip Double rivet X4 Double rivet X4 Step 11 Step 12 Step8 Step8 ...
Страница 103: ...105 0 02 ...
Страница 107: ...109 0 02 ...
Страница 113: ...115 Step5 Tip Tip 2 7 frame X1 3 5 frame X2 Wheel X1 Double rivet X7 Double rivet X6 Step 5 Step 6 ...
Страница 116: ...118 Step8 Tip Double rivet X2 Step 11 Tip Battery case X1 Double rivet X4 Step 12 ...
Страница 118: ...120 Cable connection status Bumper car ready Tip Double rivet X4 Step 15 completion ...
Страница 127: ...129 Tip Tip 2 9 frame X2 3 9 frame X1 5 5 frame X1 Double rivet X6 2 15 frame X3 Double rivet X10 Step 1 Step 2 ...
Страница 129: ...131 Step4 Tip Tip 3 7 frame X1 3 9 frame X1 3 5 L frame X1 Double rivet X4 3 7 frame X1 3s rivet X2 Step 5 Step 6 ...
Страница 130: ...132 Step6 Tip Tip 3 7 frame X1 3 9 frame X1 3 5 L frame X1 Double rivet X4 3 7 frame X1 3s rivet X2 Step 7 Step 8 ...
Страница 133: ...135 Tip Tip Battery case X1 3s rivet X1 Double rivet X4 Smart controller X1 3s rivet X1 Double rivet X2 Step 13 Step 14 ...
Страница 135: ...137 Rubber ring should be placed as below Step3 Tip Tip Rubber ring X1 Double rivet X4 Step 17 Step 18 ...
Страница 150: ...152 Step10 Tip Tip 2s rivet X3 1 5 frame X1 1 12 frame X1 2 9 frame X2 2s rivet X2 Double rivet X1 Step 12 Step 13 ...
Страница 152: ...154 Puppy Bot ready completion ...
Страница 166: ...168 Step8 Tip Tip 2 5 L frame X1 3 5 L frame X1 Double rivet X4 Double rivet X2 Step 11 Step 12 ...
Страница 175: ...177 0 02 ...

