13
Connecting to your computer network
Before you can use your iStream 2 radio to listen to internet radio or to music streamed
from your computer, it must
fi
rst be connected to your computer network.
This section of this book describes how to connect the radio to your network using
the wireless (WiFi) connection.
The following instructions assume that you have just set up the clock and time options
using the Setup Wizard as described on the preceding page.
These instructions also apply to the Network Wizard in the Network Settings menu
(from step 3 onwards).
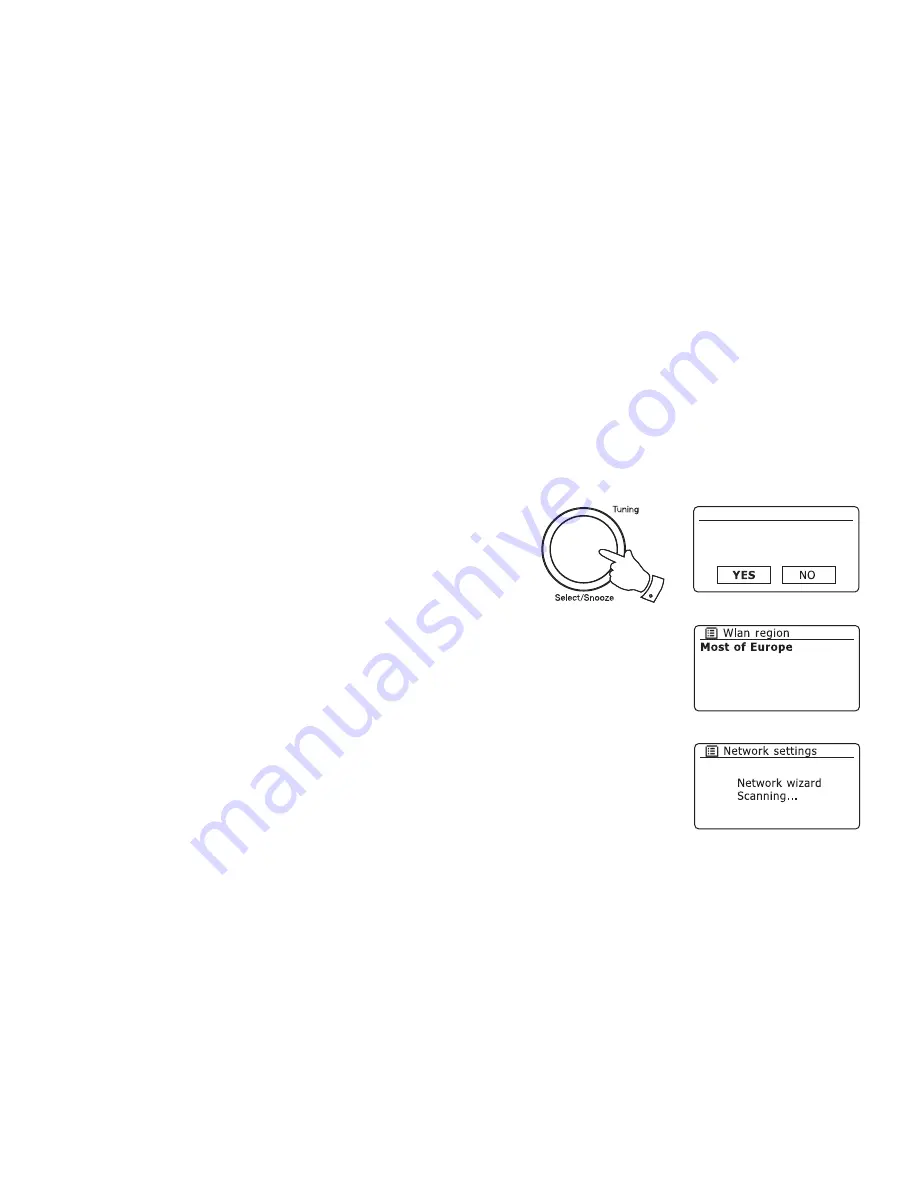
1. After setting the Daylight Savings options (see page 12), the display will show
the
'Keep network connected?'
option. You should choose
'Yes'
if you wish to
keep the radio connected to the network when it is in Standby mode. This will
allow remote control software to switch on your radio when needed.
If you choose
'No'
then your radio will shut down its WiFi connection when it is
in Standby, DAB, FM, or Aux-in modes. This minimises power consumption but
it does mean that you will need to switch the radio on manually in order to use
either Spotify Connect, the 'Play to' function or any remote control software such
as ConnectR app.
Rotate
the
Tuning/Select
control to highlight the required option and then press
the control to make the selection.
2. After setting the Keep Connected option, the display will show a list of supported
WiFi regional options.
Rotate
the
Tuning/Select
control to highlight the required region (for the UK
choose
'Most of Europe'
), and then press the control to make the selection. Your
radio will then scan for available WiFi networks.
3. The radio will enter the Network Settings Wizard and will display
'Scanning...'
.
The radio will automatically scan both 2.4GHz and 5GHz WiFi bands. After a
short while the display will show a list of the available WiFi networks.
1-3
Network settings
Keep network connected?
*


