Montage- und Bedienungsanleitung
Assembly and operating instructions
Notice de montage et d´utilisation
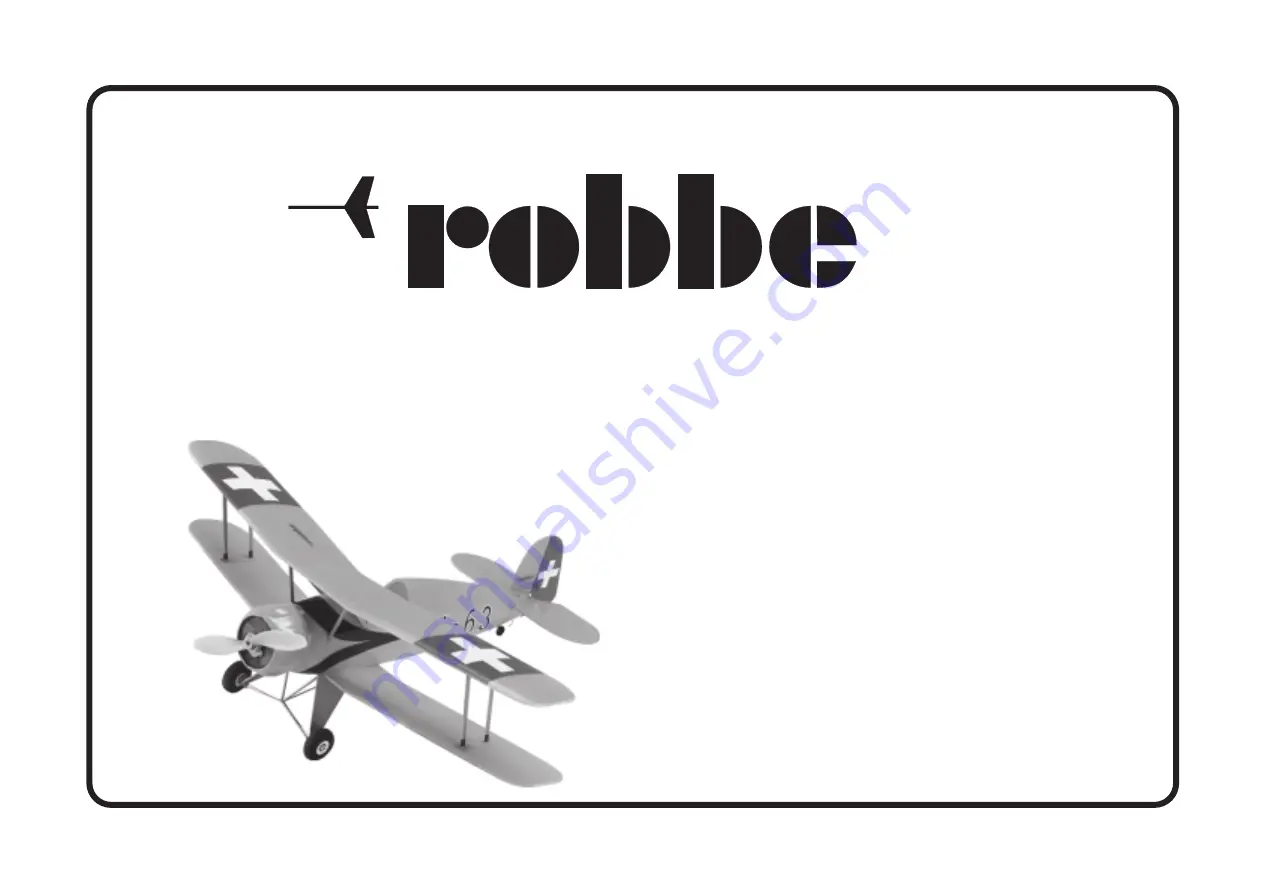
Bücker
Jungmeister
No. 3041
Страница 1: ...Montage und Bedienungsanleitung Assembly and operating instructions Notice de montage et d utilisation B cker Jungmeister No 3041...
Страница 2: ...r et les colles cyano acrylates entra nent une destruction du mat riau Pour coller des l ments de plastique avec des pi ces en styropor utiliser exclusivement de la colle poxy Pour des raisons d conom...
Страница 3: ...hacun des transferts et les tremper approxima tivement 60 secondes dans l eau Un conseil l adh rence des transferts est nettement am lior e lorsque les emplacements du mod le sur lesquels ils sont app...
Страница 4: ...g Assembly instructions Notice de montage 3041 No Zeichnungen f r Tragfl chen und Fahrwerksstreben im Ma stab 1 1 Full size drawings for wing struts and landing gear struts Sch ma l chelle 1 des entre...
Страница 5: ...B cker Jungmeister 6 Bauanleitung Assembly instructions Notice de montage 3041 No 1 2 3 4 1 2 5 5 1 2 3 4 7 6...
Страница 6: ...ide the fuselage The position of the formers inside the fuselage is indicated by notches moulded into the inside surfaces Note that the front former has to be angled slightly to pro vide about 2 of ri...
Страница 7: ...B cker Jungmeister 8 Bauanleitung Assembly instructions Notice de montage 3041 No 5 6 7 8 5 10 9 8 9 13 12 14 14 1 mm R R R 12 13 S 12 13...
Страница 8: ...control sur faces to and fro a few times to ensure that the hinge works freely Fig 7 Apply the decals to both sides of the rudder Drill 1 mm linkage holes in the horns 14 Cut slots in the elevator 12...
Страница 9: ...B cker Jungmeister 10 Bauanleitung Assembly instructions Notice de montage 3041 No 9 10 11 12 15 6 4 18 15 17 18 16 18 16 17 19 20 21 18...
Страница 10: ...c tube 18 onto the end of the wire and secure with a drop of cyano Fig 11 Connect the front end of the pushrod to the servo output arm in the same way Glue the guide tubes to the fuselage and former 4...
Страница 11: ...B cker Jungmeister 12 Bauanleitung Assembly instructions Notice de montage 3041 No 13 14 15 16 22 22 24 23 23 5 X links X rechts 90 25 29 30 34...
Страница 12: ...ess Fig 15 Glue the bottom wing 23 to the fuselage 5 Note that the wing must be positioned centrally and square relative to the fuselage centreline X right X left Place the water slide trim stripe tra...
Страница 13: ...B cker Jungmeister 14 Bauanleitung Assembly instructions Notice de montage 3041 No 17 18 19 20 S 25 26 S 27 28 29 30 31 35 35 30 31 36 36...
Страница 14: ...ing is crucial if the model is to fly well The wings must not be warped and the angle of incidence must be correct as dictated by the jig Fig 18 Glue the inboard wing struts 27 28 and 29 between the f...
Страница 15: ...ngmeister 16 Bauanleitung Assembly instructions Notice de montage 3041 No 21 22 23 24 32 33 34 33 32 37 38 38 40 40 39 Stecksystem connector system Syst me de connexion X links X rechts Schema scheme...
Страница 16: ...motor as fol lows solder one pin of each capacitor to the motor can after filing the metal surface perfectly clean Fit an insu lating sleeve on each of the second pins and push them through the motor...
Страница 17: ...Washer 4 x 12 x 23 5 mm Rondelle 4 x 12 x 23 5 mm Motor Motor Moteur Ritzel Pinion Pignon Getriebe 41 Gear 41 Engrenage 41 Empf nger Receiver R cepteur Regler Speed controller Variateur Doppelklebeba...
Страница 18: ...ceiver plate 7 inside the cockpit using double sided foam tape Fig 28 Connect all the components of the receiving system Check the direction and travel of the rudder and elevator control systems Check...
Страница 19: ...B cker Jungmeister 20 Bauanleitung Assembly instructions Notice de montage 3041 No 30 29 C G 85 95 mm Decorbilder Decals Autocollants Auswiegen Balancing Equilibrage 31 Faden Line Fil...
Страница 20: ...own in the sketch The amount of tension in the thread dictates the dihedral we recommend 2 cm per side as starting point Check that the dihedral is the same on both sides Try different dihedral settin...
Страница 21: ...ave access to a hard smooth take off strip Carry out a few taxi ing tests before you try a take off so that you get a feel for the model s general ground han dling and are familiar with the model s re...
Страница 22: ...robbe Modellsport GmbH Co KG Metzloserstr 36 Telefon 06644 87 0 36355 Grebenhain IAA...