


Operate the PrismPlus
Loading the discs
1. To open the printer tray, press the
Operator button
.
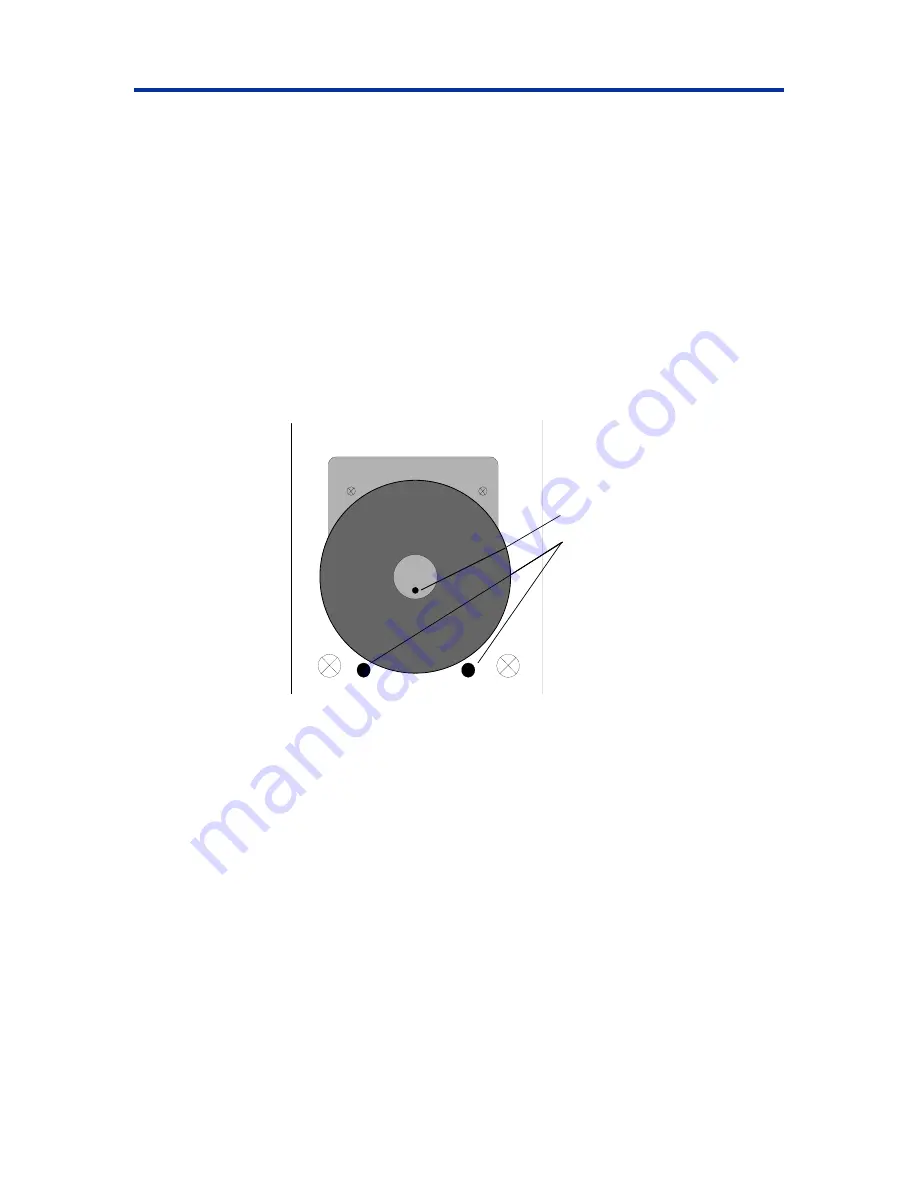
2. Place one disc on the rubber pad between the two clamping pins and the centering pin.
-
Important!
Place the disc with the recording side facing down. The recording side has a
stacking ring close to the hub that you can feel with your fingers. If you insert a disc with
the stacking ring facing up, you will damage the print head.
Note:
If the disc is resting on the clamping pins, the printer tray will not close.
The print pad and plate vary between the standalone and the automated models. The
automated models have a hole through the center of the plate; the standalone model
does not. All models have a centering pin.
3. To close the printer tray, press the
Operator button
.
Centering Pin
Clamping Pins
Selecting the printing preferences
Navigating to printing properties
1. Navigate to the printers.
•
In Windows 2000,
navigate
: Start > Settings > Printers. The
Printers
dialog box displays.
•
In Windows XP,
navigate
: Start > Printers and Faxes. The
Printers and Faxes
dialog box
displays.
2. Right-click
on
Rimage Perfect Imager Printer PF
and select
Properties
from the drop-down
list. The
Rimage Perfect Image Printer PF Properties
dialog box displays.
110635_G
9
Содержание Prism CDPR11
Страница 1: ...Rimage PrismPlus TM User Guide...
Страница 2: ......
Страница 6: ...Rimage PrismPlus ii...
Страница 10: ...Rimage PrismPlus 4 110635_G Rear view...