20037075
36
GB
Start-up, calibration and operation of the burner
Further interfaces and computer communication functions for re-
mote control or integration in centrally supervised systems are
available according to the system’s configuration.
NOTE
The first start-up and all further operations concerning internal set-
tings of the control system or expansion of basic functions, are ac-
cessed with a password and are reserved for technical service
personnel specifically trained for internal programming of the in-
strument and for the specific application obtained with this burner.
The first start-up and curve synchronization manual is supplied with
the burner.
The complete manual for checking and setting all parameters will
be provided on application.
5.6
Final calibration of the pressure switches
5.6.1
Air pressure switch
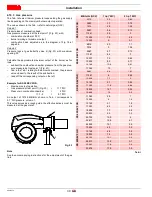
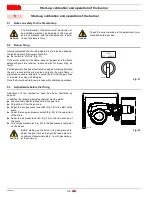
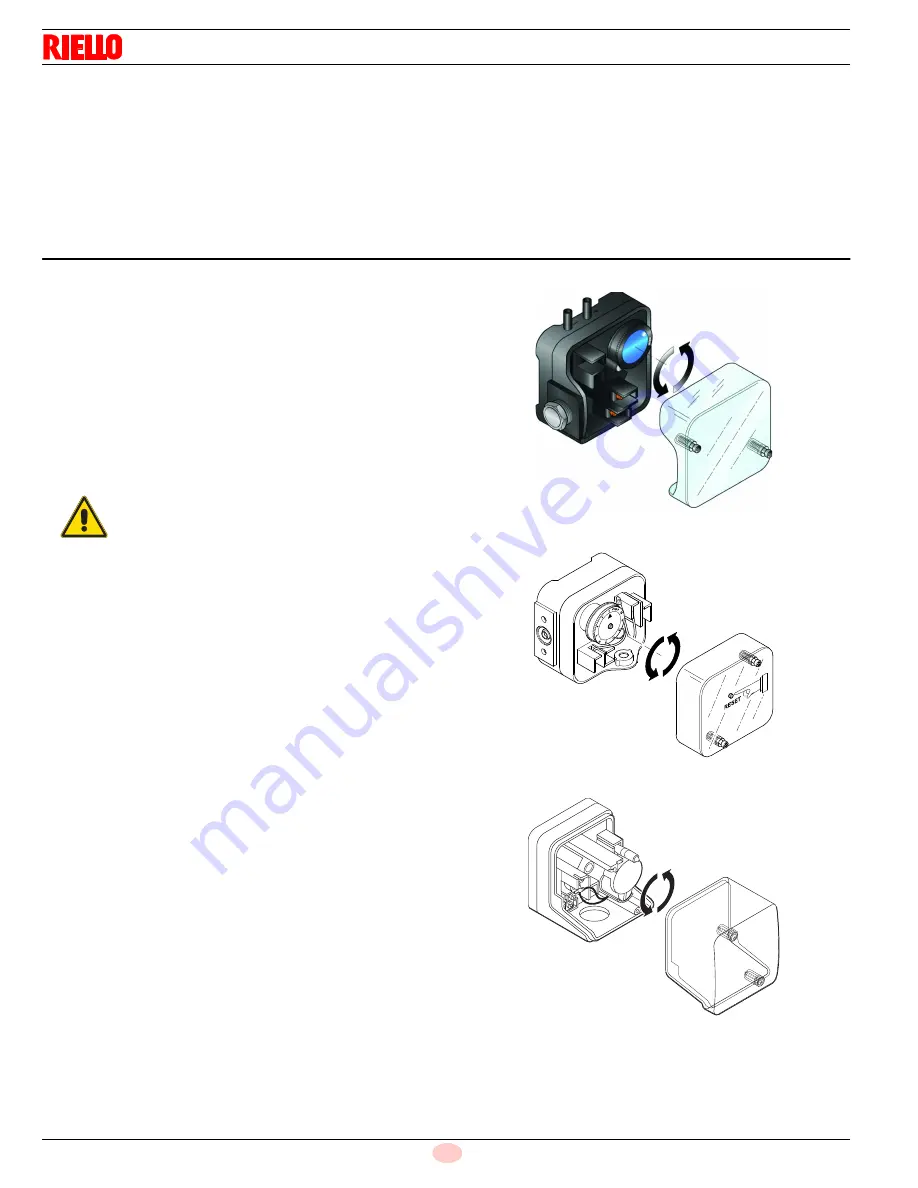
Adjust the air pressure switch (Fig. 34) after having performed all
other burner adjustments with the air pressure switch set to the
start of the scale.
With the burner operating at min. output, increase adjustment pres-
sure by slowly turning the relative dial clockwise until the burner
locks out.
Then turn the dial anti-clockwise by about 20% of the set point and
repeat burner starting to ensure it is correct.
If the burner locks out again, turn the dial anti-clockwise a little bit
more.
To check this, insert a combustion analyser into the chimney,
slowly close the fan suction inlet (for example with cardboard)
and check that the burner locks out, before the CO in the fumes
exceeds 1%.
5.6.2
Maximum gas pressure switch
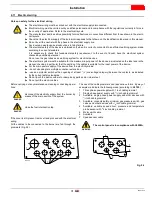
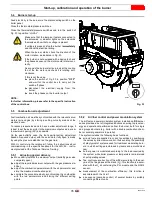
Adjust the maximum gas pressure switch (Fig. 35) after having per-
formed all other burner adjustments with the maximum gas pres-
sure switch set to the end of the scale.
With the burner operating at MAX output, reduce the adjustment
pressure by slowly turning the adjustment dial anticlockwise until
the burner locks out.
Then turn the dial clockwise by 0.8” WC and repeat burner firing.
If the burner locks out again, turn the dial again clockwise by
0.4” WC.
5.6.3
Minimum gas pressure switch
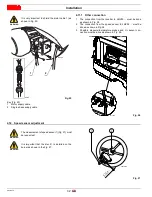
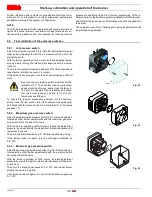
Adjust the minimum gas pressure switch (Fig. 36) after having per-
formed all the other burner adjustments with the pressure switch
set at the start of the scale.
With the burner operating at MAX output, increase adjustment
pressure by slowly turning the relative dial clockwise until the burn-
er locks out.
Then turn the dial anti-clockwise by 0.8” WC and repeat burner
starting to ensure it is uniform.
If the burner locks out again, turn the dial anti-clockwise again by
0.4” WC.
WARNING
As a rule, the air pressure switch must prevent the
formation of CO. To check this, insert a combustion
analyser into the chimney, slowly close the fan suc-
tion inlet (for example with cardboard) and check
that the burner locks out, before the CO in the
fumes exceeds 400 ppm.
Fig. 34
D3854
Fig. 35
D9272
Fig. 36
D9290
Содержание RS 300/EV FGR
Страница 2: ......

