


English – 11
Settings
Press the Main Menu Key to access the submenus de-
scribed in Table 4.
Use the Arrow Keys to navigate through the submenus and
the various options within each submenu. Use the Select
Key
to make selections and to apply changes. Use the
Main Menu Key to exit.
Custom Settings Menu
Icon Name
Purpose
CS6 Settings
Adjust speaker volume and
tone, keyboard settings, and
font size.
Reel Options
Adjust measurement units.
LCD
Adjust brightness and con-
trast.
Date / Time
Adjust formatting for date and
time as they are displayed on
the CS6 and in reports.
Battery
Contains battery type and
voltage sense.
Region
Change language and other
locale specific settings.
About
Contains information specif-
ic to your individual CS6 and
software versions.
Reports
Job Manager Menu
Press the Job Manager Key to create a new job or select
the Active Job to preview in the Job Review Menu. All new
captured media is saved to the Active Job.
Erase jobs from the USB drive in the Job Manager Menu.
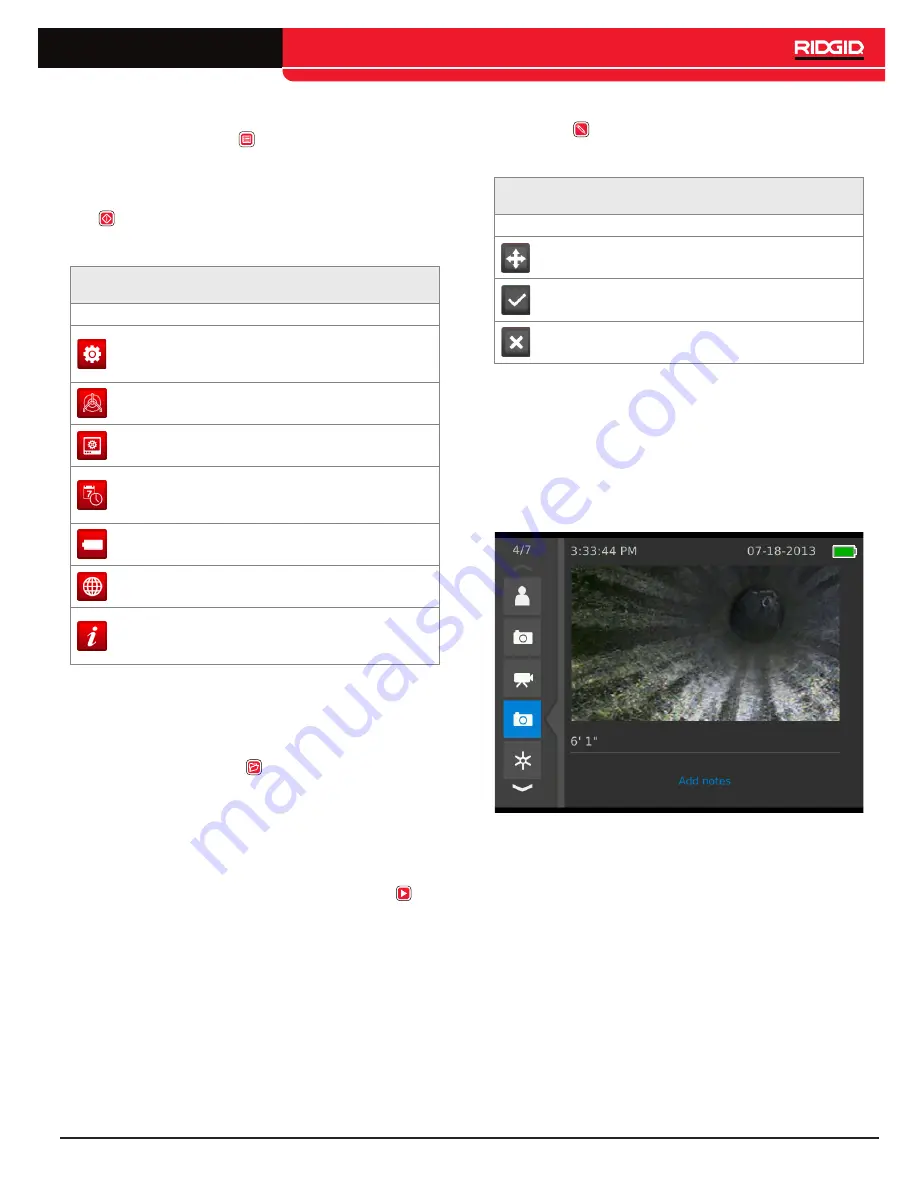
Previewing Reports
Preview the report by pressing the Job Review Key and
playback videos from the Job Review Menu by pressing the
Select Key.
Add job information notes to reports, video notes, and view
report media statistics and report header information in the
Job Review Menu.
On-screen Text on Media and Reports
Display notes using the on-screen keyboard during an in-
spection and after the job is complete.
Burn text into the video layer while video recording. Press
the Text Key
on the unit to open a text box and insert text
using the Arrow Keys and the Select Key.
On-screen Text Icons
Icon Name
Purpose
Move
Position text box in live feed.
Check Mark
Prints to screen and will ap-
pear in all media.
Cancel
Discards changes.
Use the Check Mark Icon to insert text onto the image. This
text will be burned on to all captured media. To edit or delete
the text, press the Text Key .
Add notes to captured media in the Job Review Menu. Press
the Job Review Key to view the Active Job and navigate to
desired media. The text entered into text fields is saved in
the report.
Figure 9 – Report Preview
Delivering Reports
Press the Job Manager Key and navigate to select Active
Job. The job is saved and annotated by the date the job was
made. Once the Active Job is selected, press the Job Man-
ager Key to exit out of the Job Manager Menu and select the
Job Review Key to preview job.
A USB drive must be inserted into the CS6 to save the job.
Insert the USB drive into a USB drive port on a computer
and open the file named “report.html” to view the report in a
web browser.
An internet connection is not necessary to view the report.
Click on the preview of each media item in the web browser
to view full size photos and to playback video and Autolog
video.
Содержание SeeSnake CS6
Страница 15: ...English 15 Notes ...


