


10 – English
pressing the Select Key.
Video and Autolog video can be recorded simultaneously
and independently of each other. Both recording types can
be started and stopped without affecting the other.
Recording Autolog Video
Autolog videos are made up of continuous audio recording
and variable frame rate compressed video. The video com-
pression rate of Autolog is approximately one tenth the size
of traditional video recording.
When the camera detects motion, Autolog records stan-
dard frame rate capture at five frames per second. When
the camera does not detect motion, Autolog records one
frame every four seconds. The substantial decrease in file
size compared to traditional video recording, makes storage
and transfer of files easier and less expensive.
While recording an Autolog video, the audio is recorded con-
tinuously, so your narrations are intact and uninterrupted.
Press the Autolog Key to start and stop recording. Press
the Photo Key or the Video Key to capture additional
photos or video while recording an Autolog video. Press the
Select Key to pause and resume Autolog video recording.
Use the Autolog Key to power on and automatically begin
Autolog video recording. Starting the CS6 with the Autolog
Key gives you full documentation of your pipe inspection.
Recording Audio
By default the CS6 records audio continuously during both
Autolog and video recording. Press the Microphone Mute
Key
to toggle audio recording on and off. During play-
back, press the Up or Down Arrow Keys
to increase
and decrease the volume of the recorded audio.
When recording is paused, audio is also paused. To resume
recording, press the Select Key.
Taking Photos
Press the Photo Key to take a photo. The photo icon ap-
pears on the screen briefly and the photo is automatically
saved onto the USB drive in the Active Job.
Measuring the Inspection
The Zero Key can be used in two ways. Press and hold
to set the system zero point at the beginning of an inspec-
tion. A quick press will set a temporary zero point that can
be used to measure a segment of the pipe during an in-
spection.
When a temporary zero point is set the measurement ap-
pears in brackets. Press the Zero Key again to clear the
temporary measurement and return to the system count.
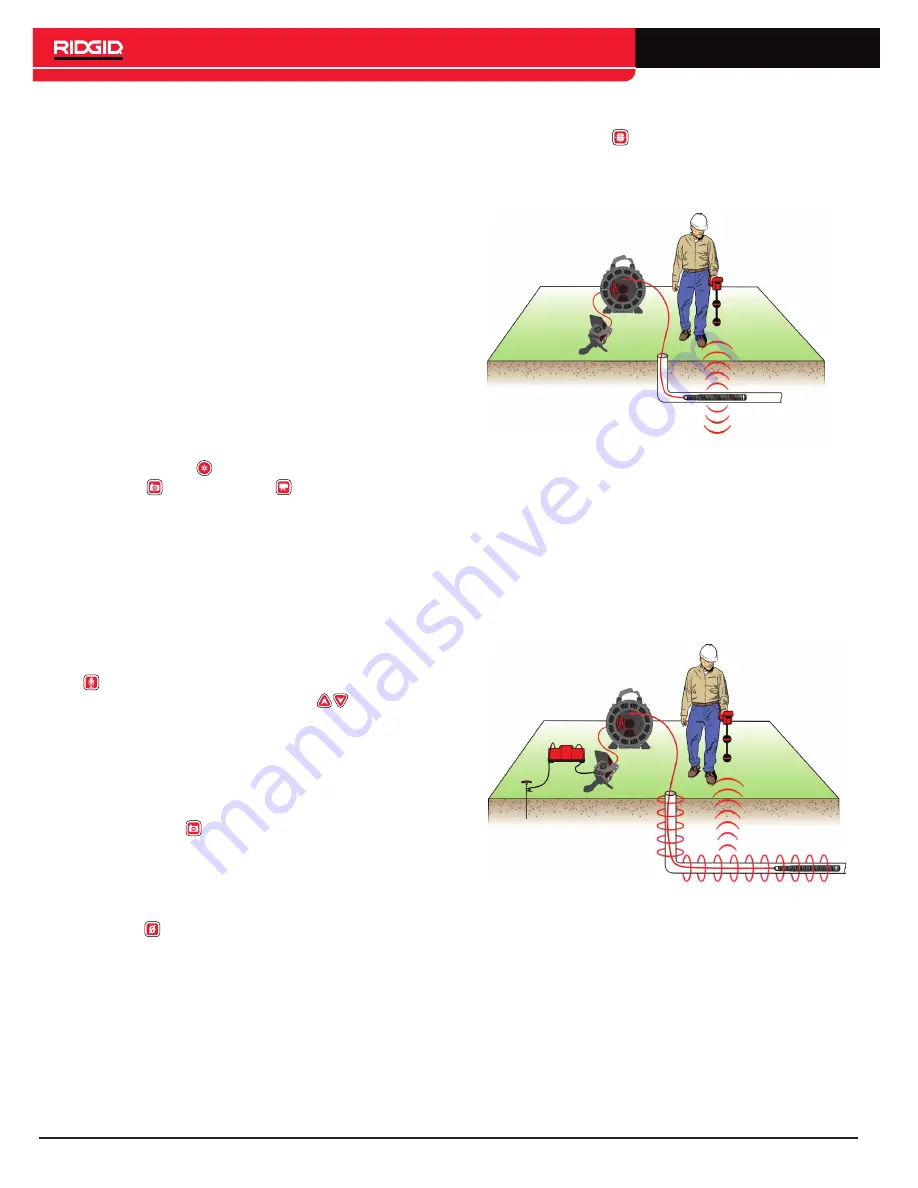
Locating the Camera Using the Sonde
Press the Sonde Key to toggle the Sonde on and off. You
may see interference lines on the screen caused by the 512
Hz signal when the Sonde is on. The lines disappear when
the Sonde is off and are not visible in captured media.
Figure 7 – Locating the Sonde
For detailed instructions on Sonde locating, consult the op-
erator’s manual for the receiver model you are using.
Line Tracing the SeeSnake Push Cable
Line trace to locate the pipe and sonde by inducing current
onto the push cable. To line trace the push cable, clip one of
the transmitter’s leads to the grounding stake and the other
to the Transmitter Clip-on Terminal on the back of the CS6.
Figure 8 – Line Tracing the Push Cable
For detailed instructions on line tracing, consult the operator’s
manual for the transmitter and receiver models you are using.
Содержание SeeSnake CS6
Страница 15: ...English 15 Notes ...


